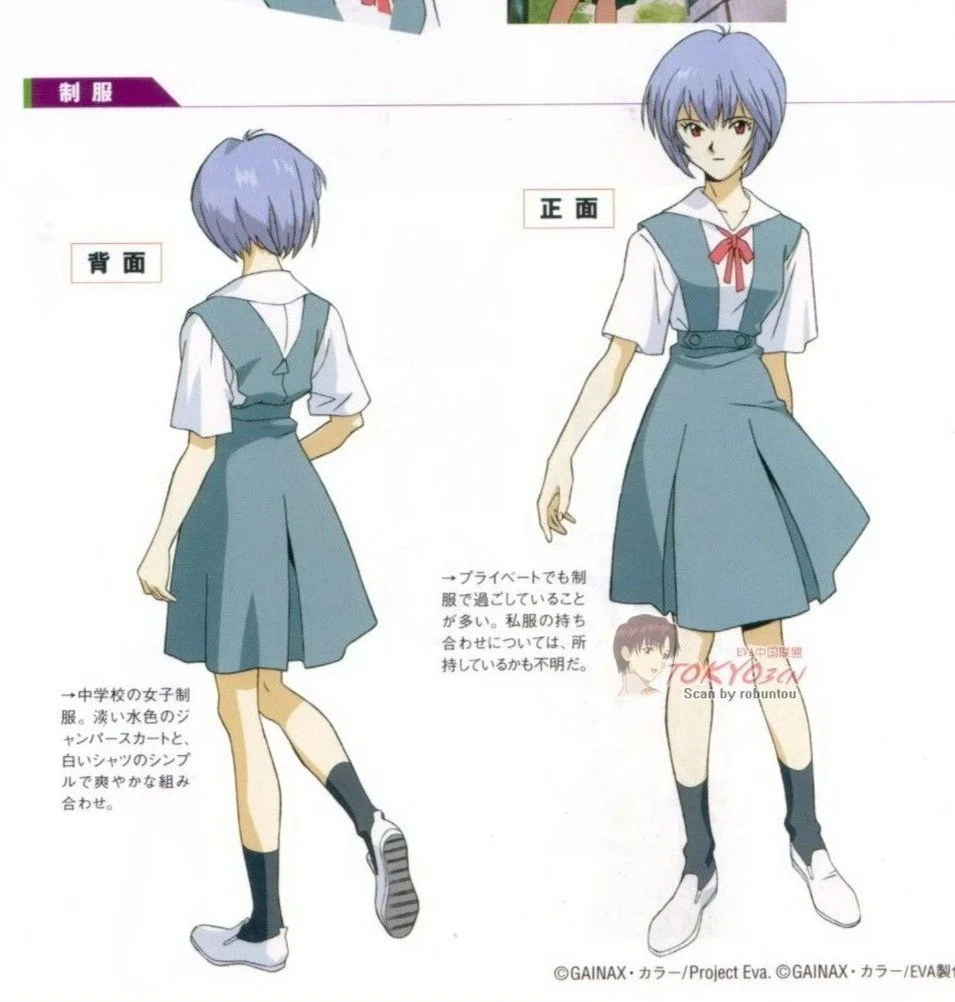
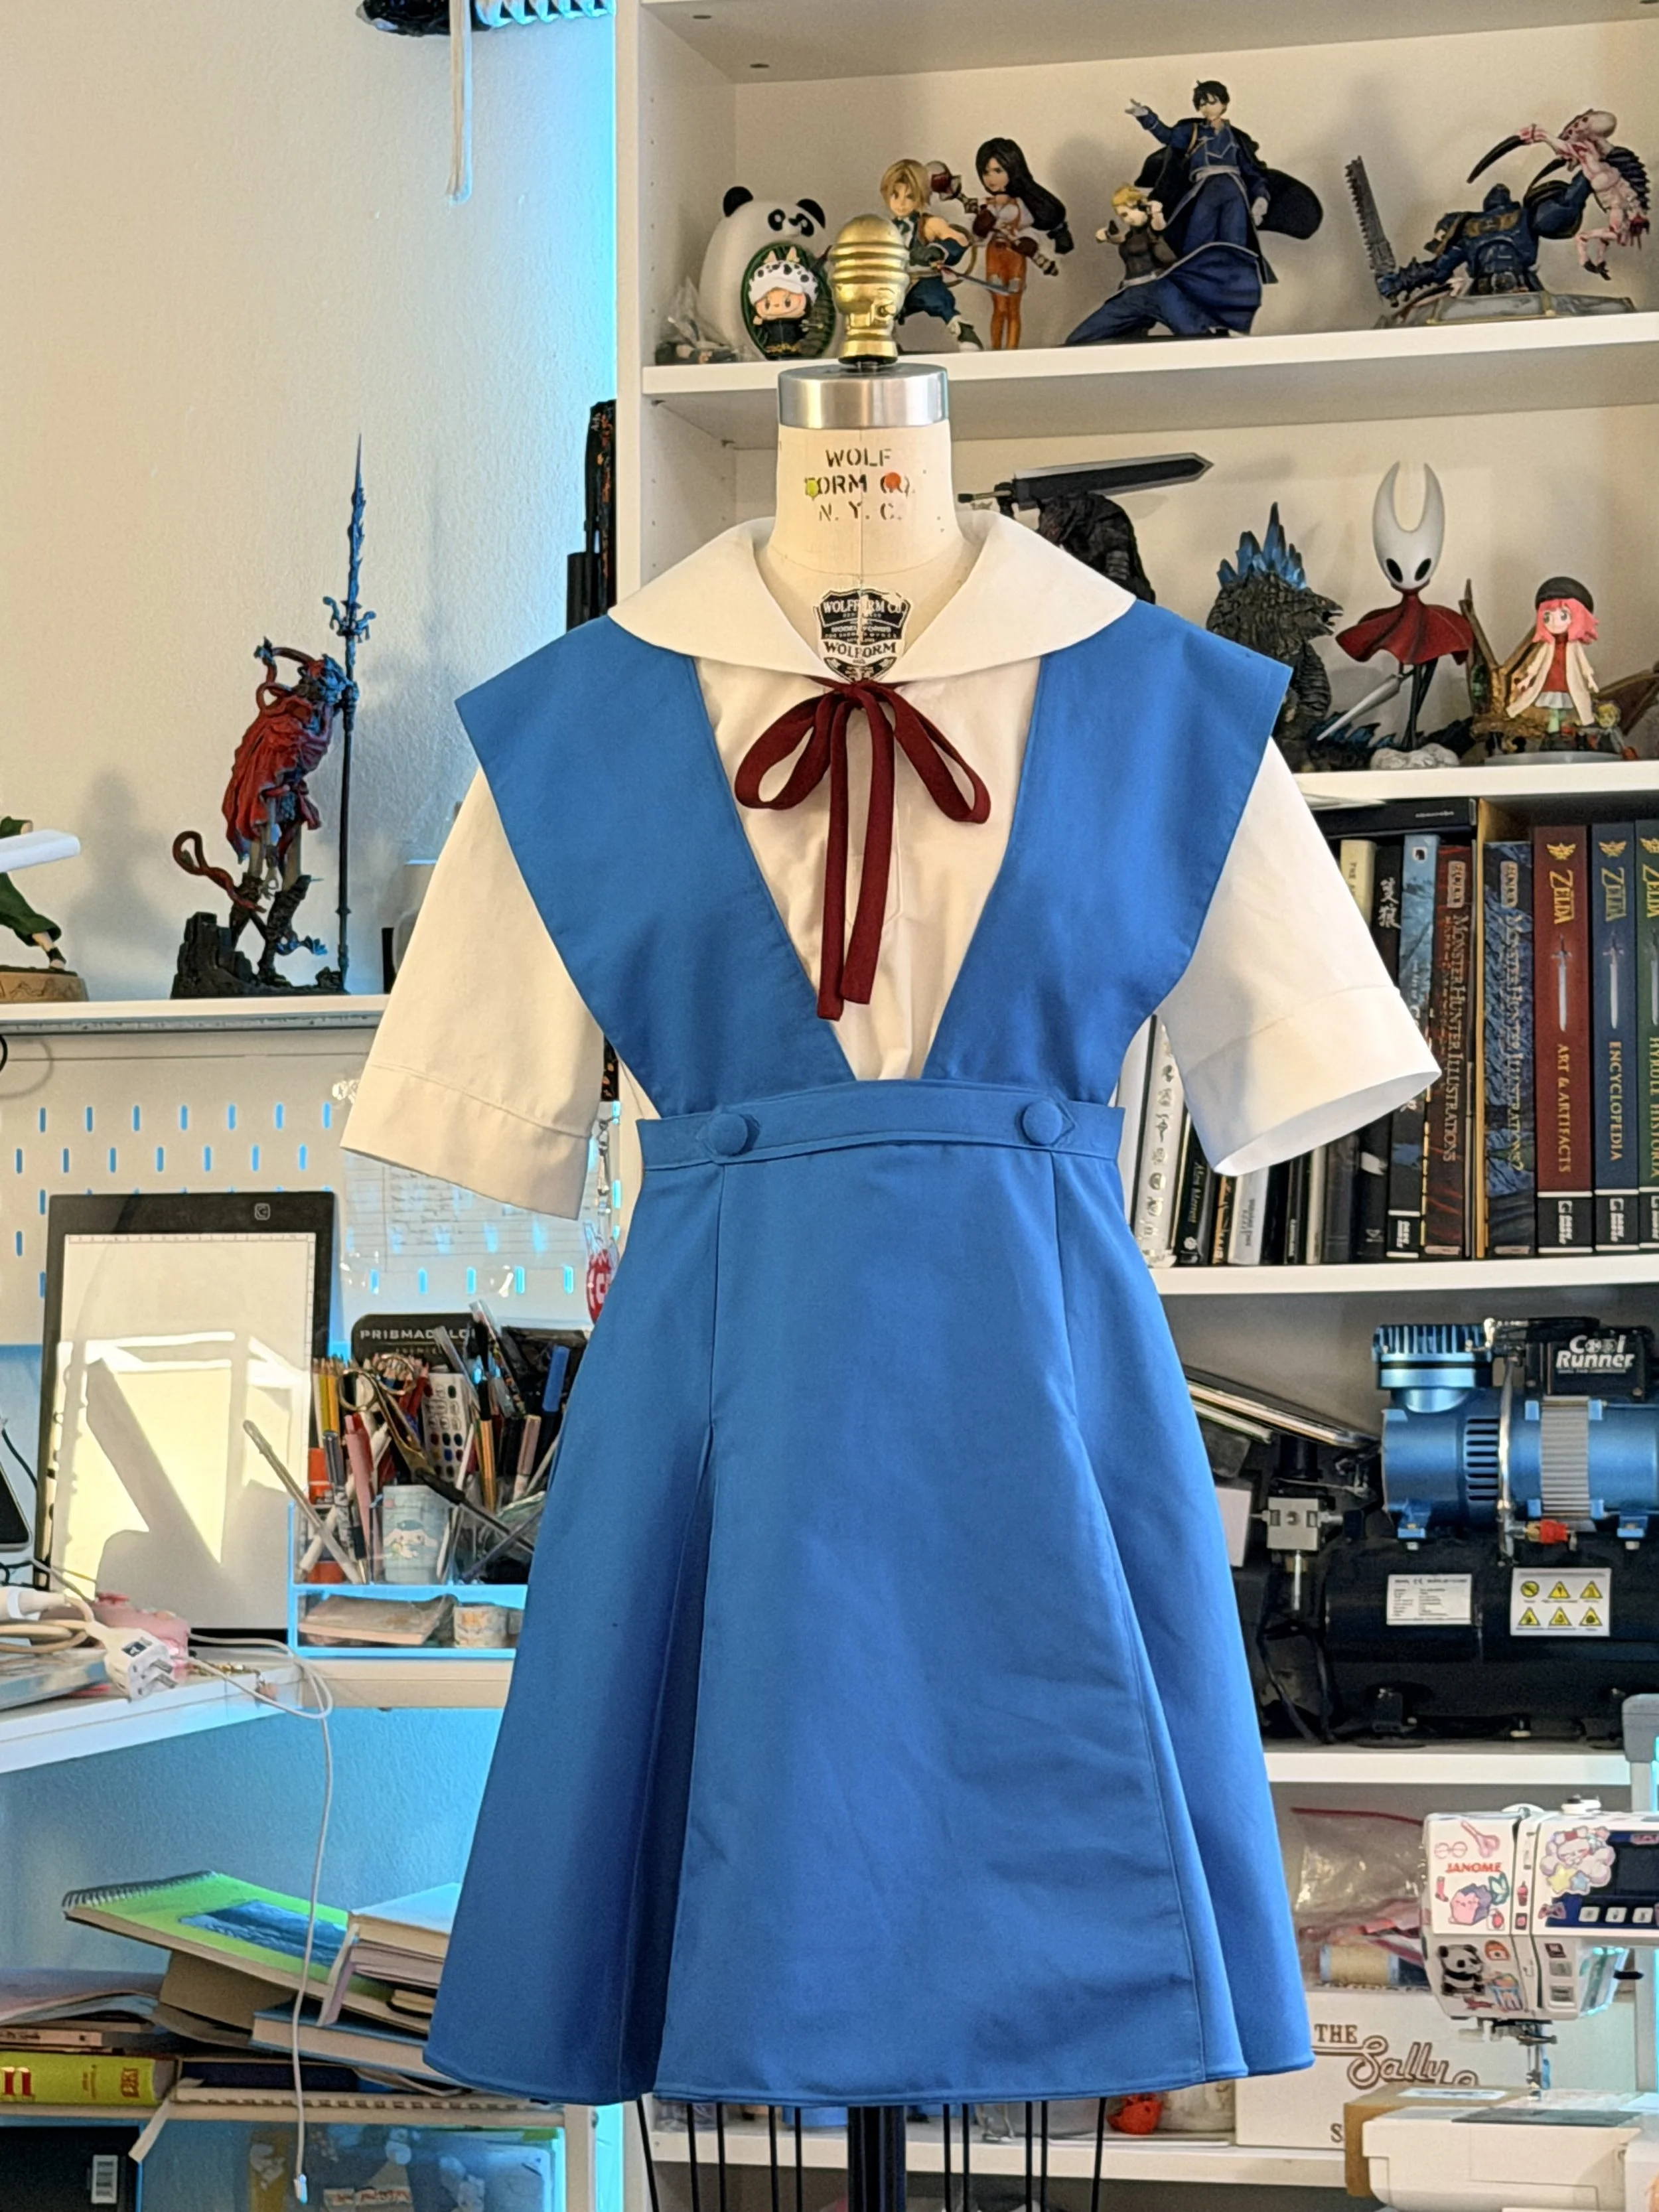
Rei Ayanami build
Reference Image
Materials used in this project
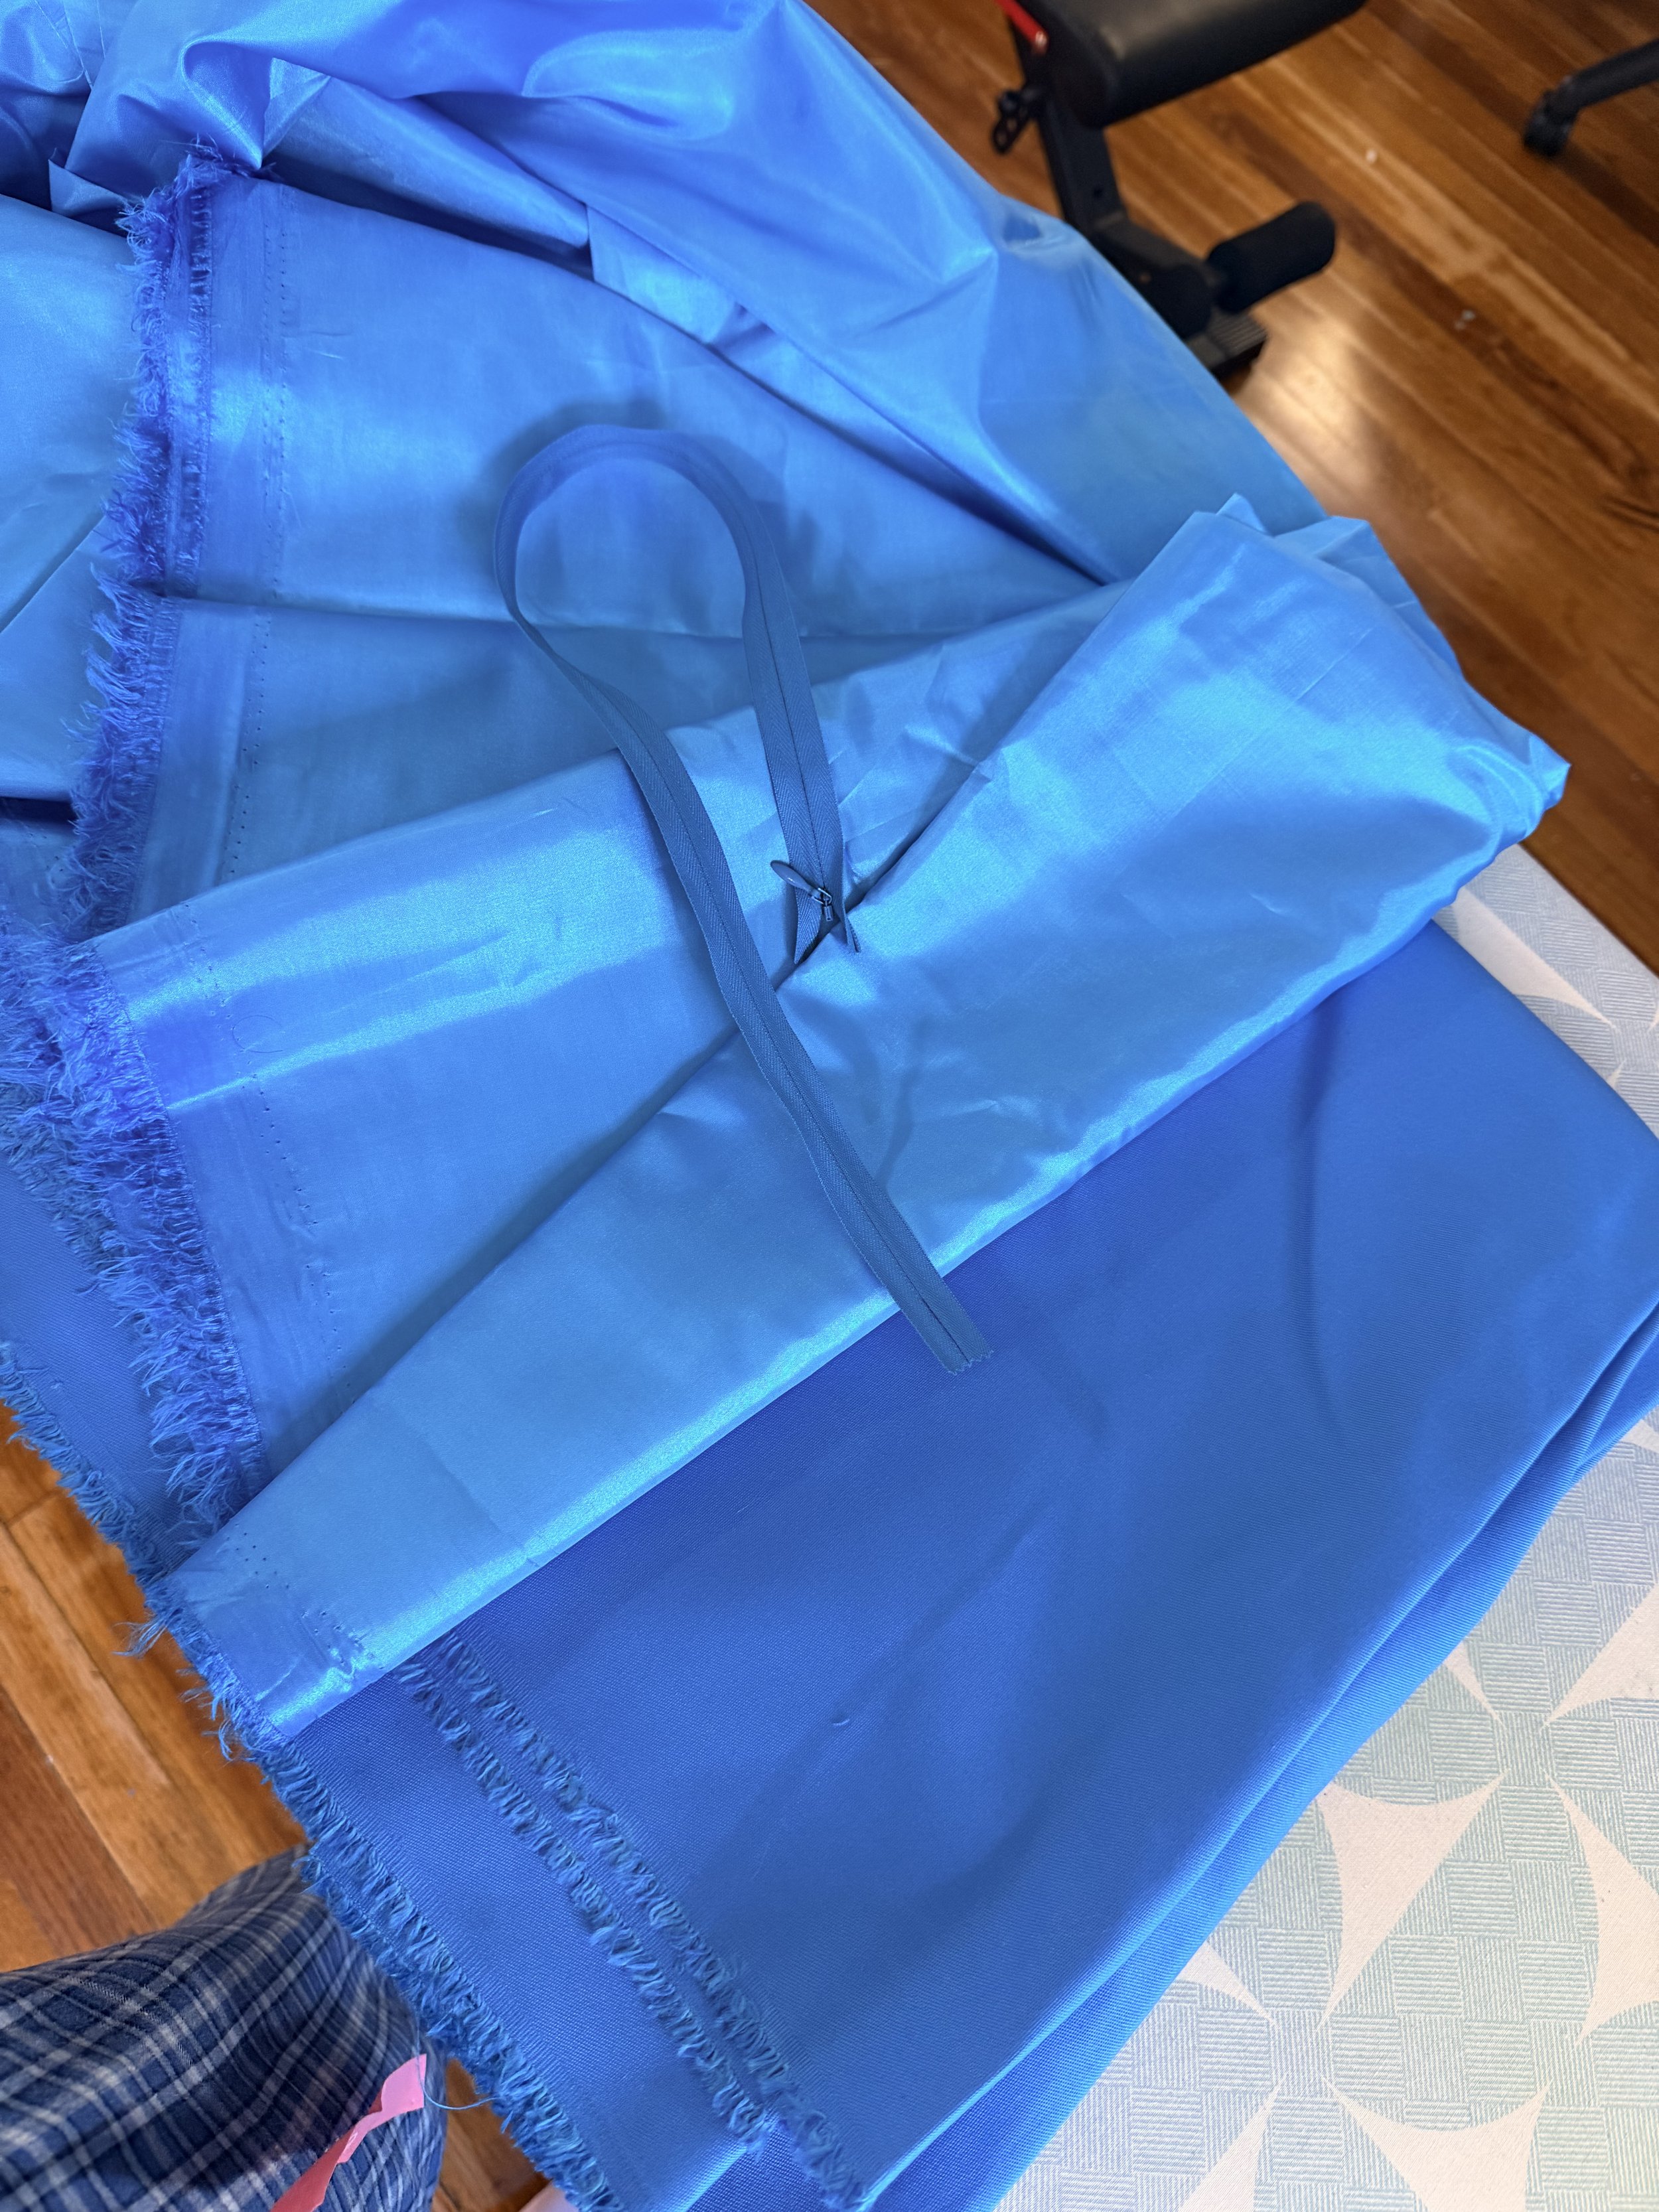
Julien brushed twill
Poly cotton twill
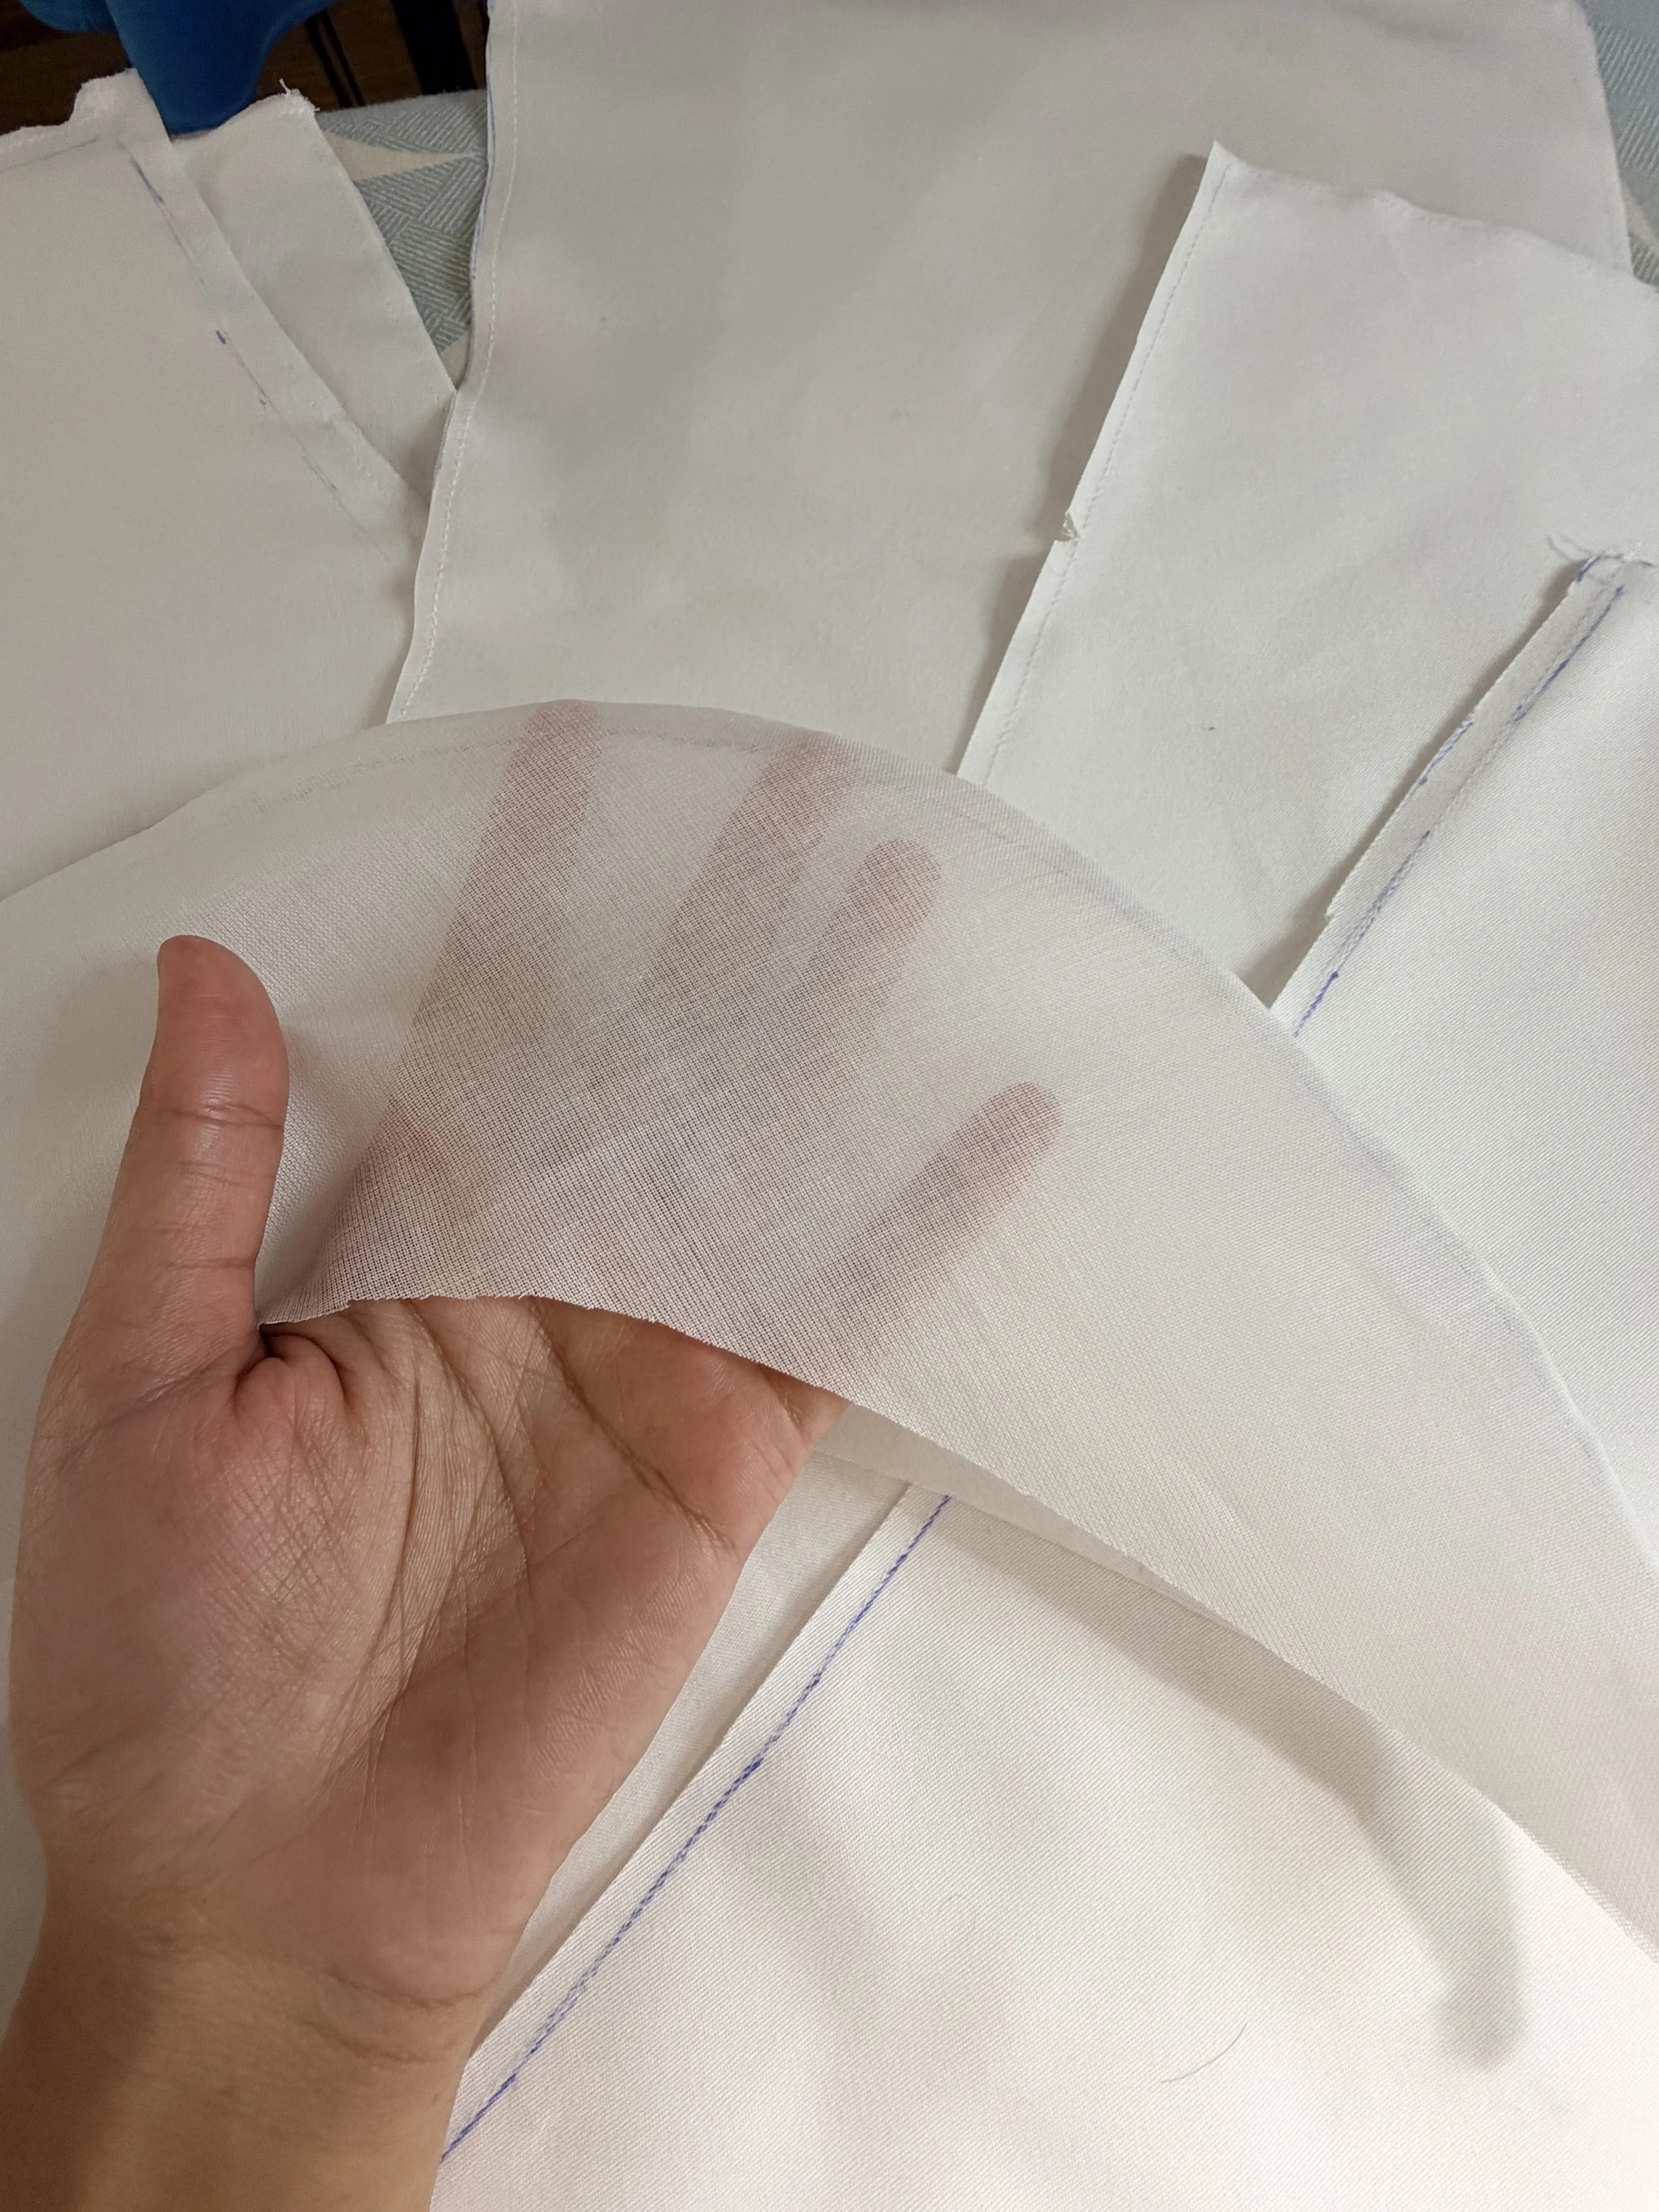
White sheer viole for shirt lining
Blue China lining
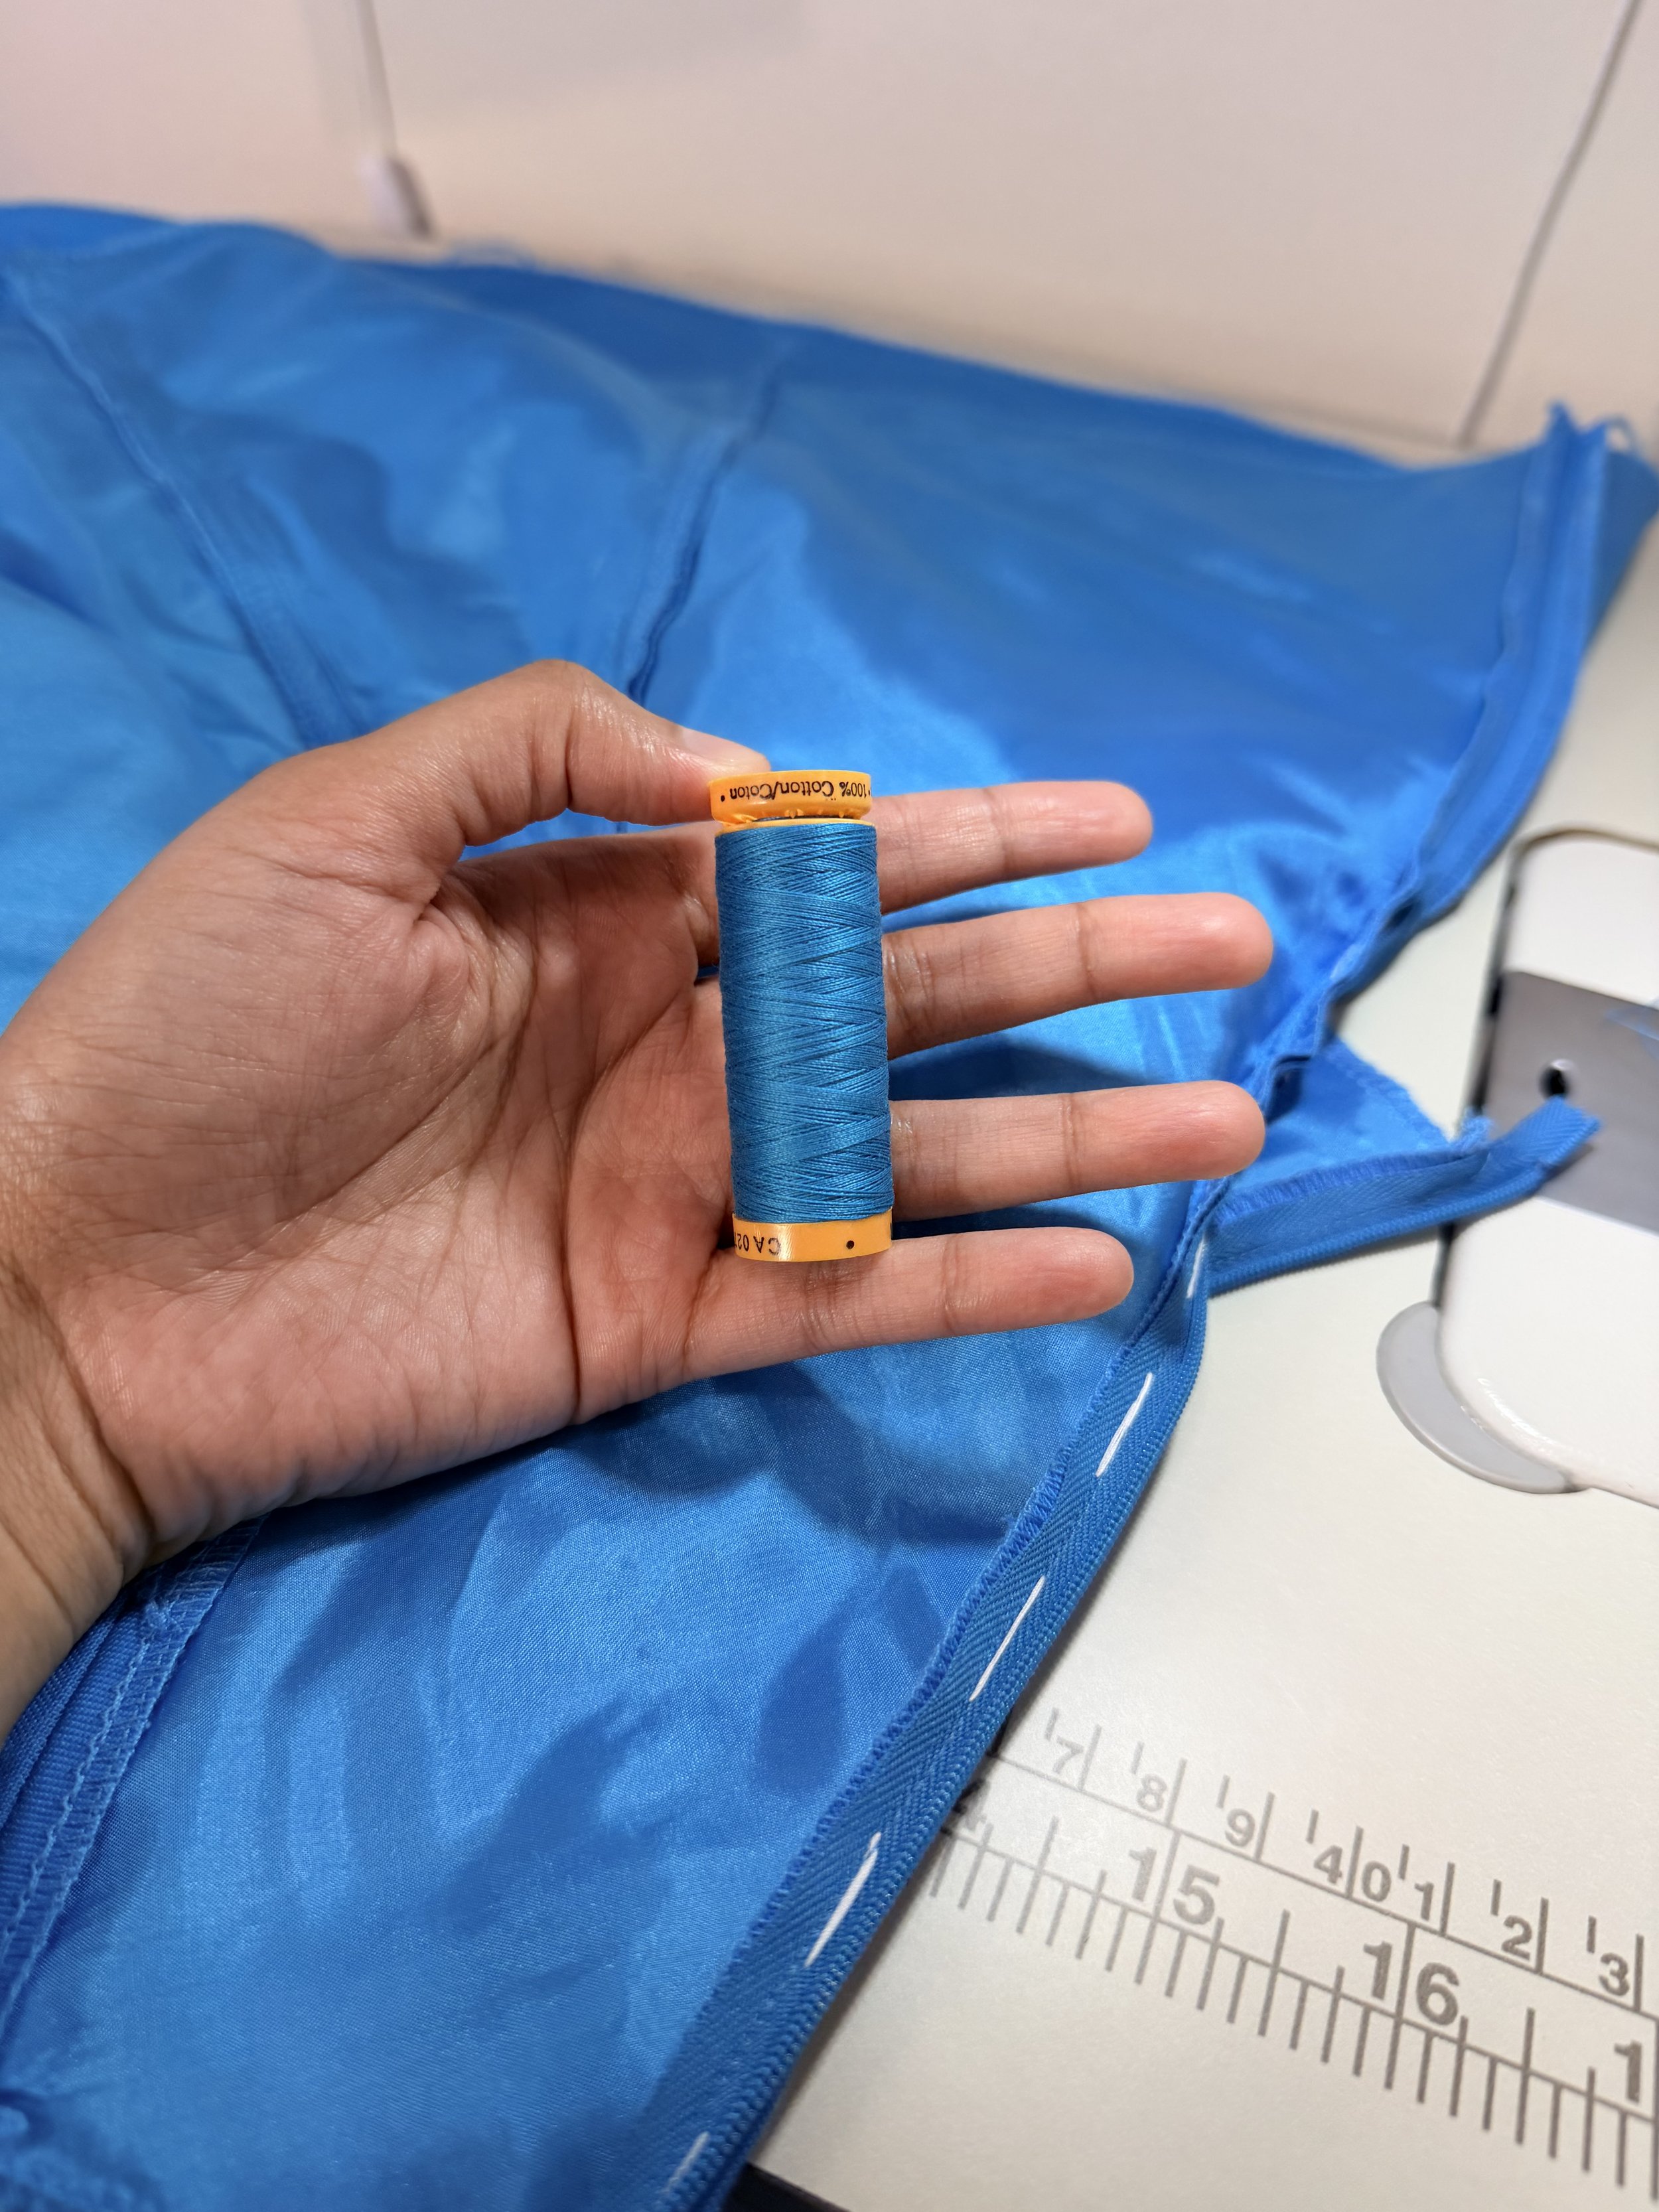
Polyester thread for machine sewing
Cotton thread for hand stitching
Medium-to-heavyweight interfacing for collar & placket
Snap-on button for the shirt
3cm button for the skirt embellishment
Invisible zipper, hook, and eye for the belt closure
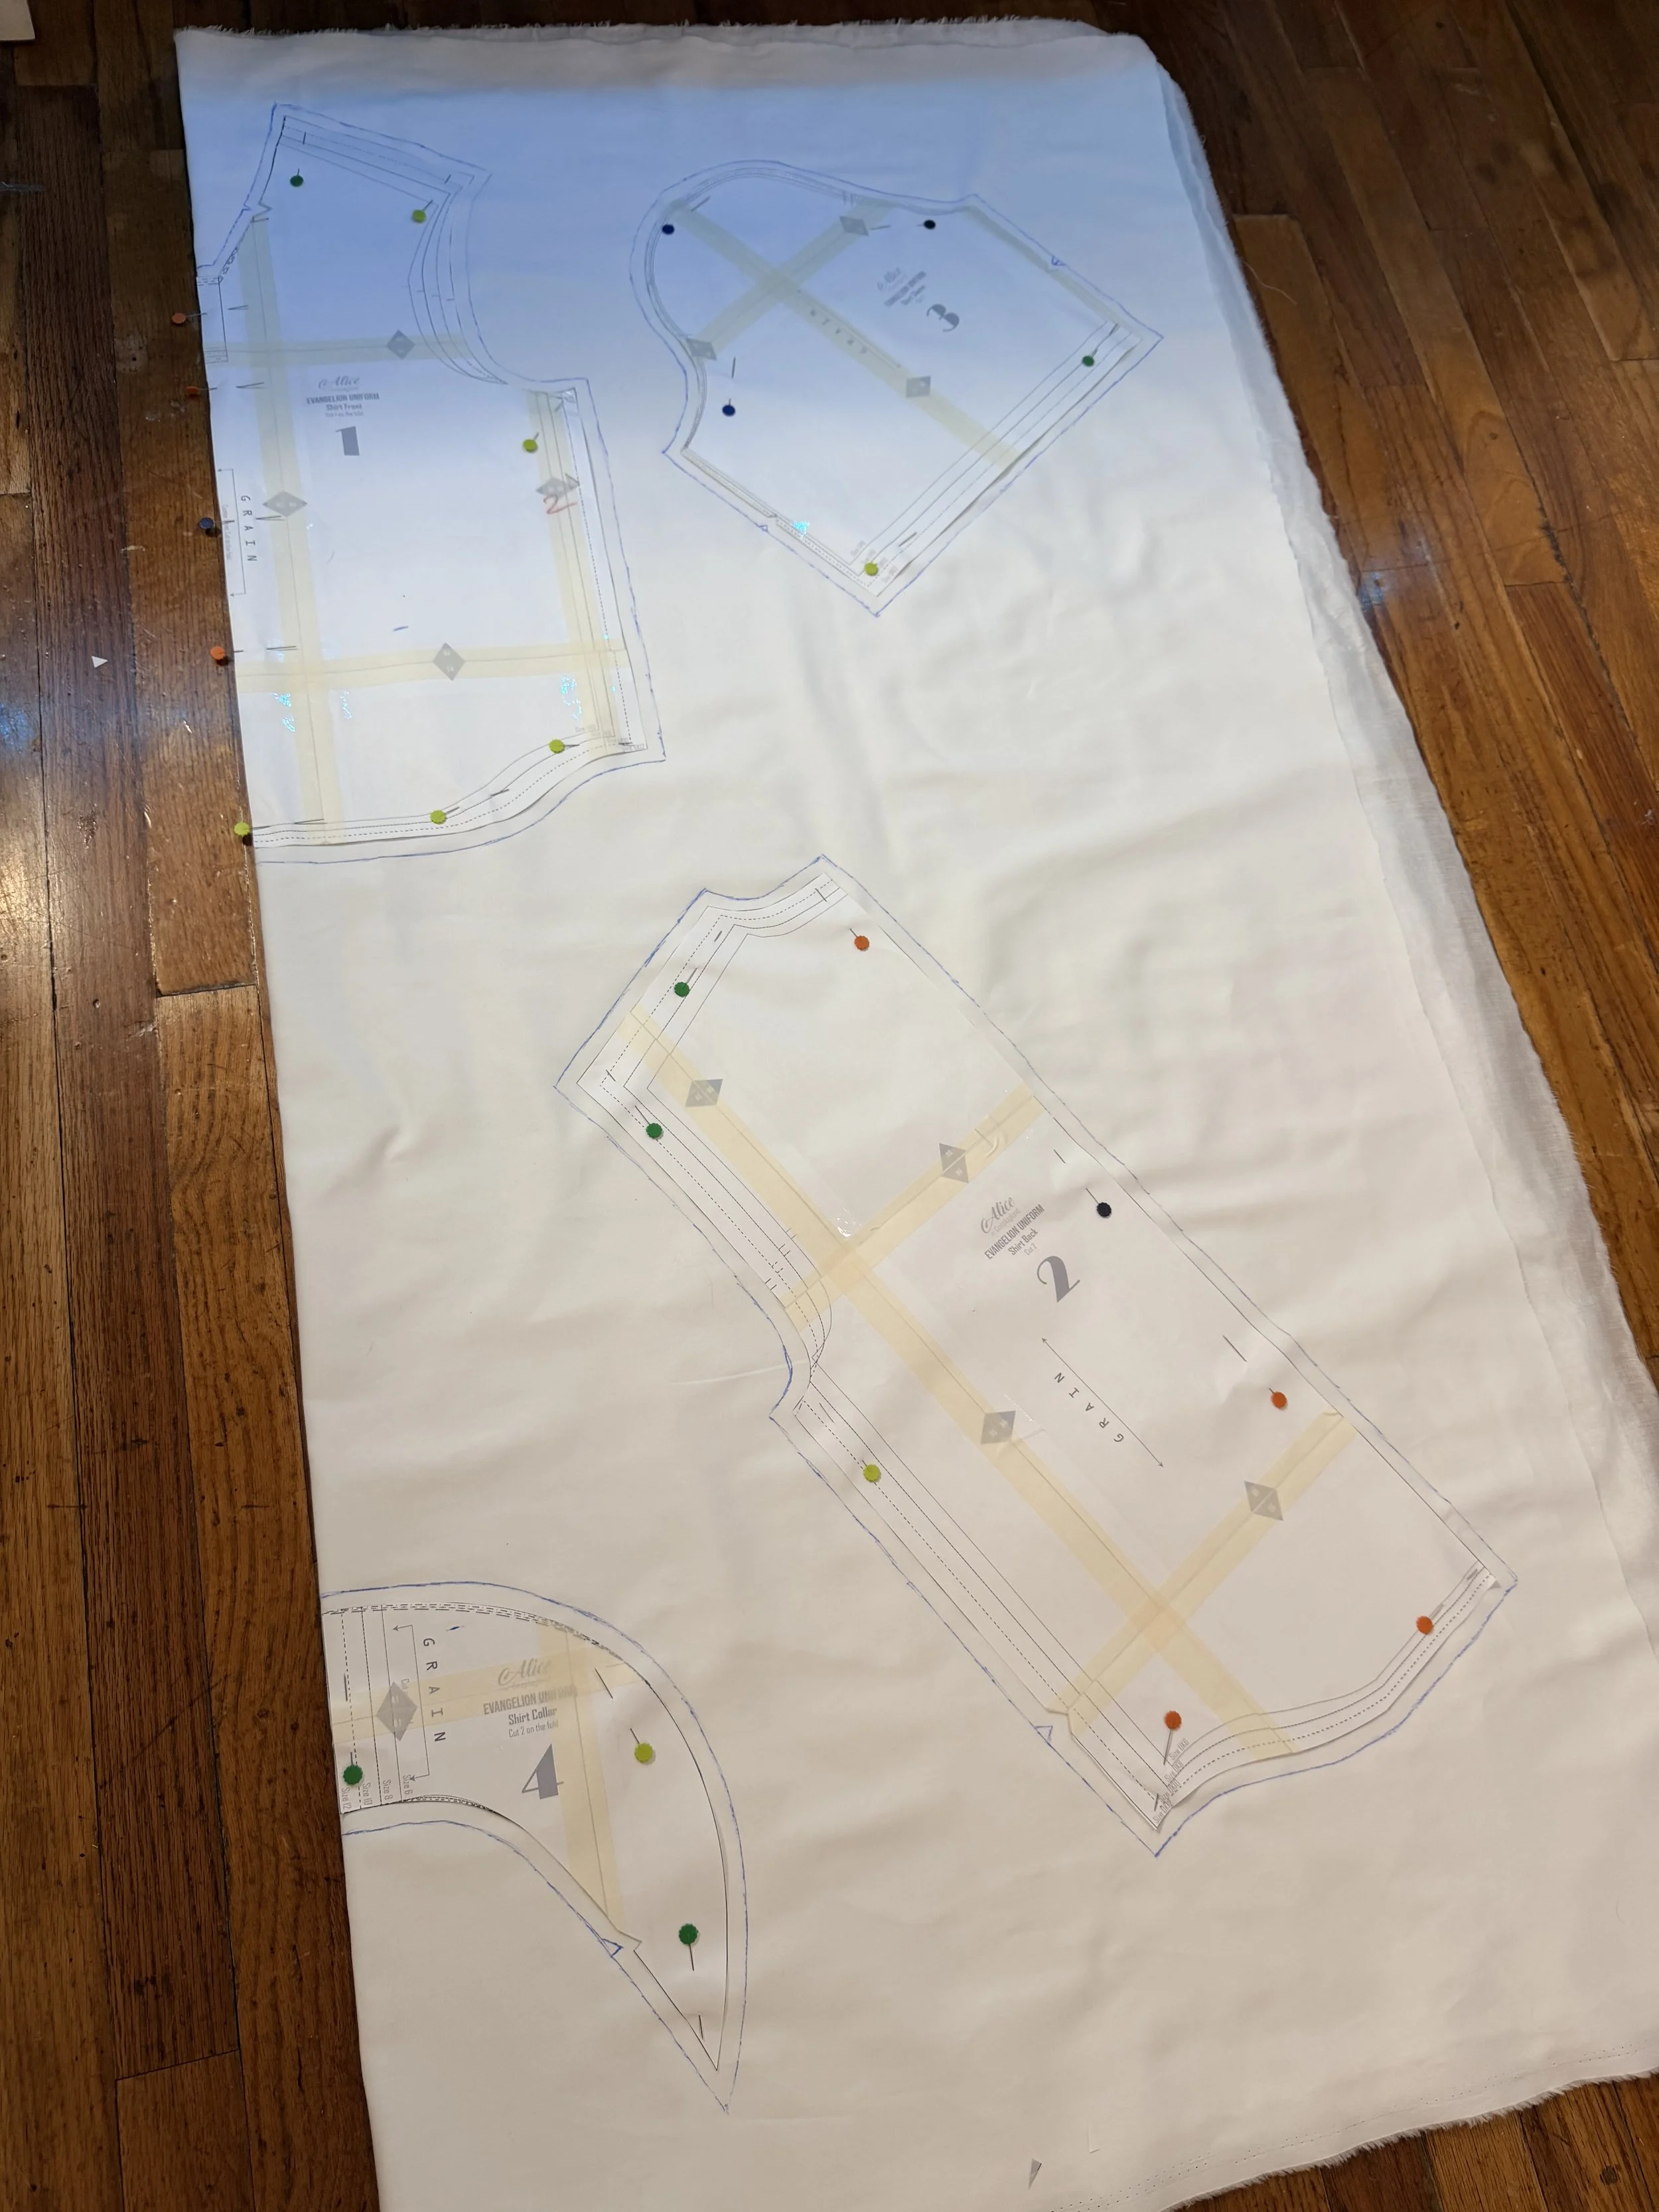
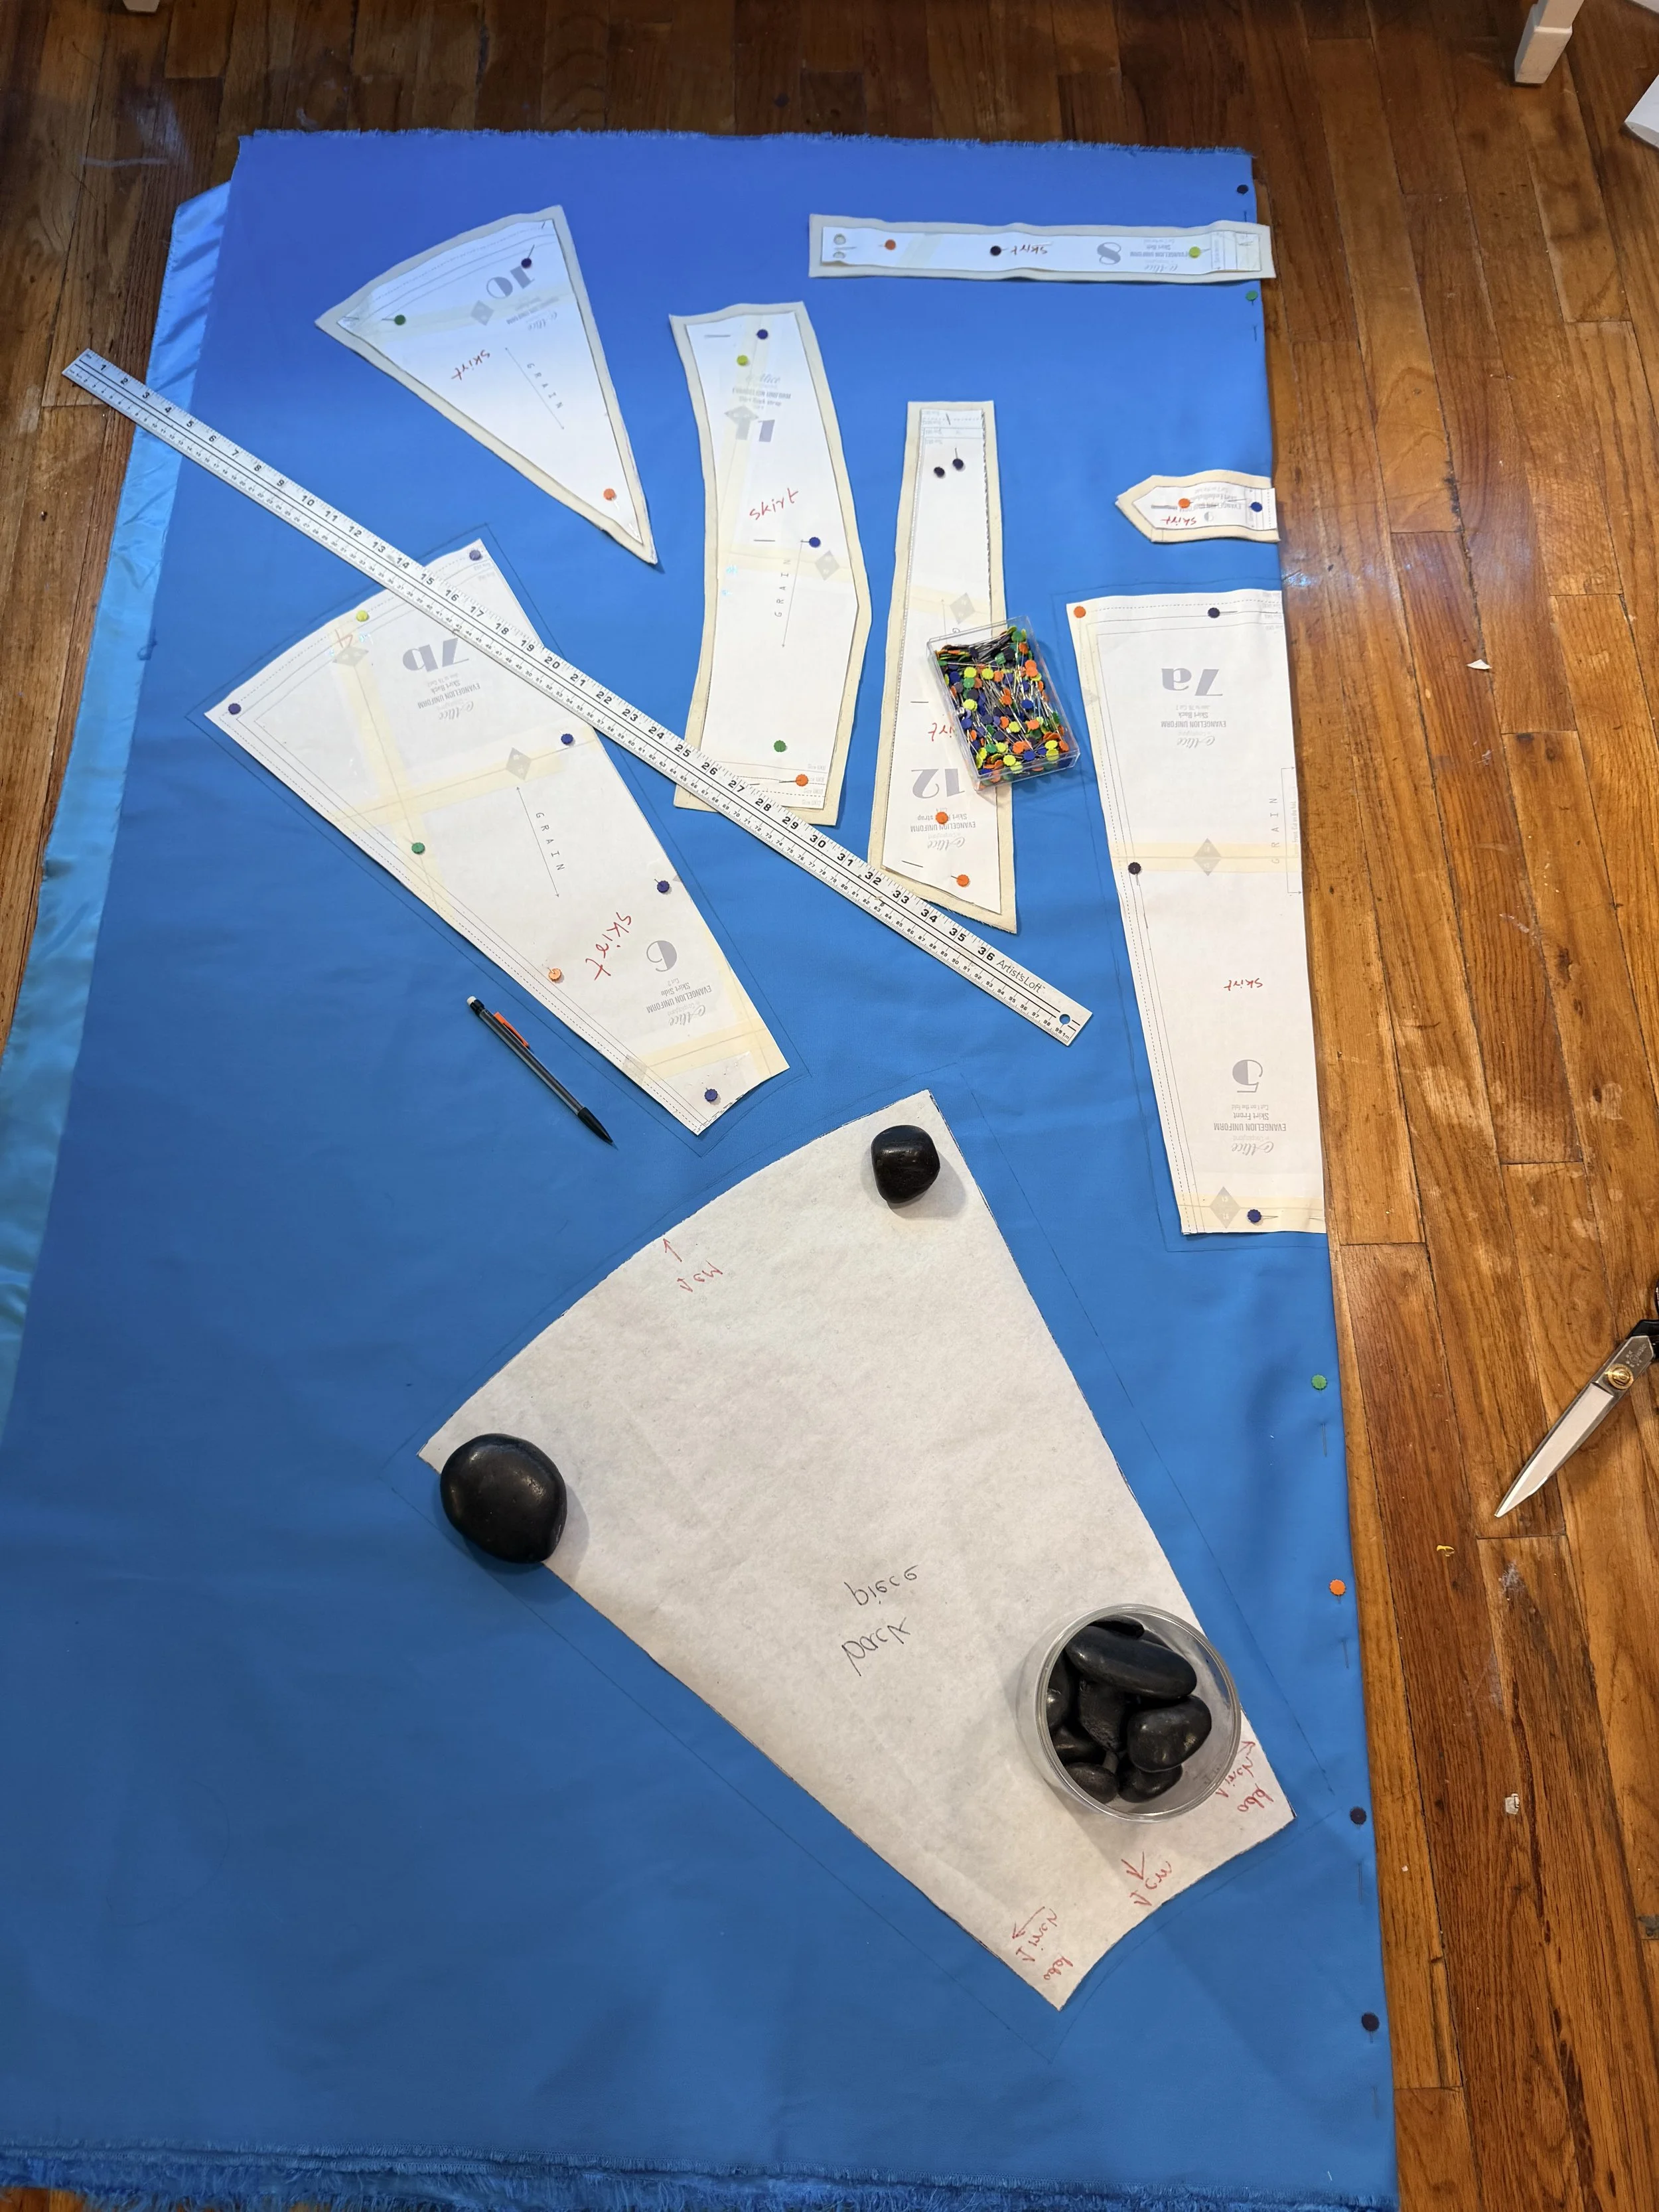
The pattern used for this project is by Alice in Cosplayland
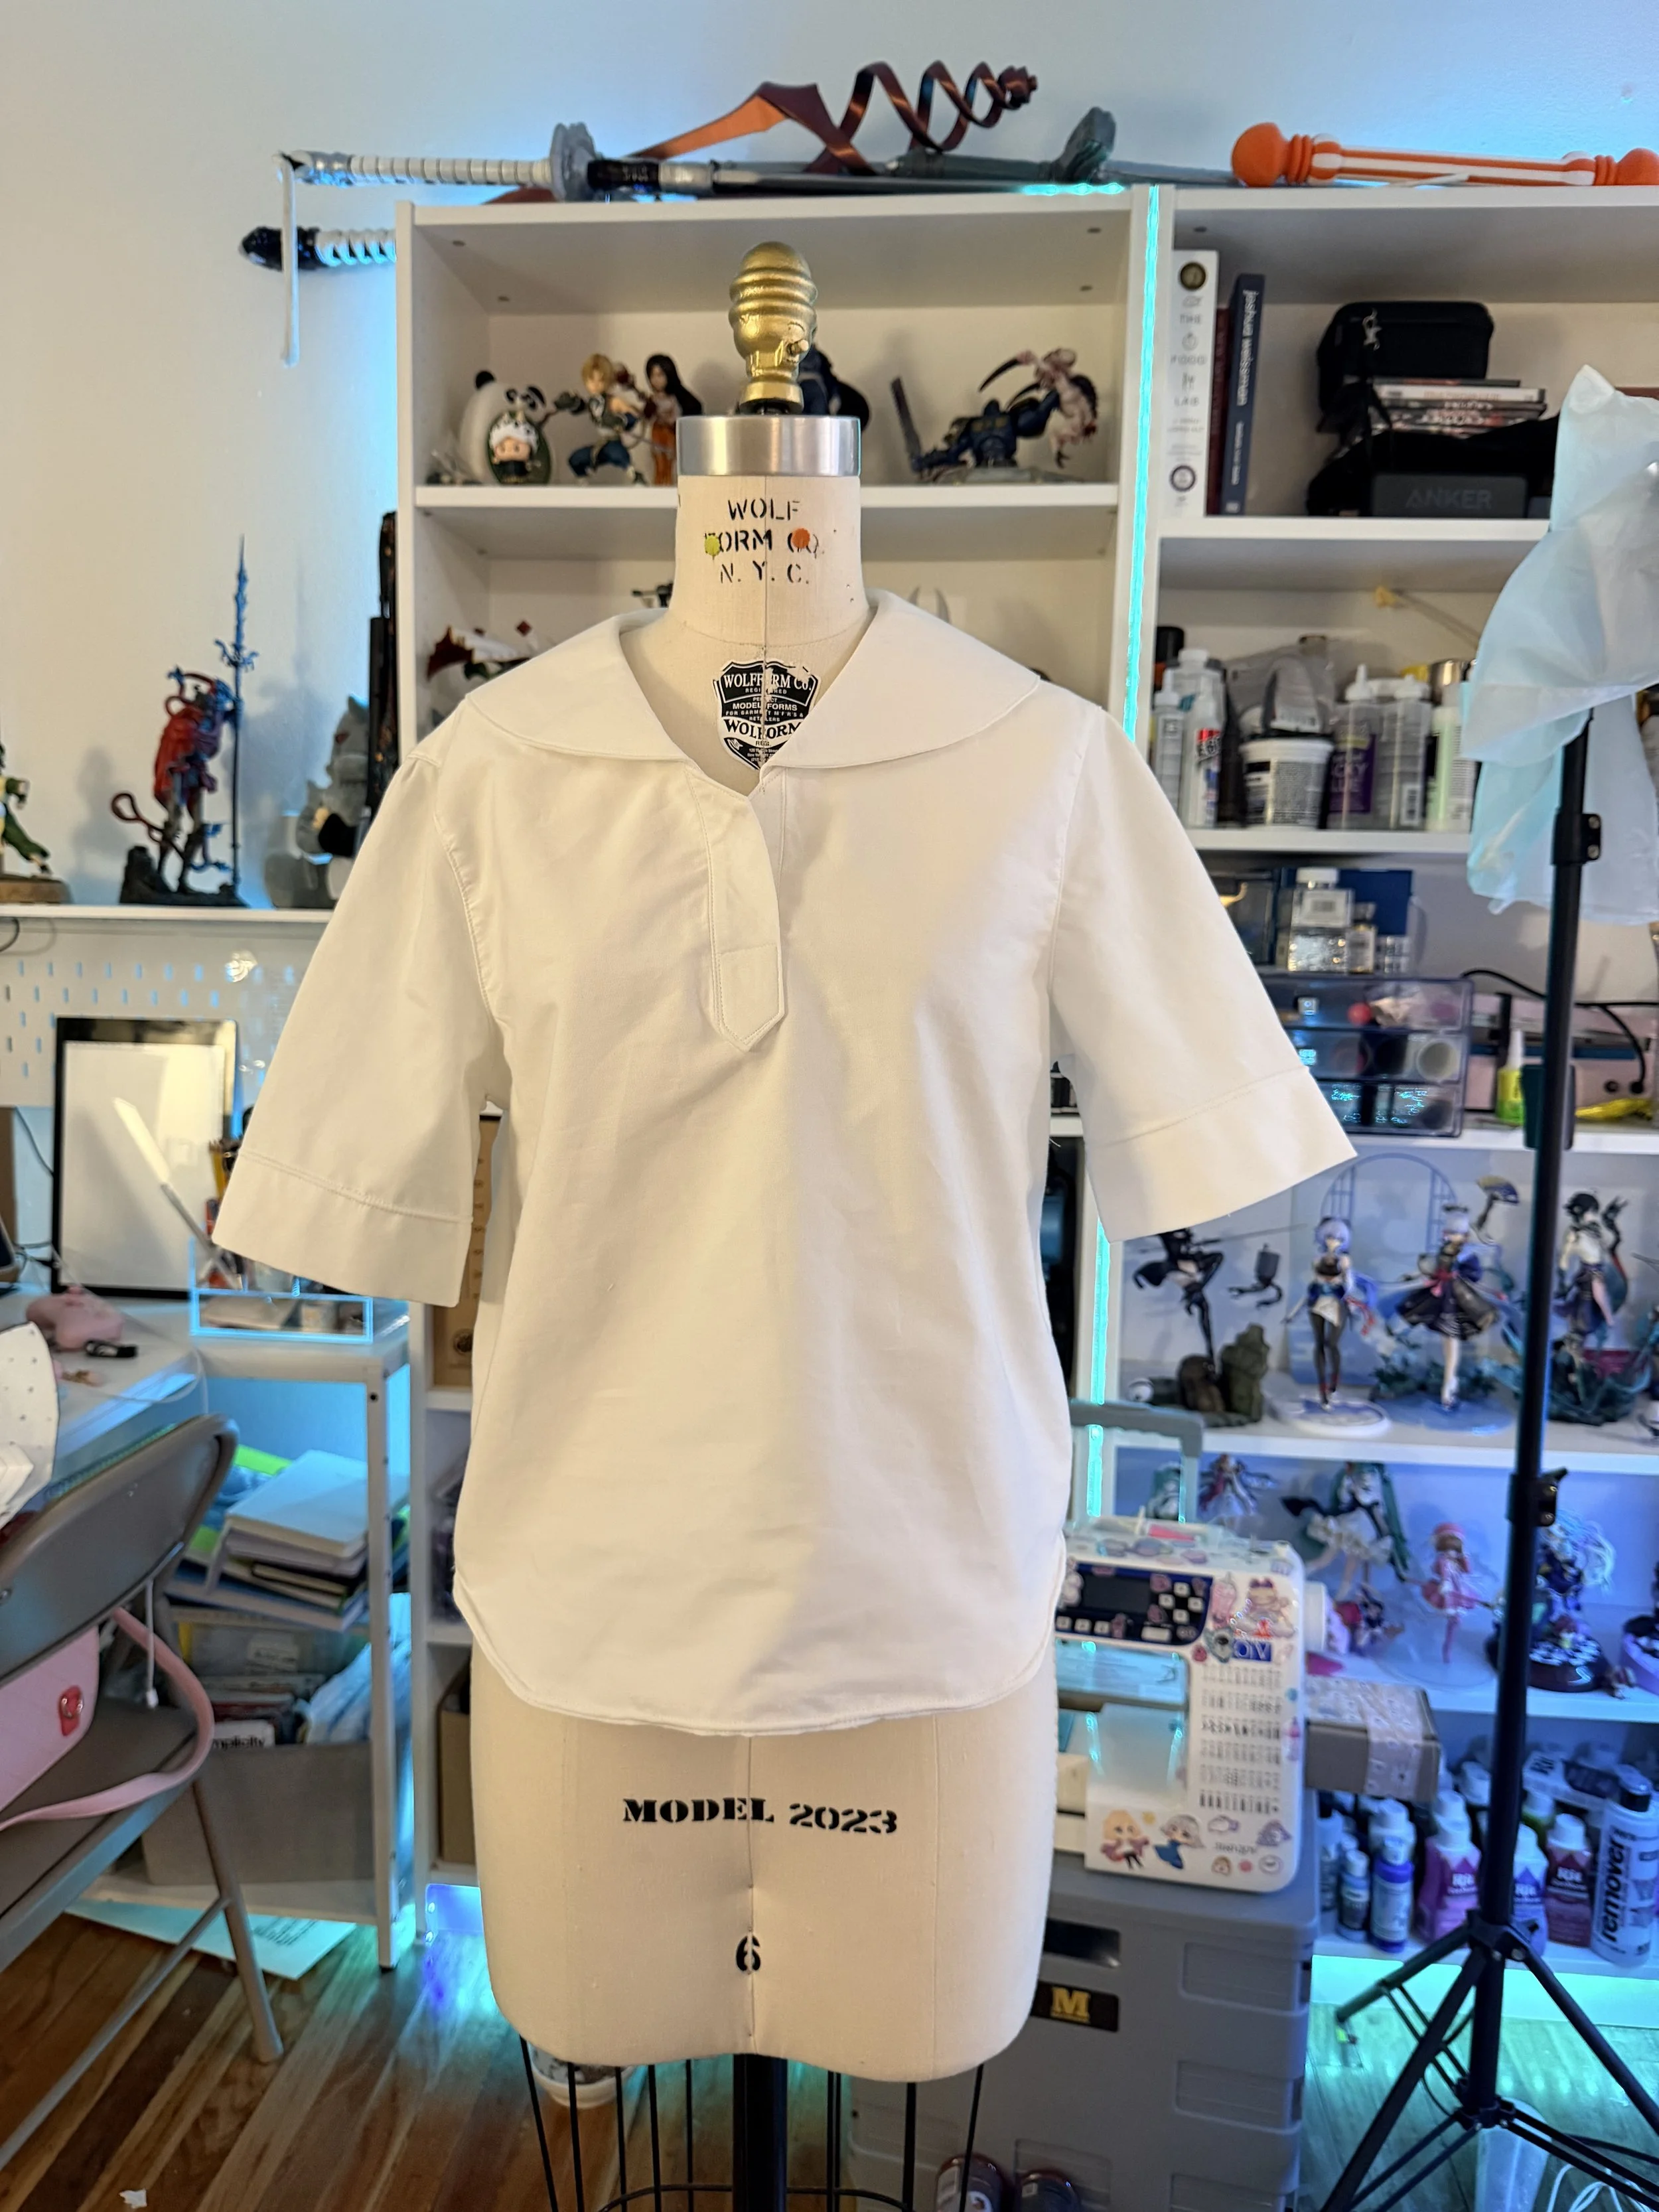
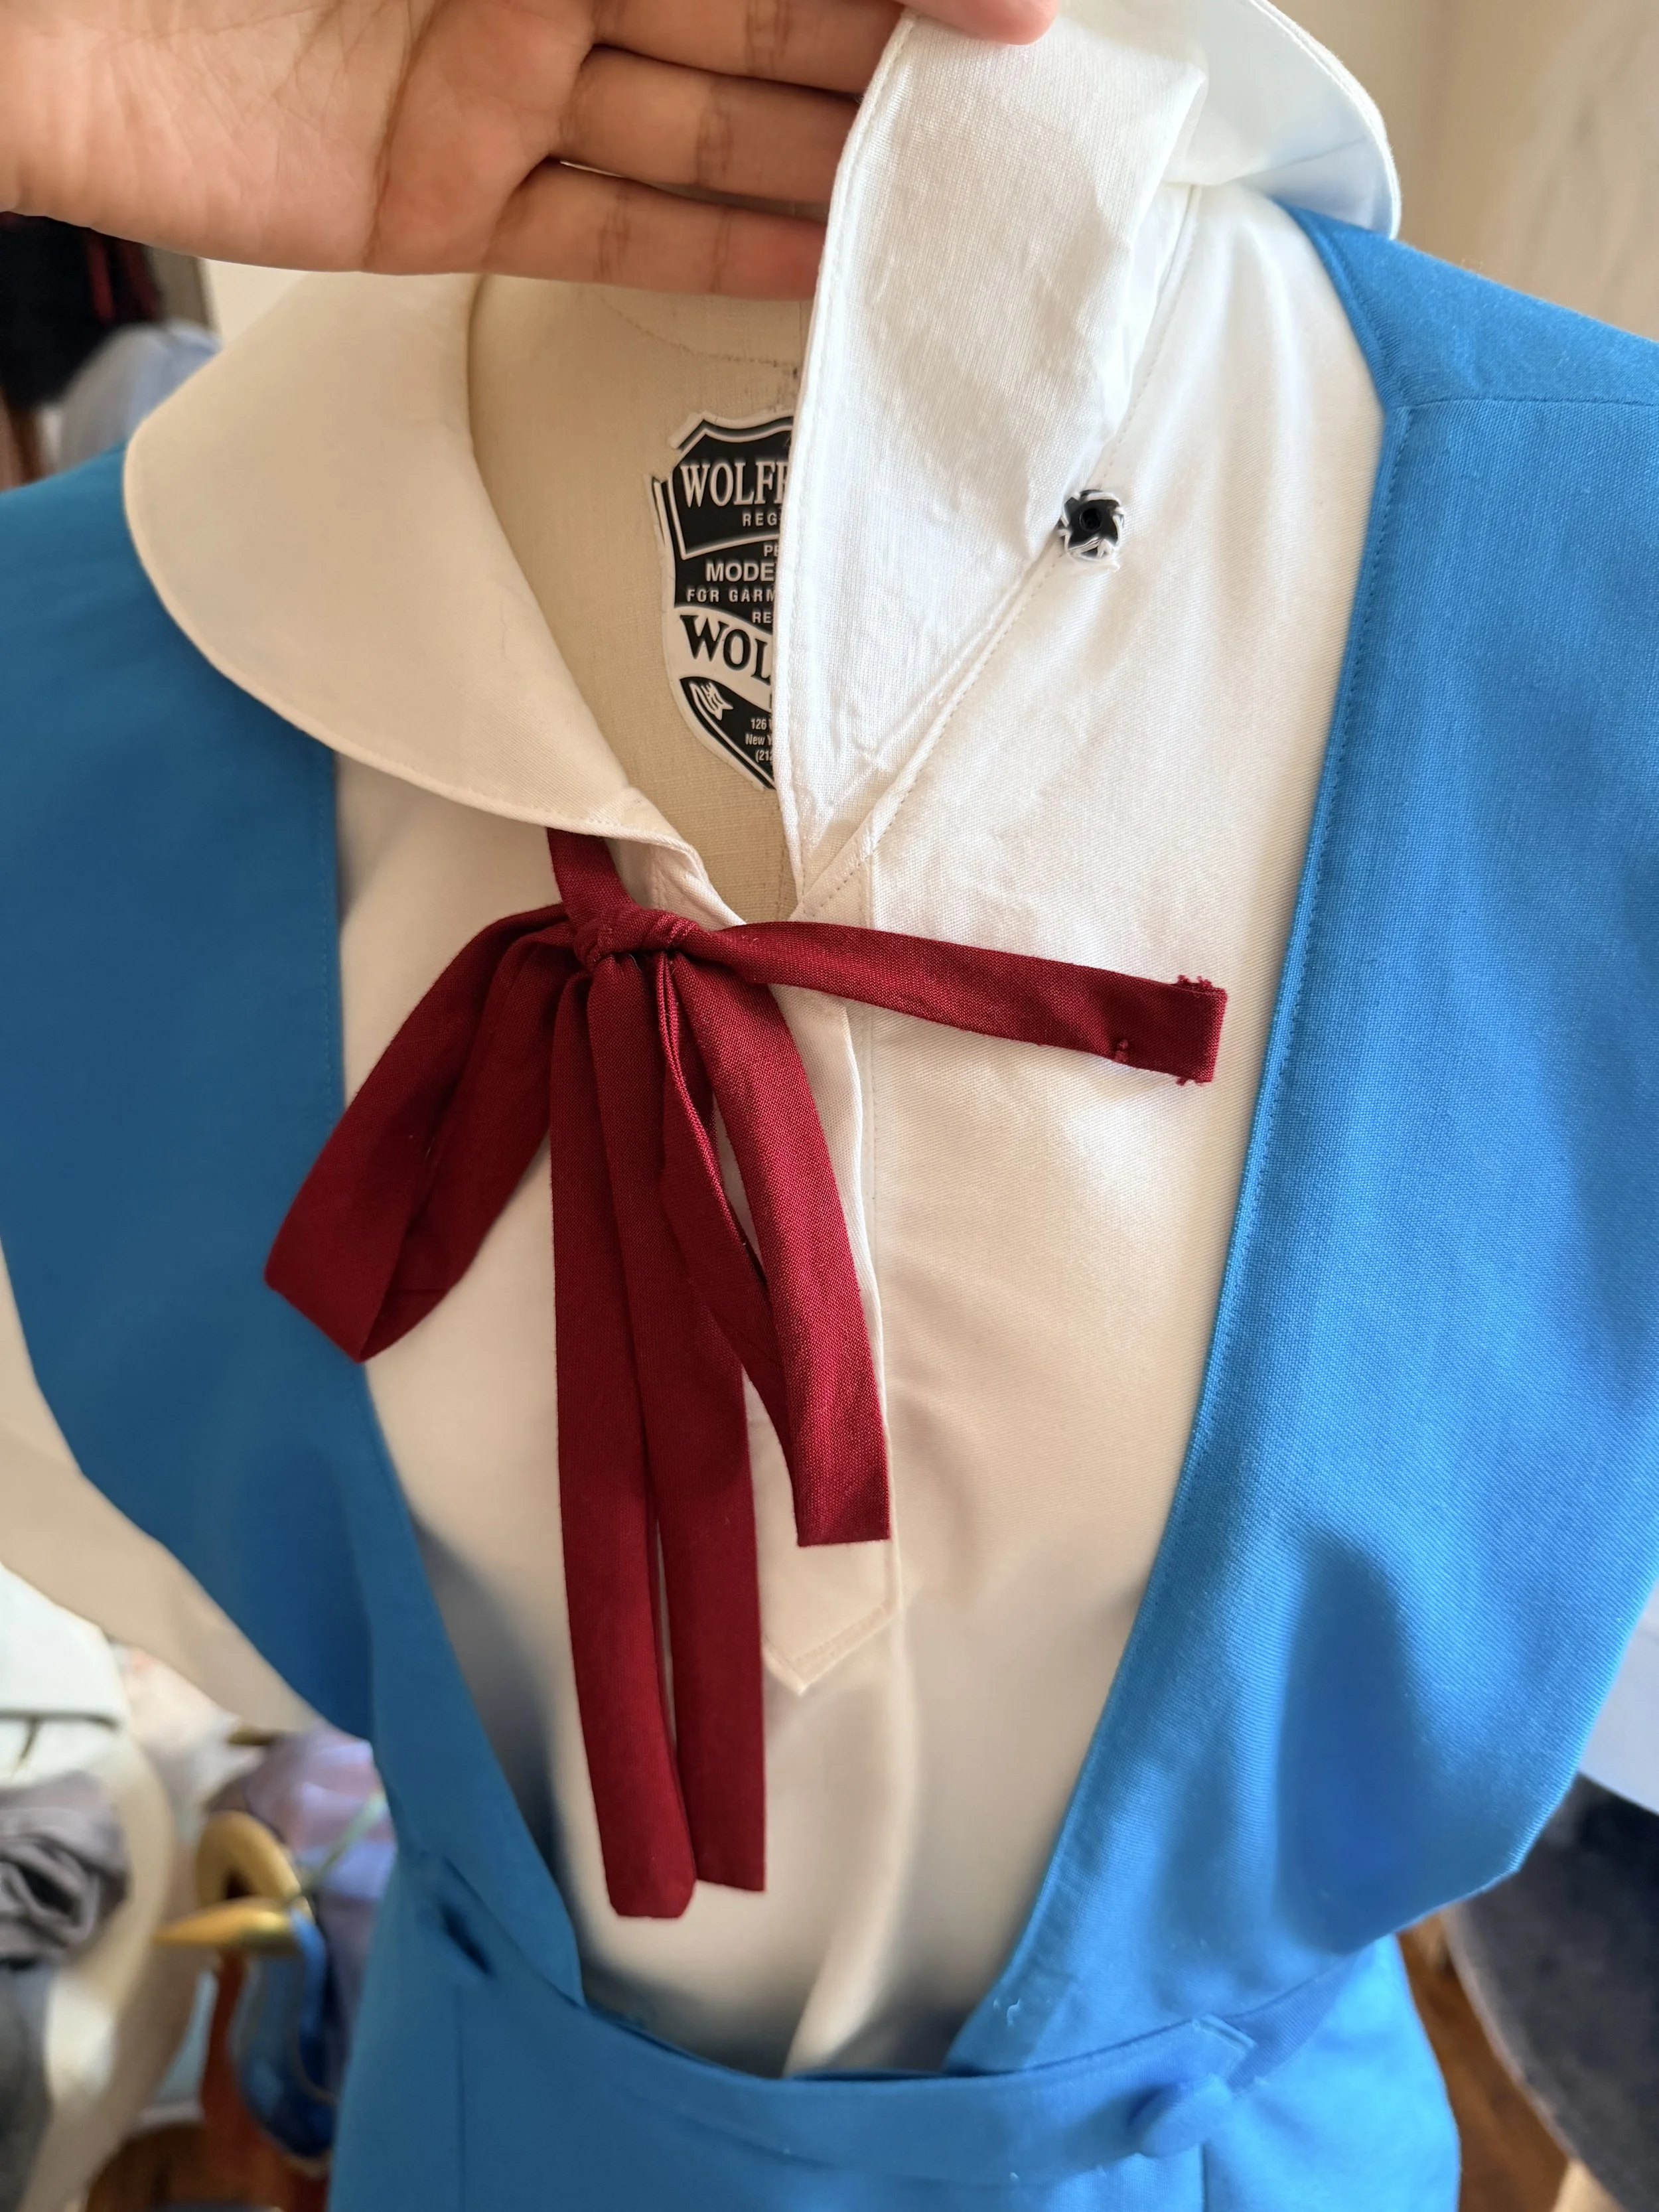
Shirt
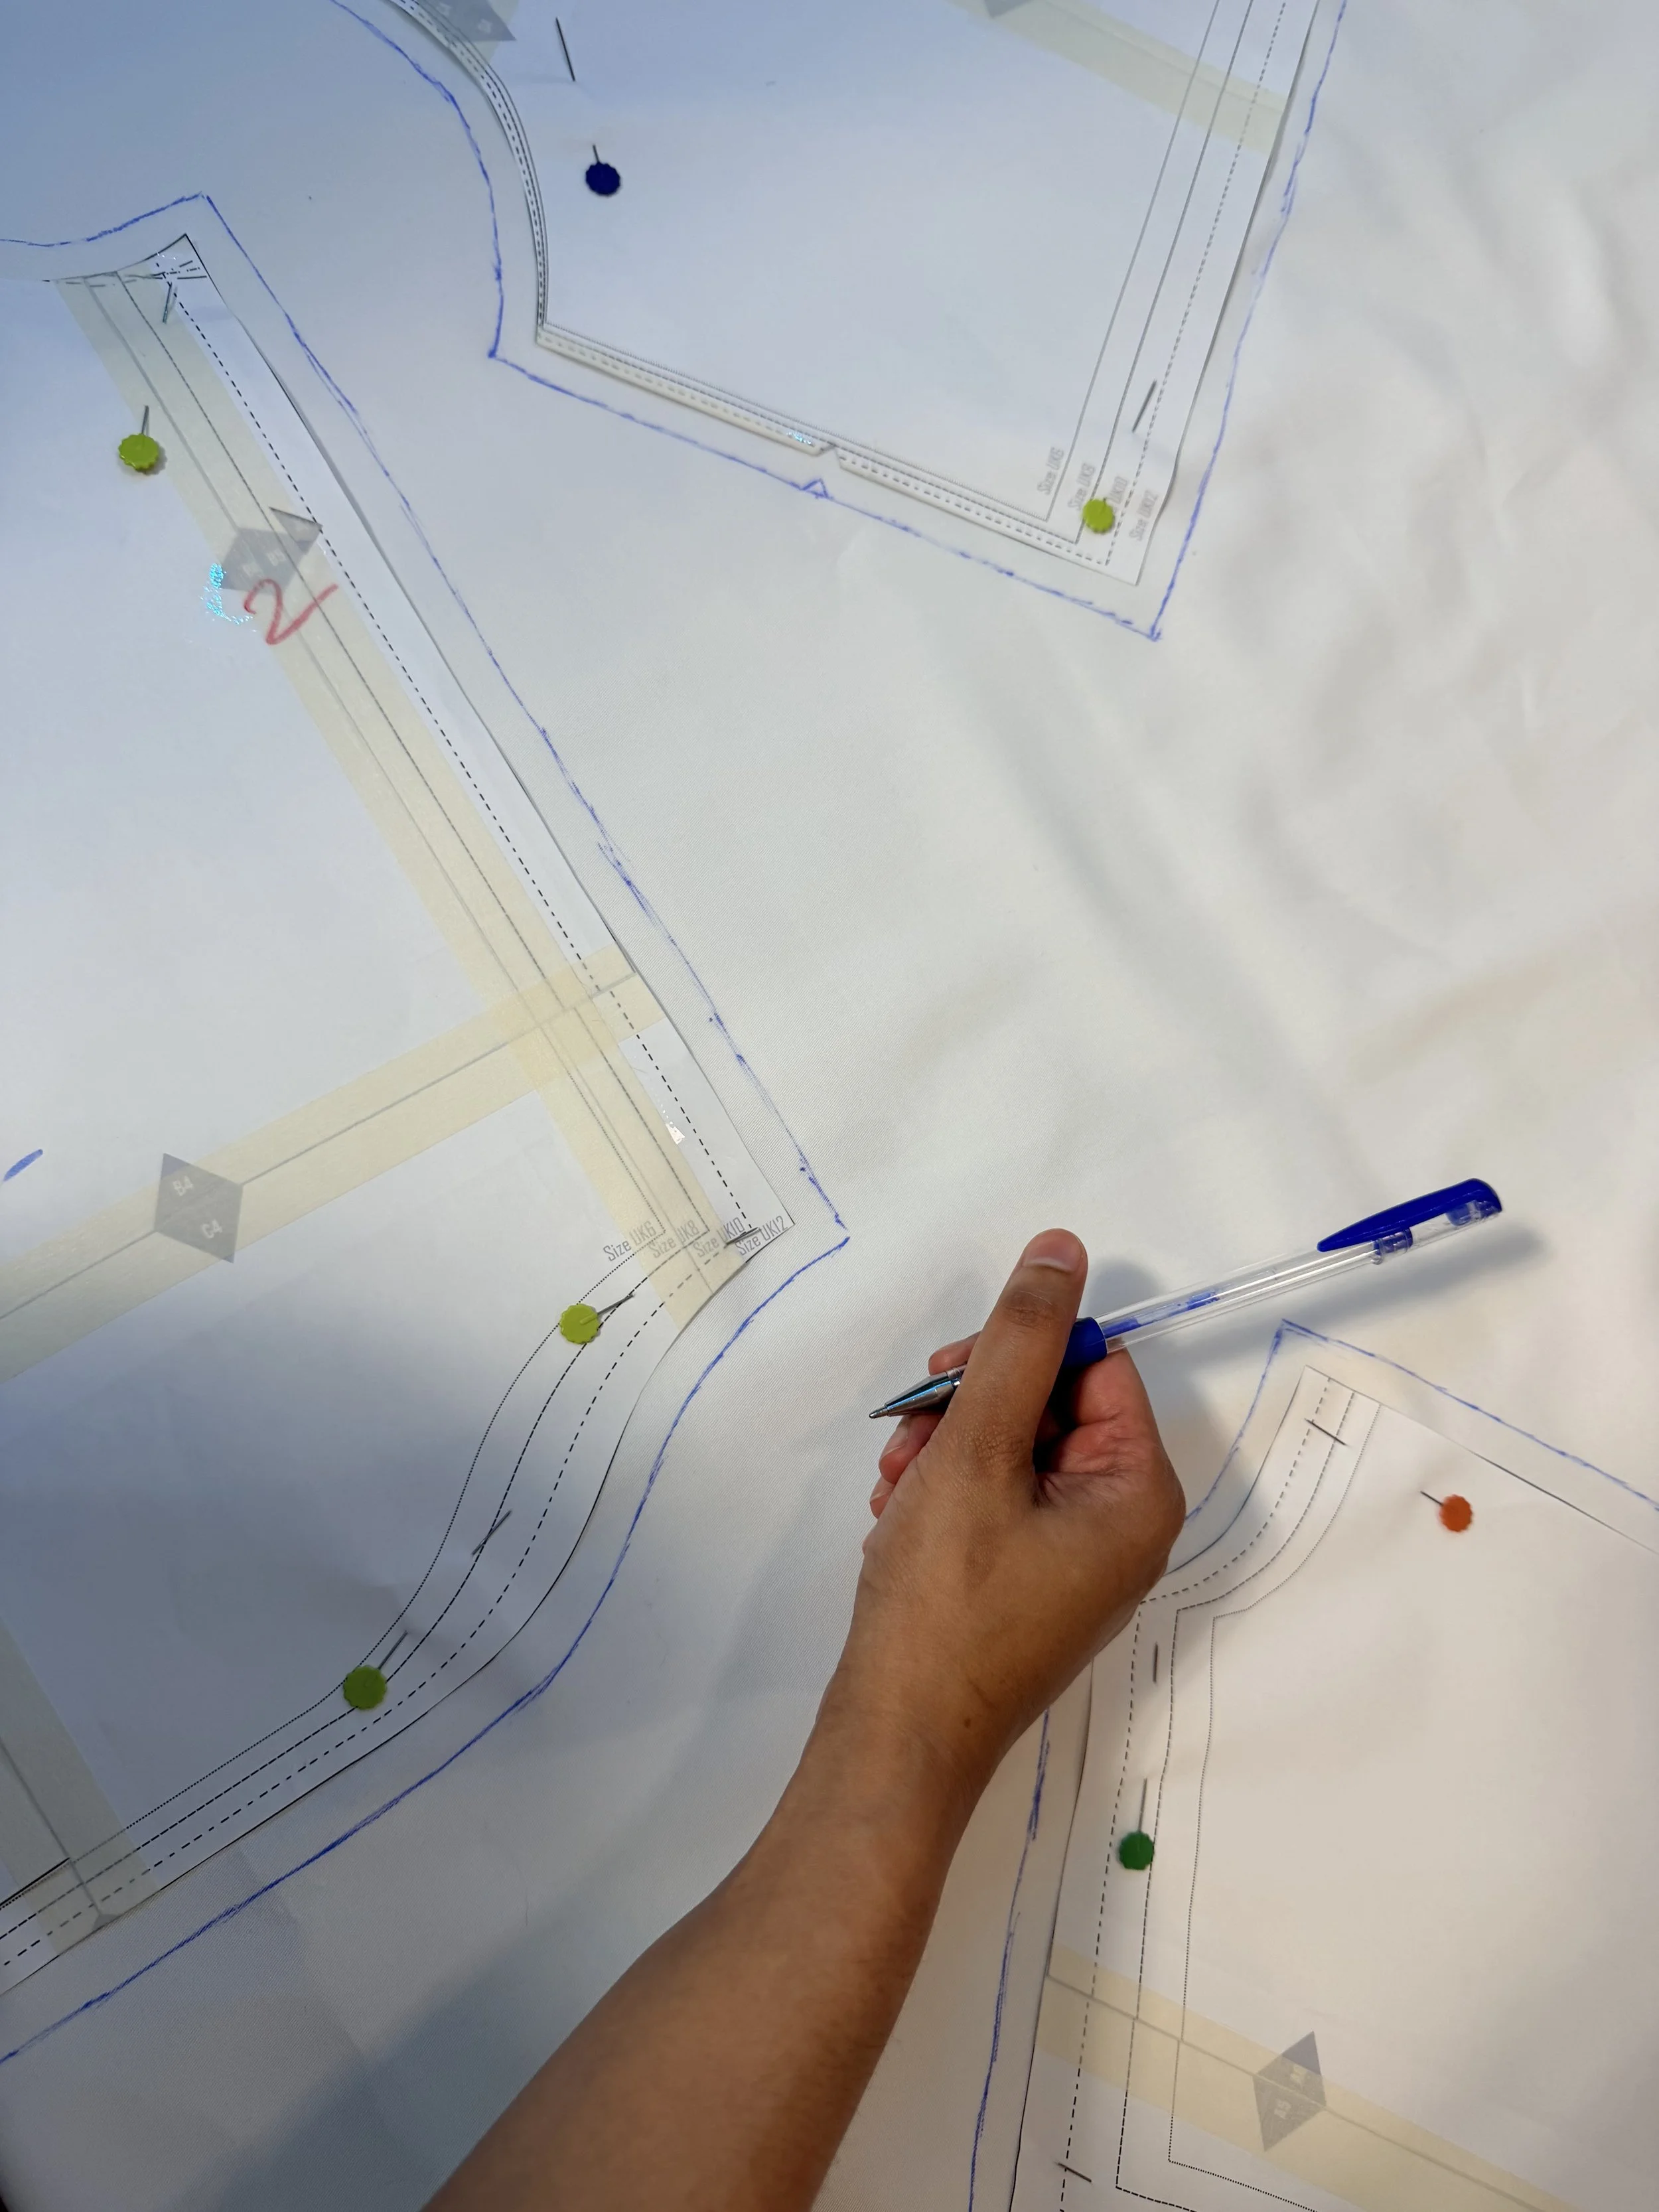
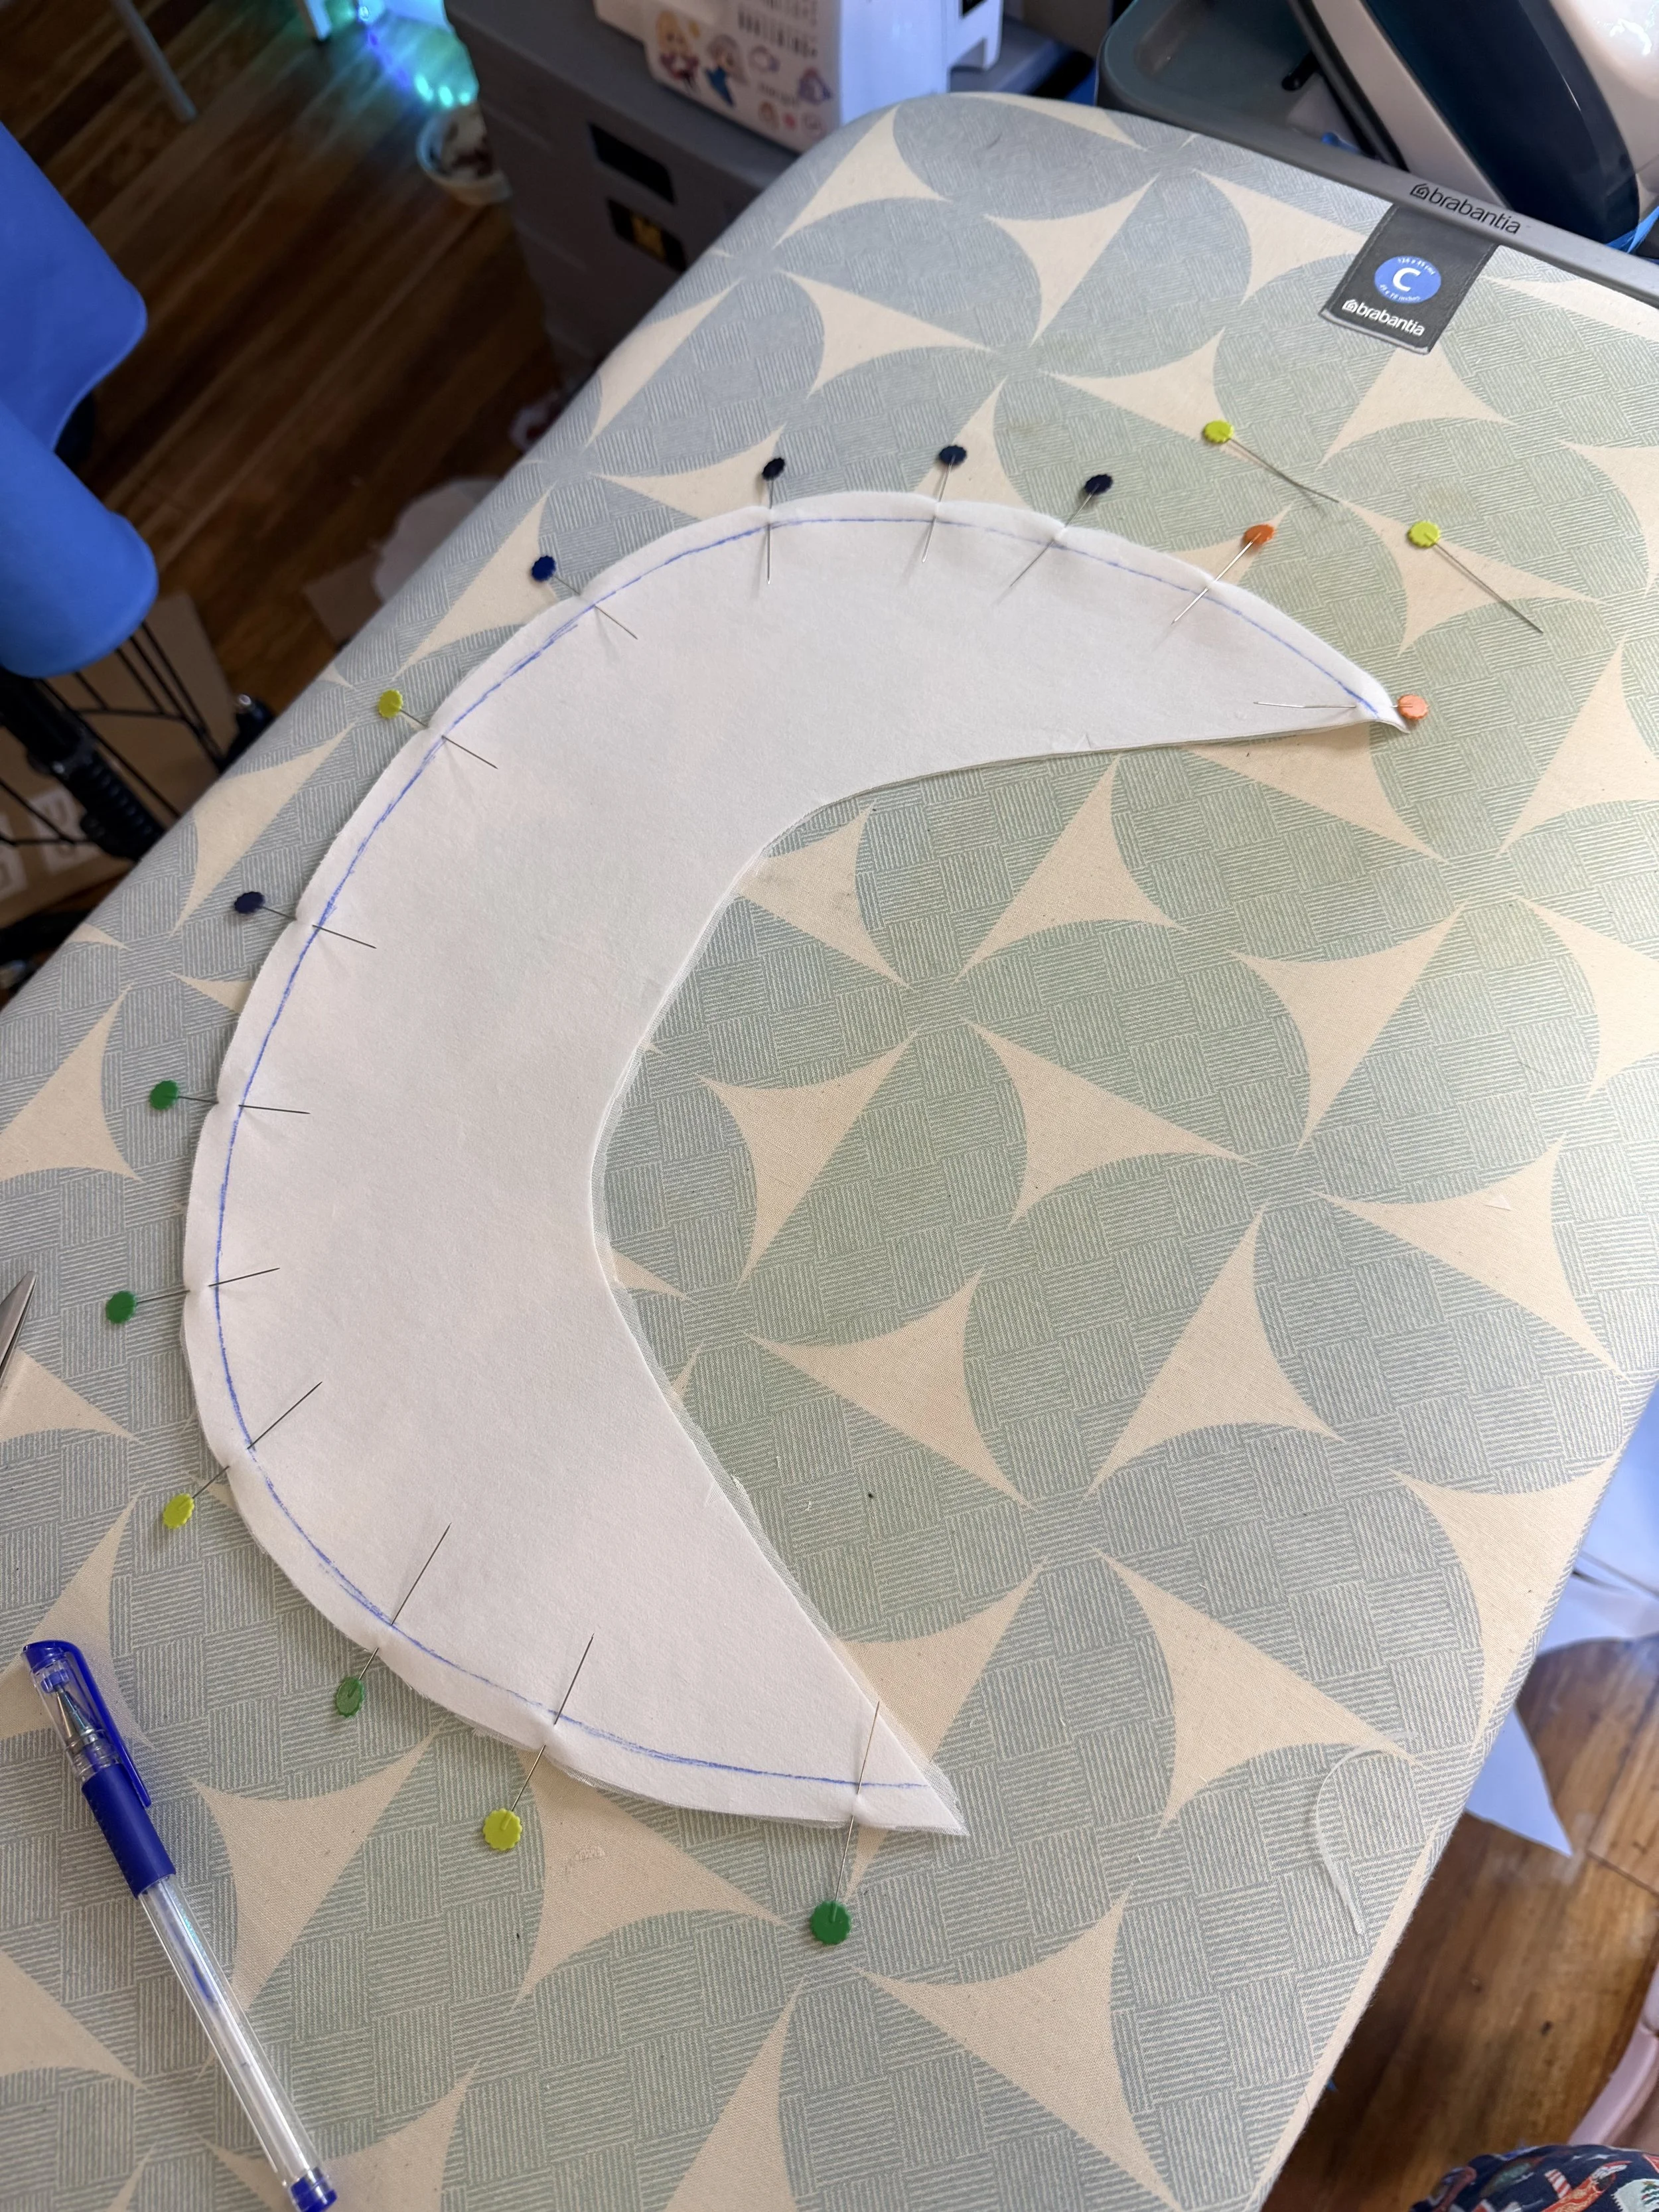
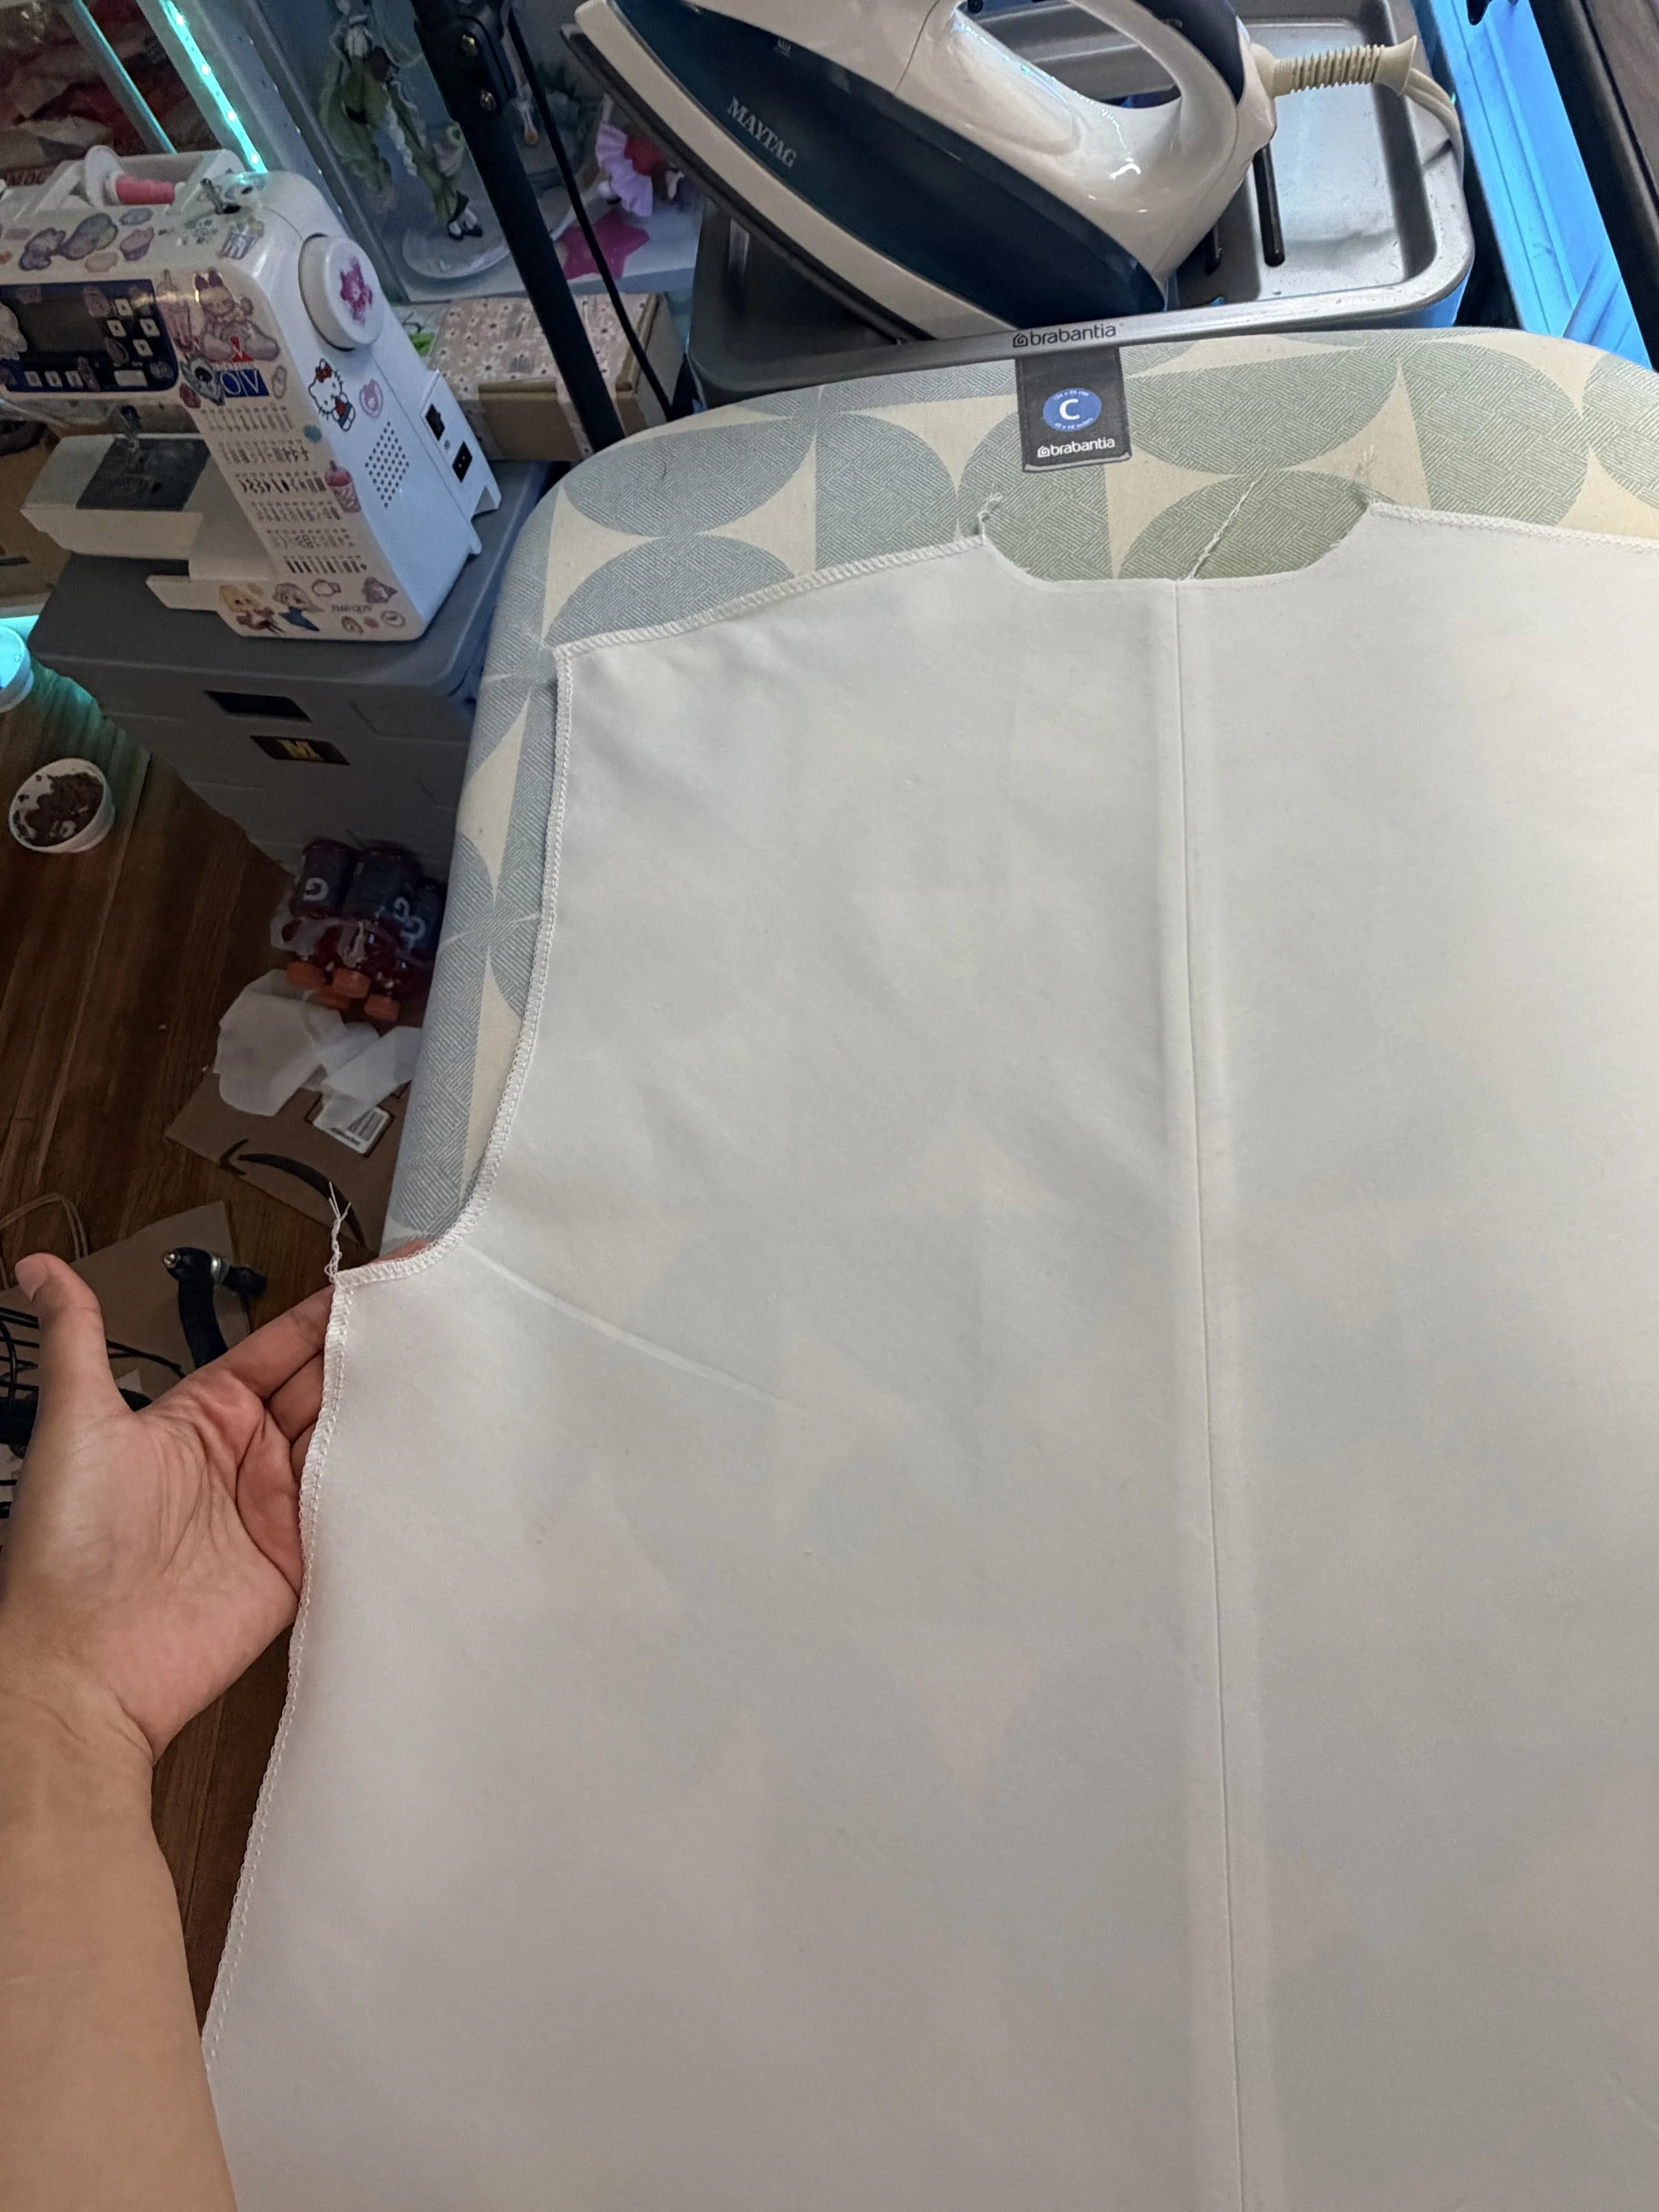
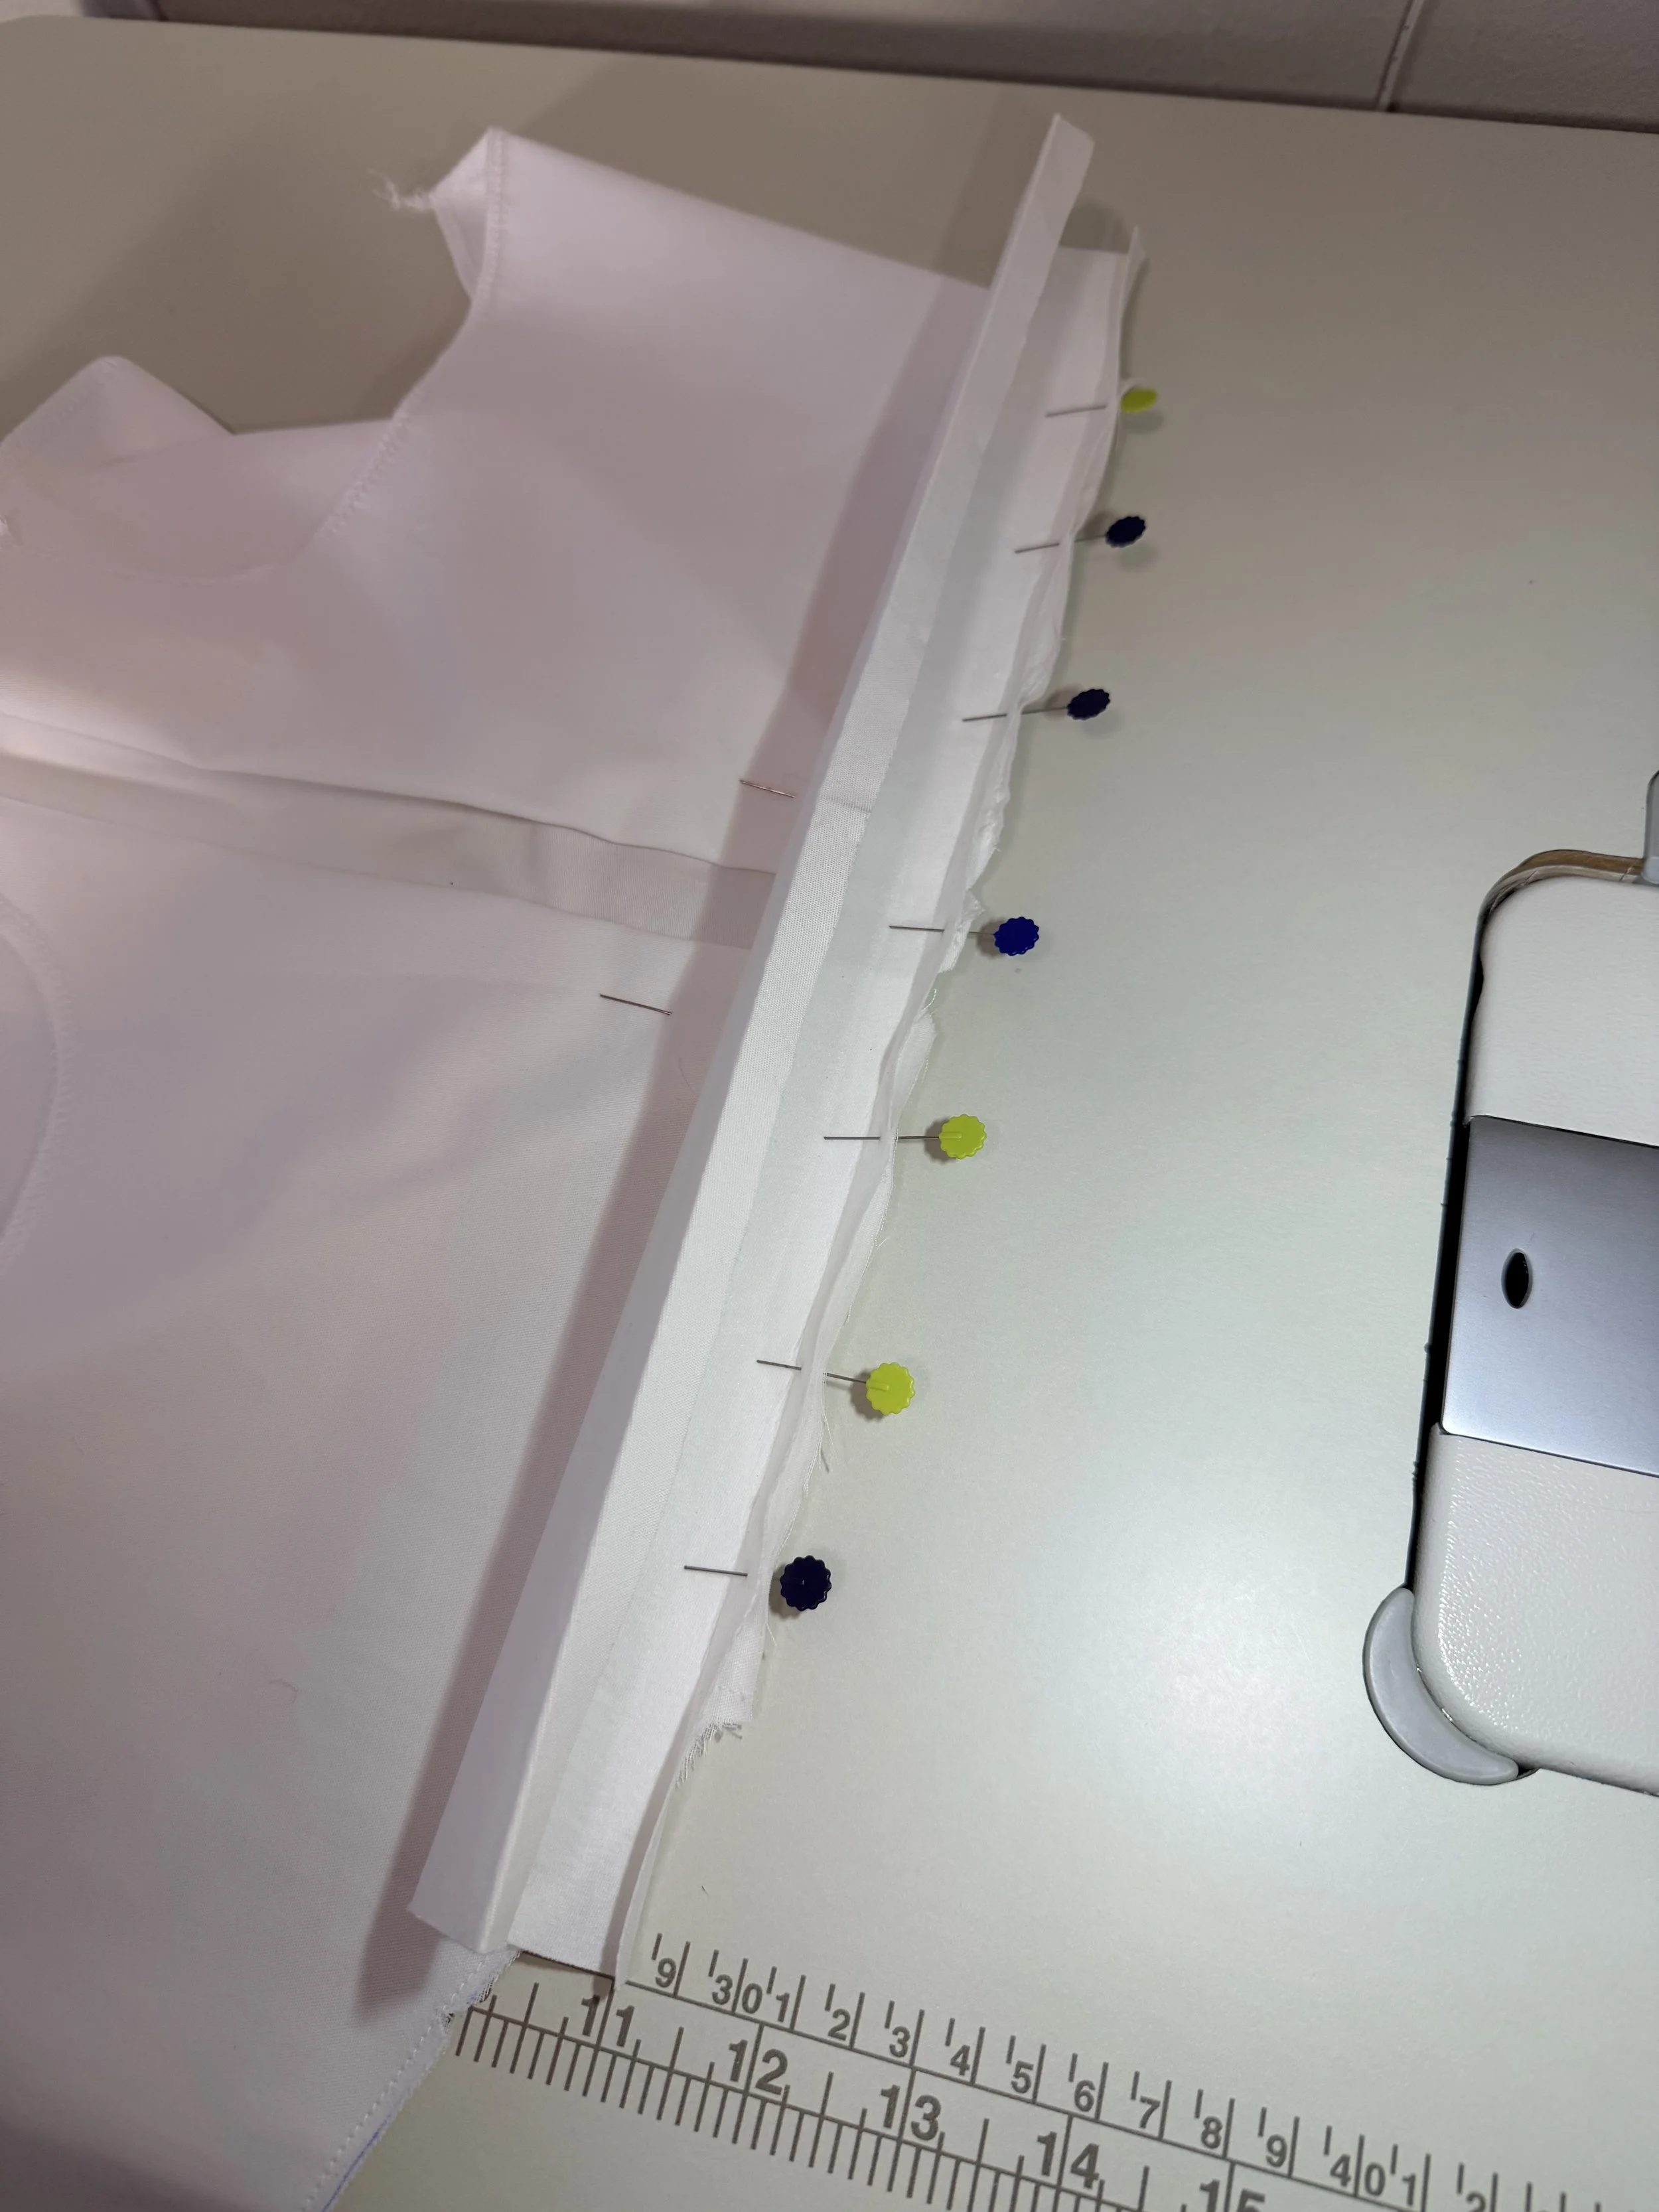
For the shirt, I used Poly Cotton Twill and white Sheer Voile for lining. Everything was cut according to the pattern, flat-lined, and serged before stitching.
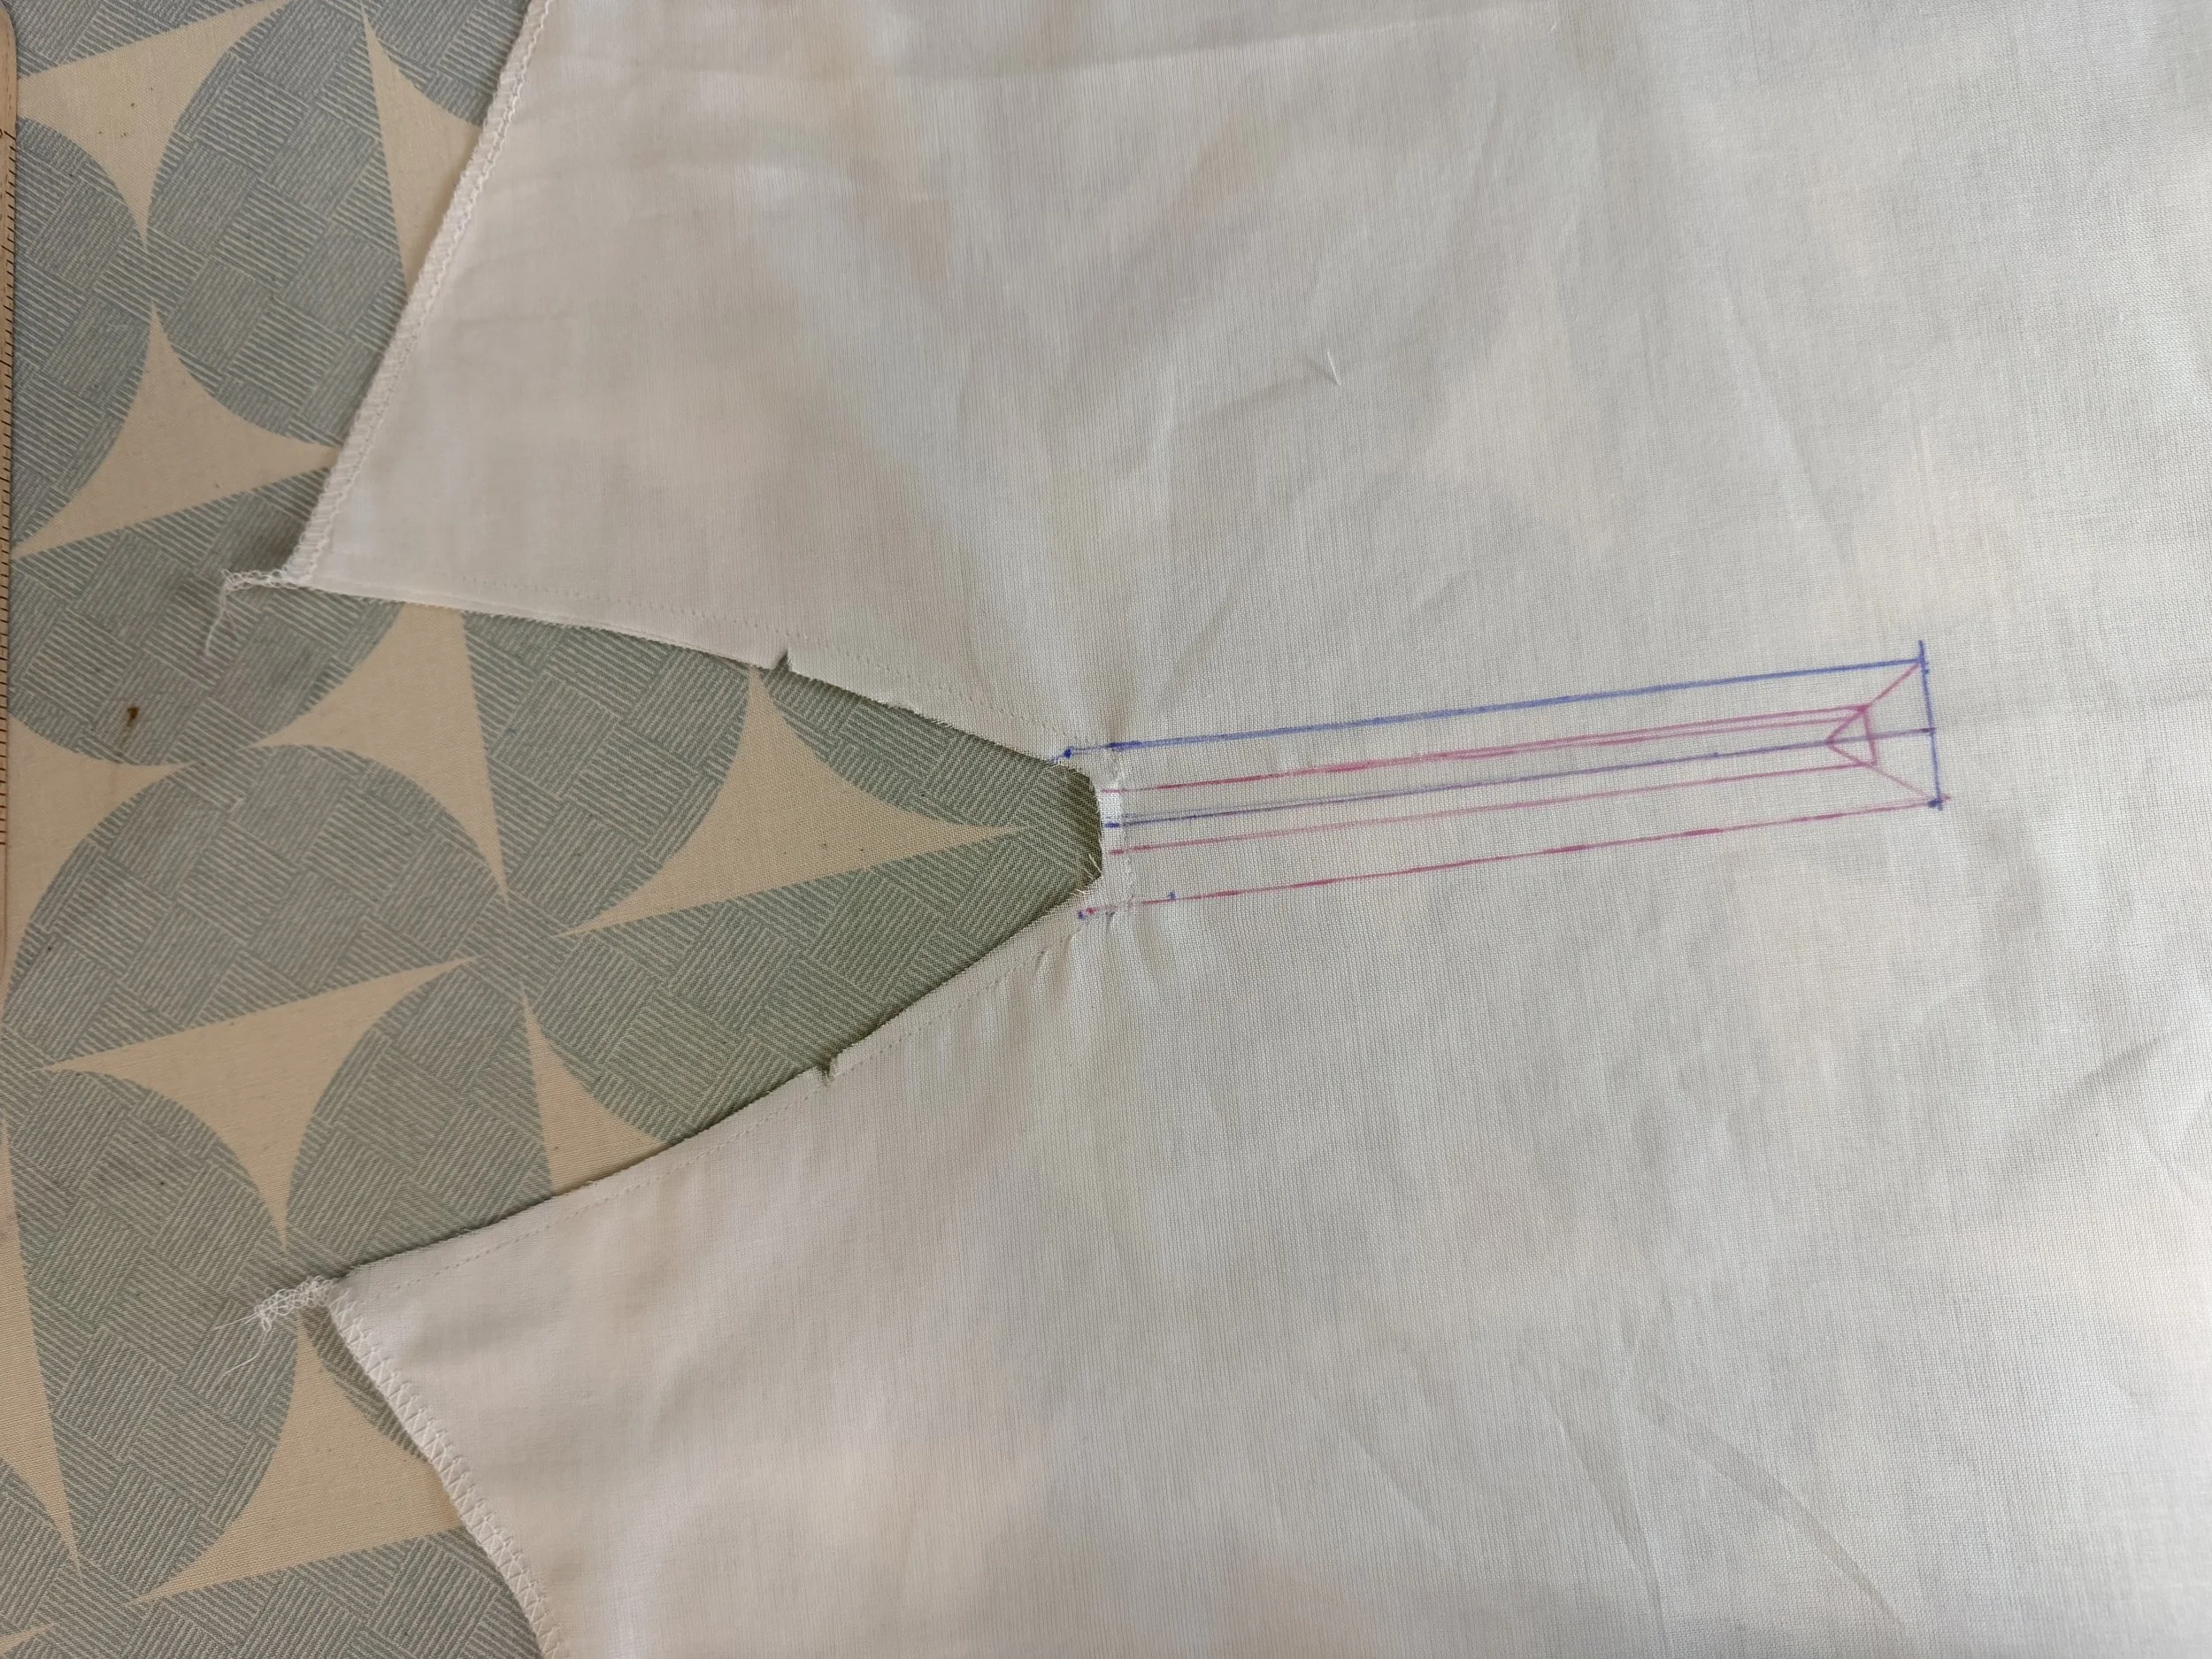
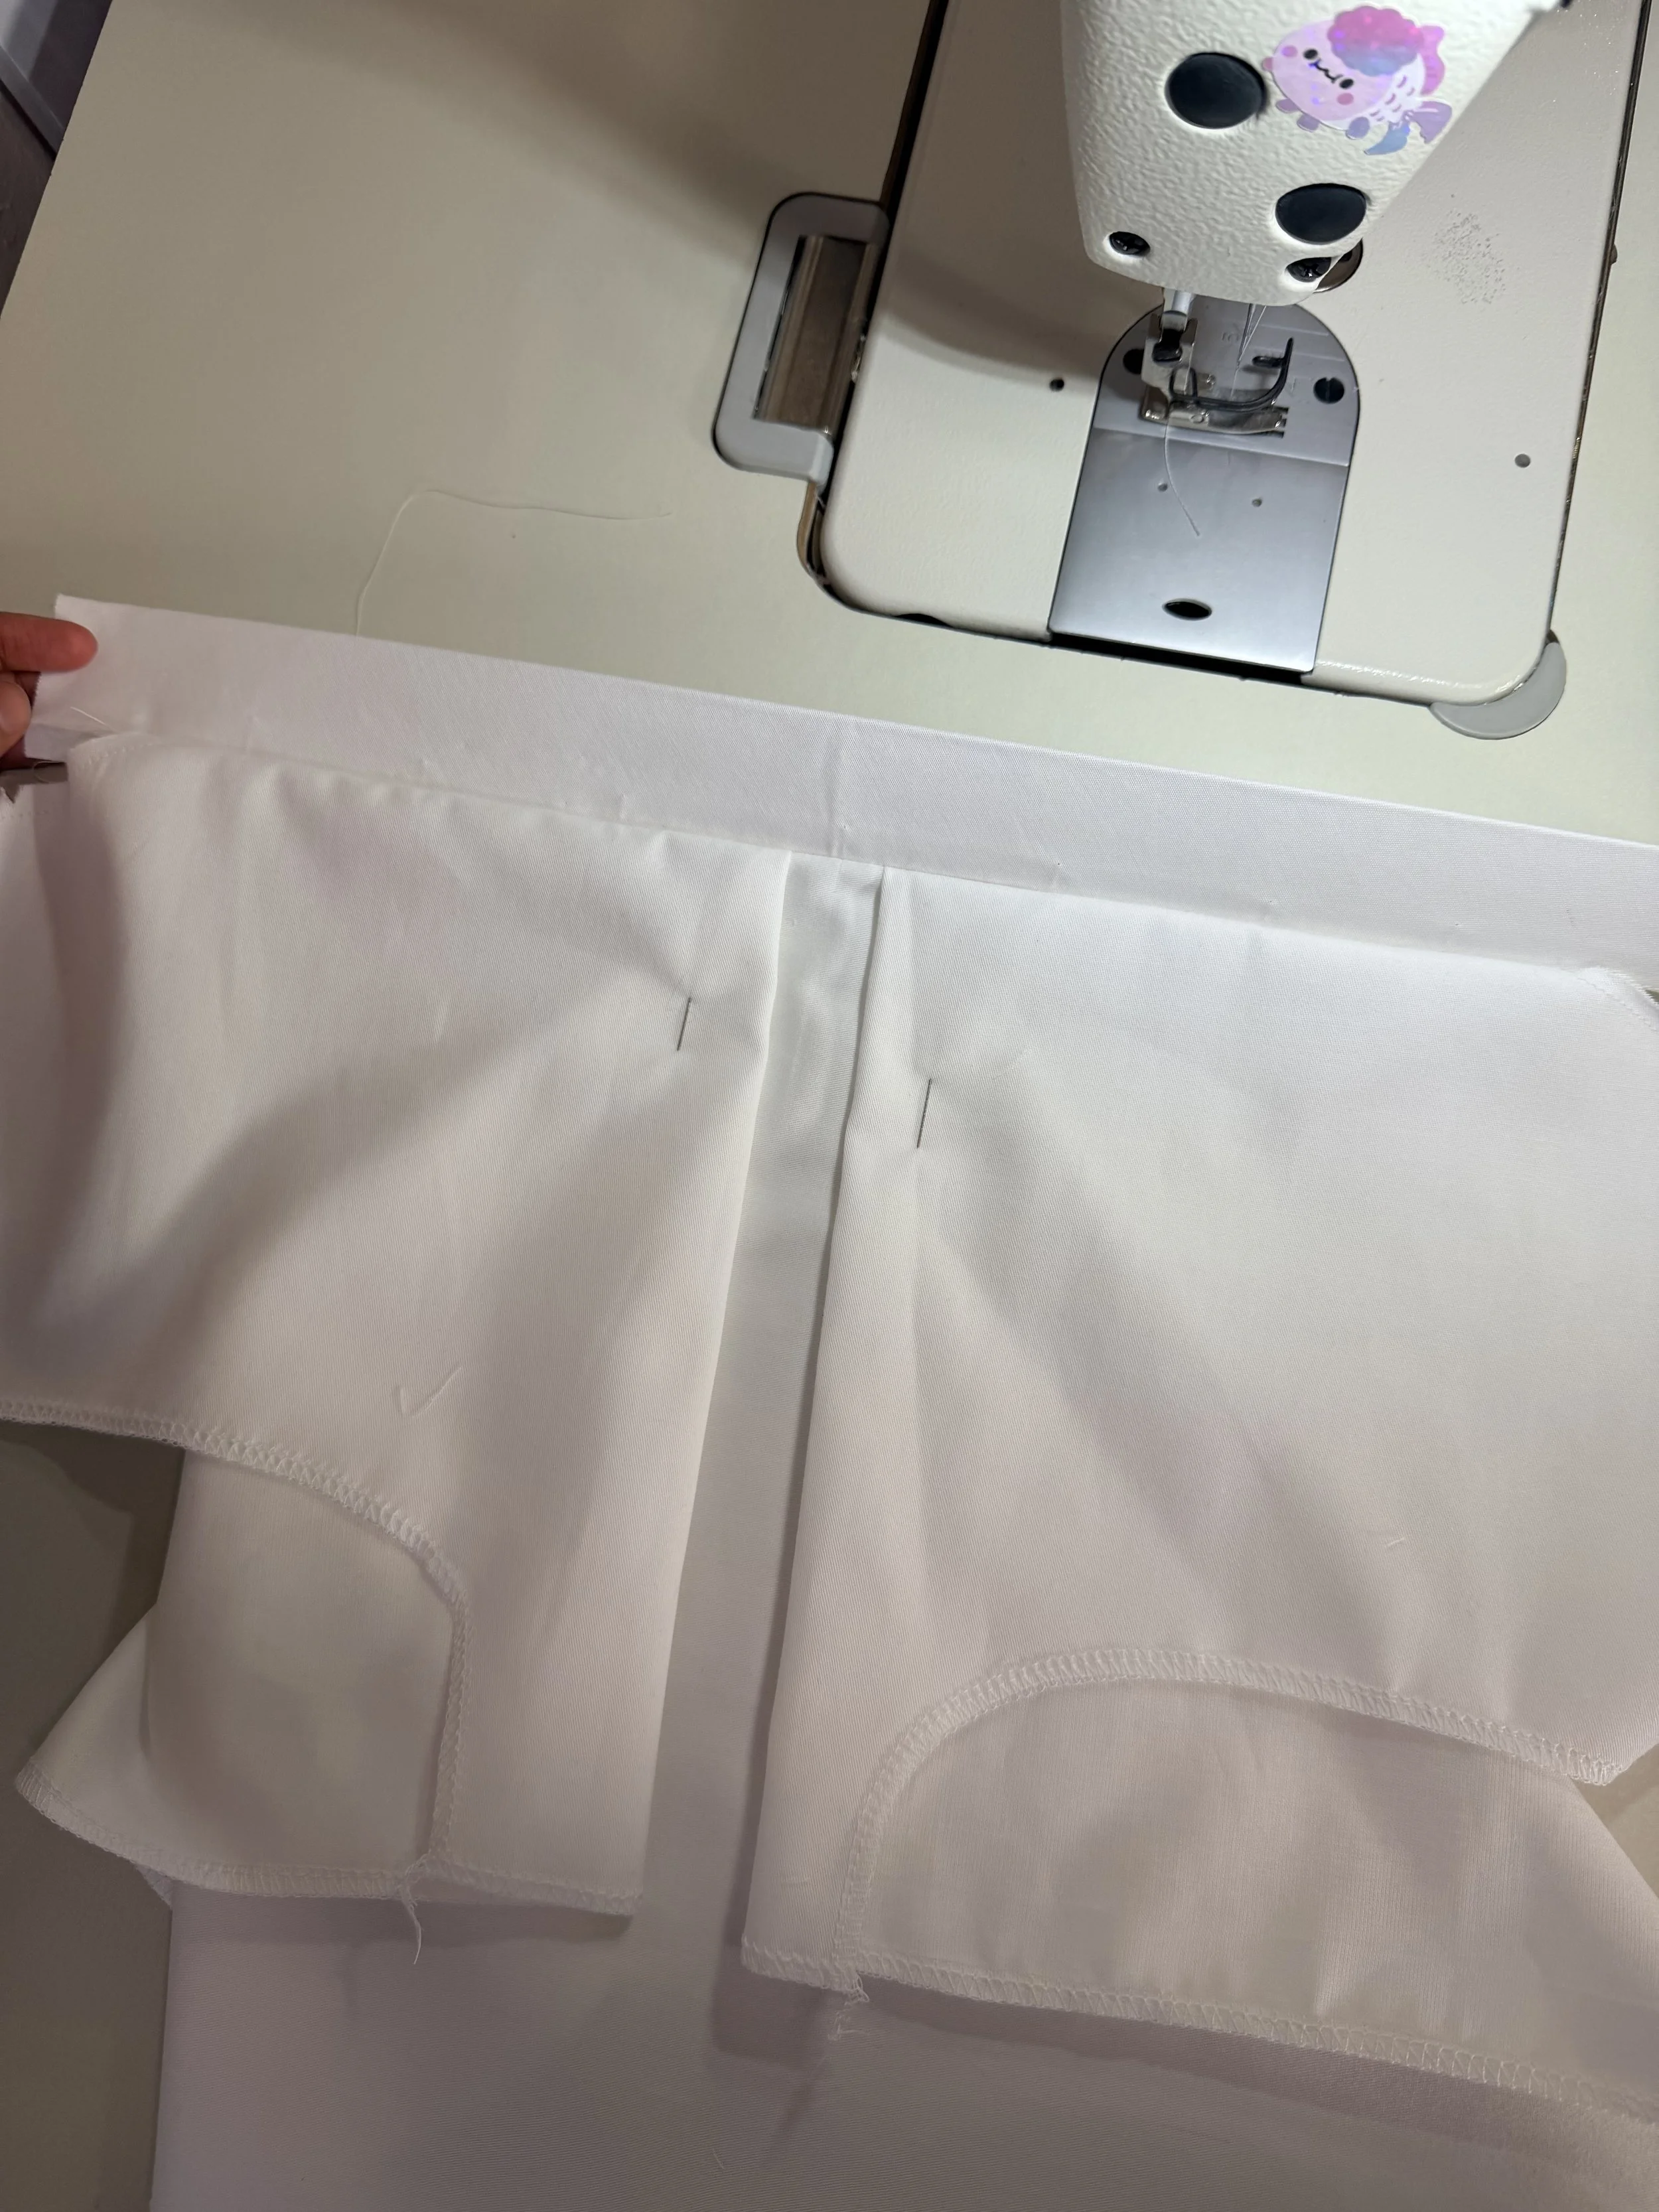
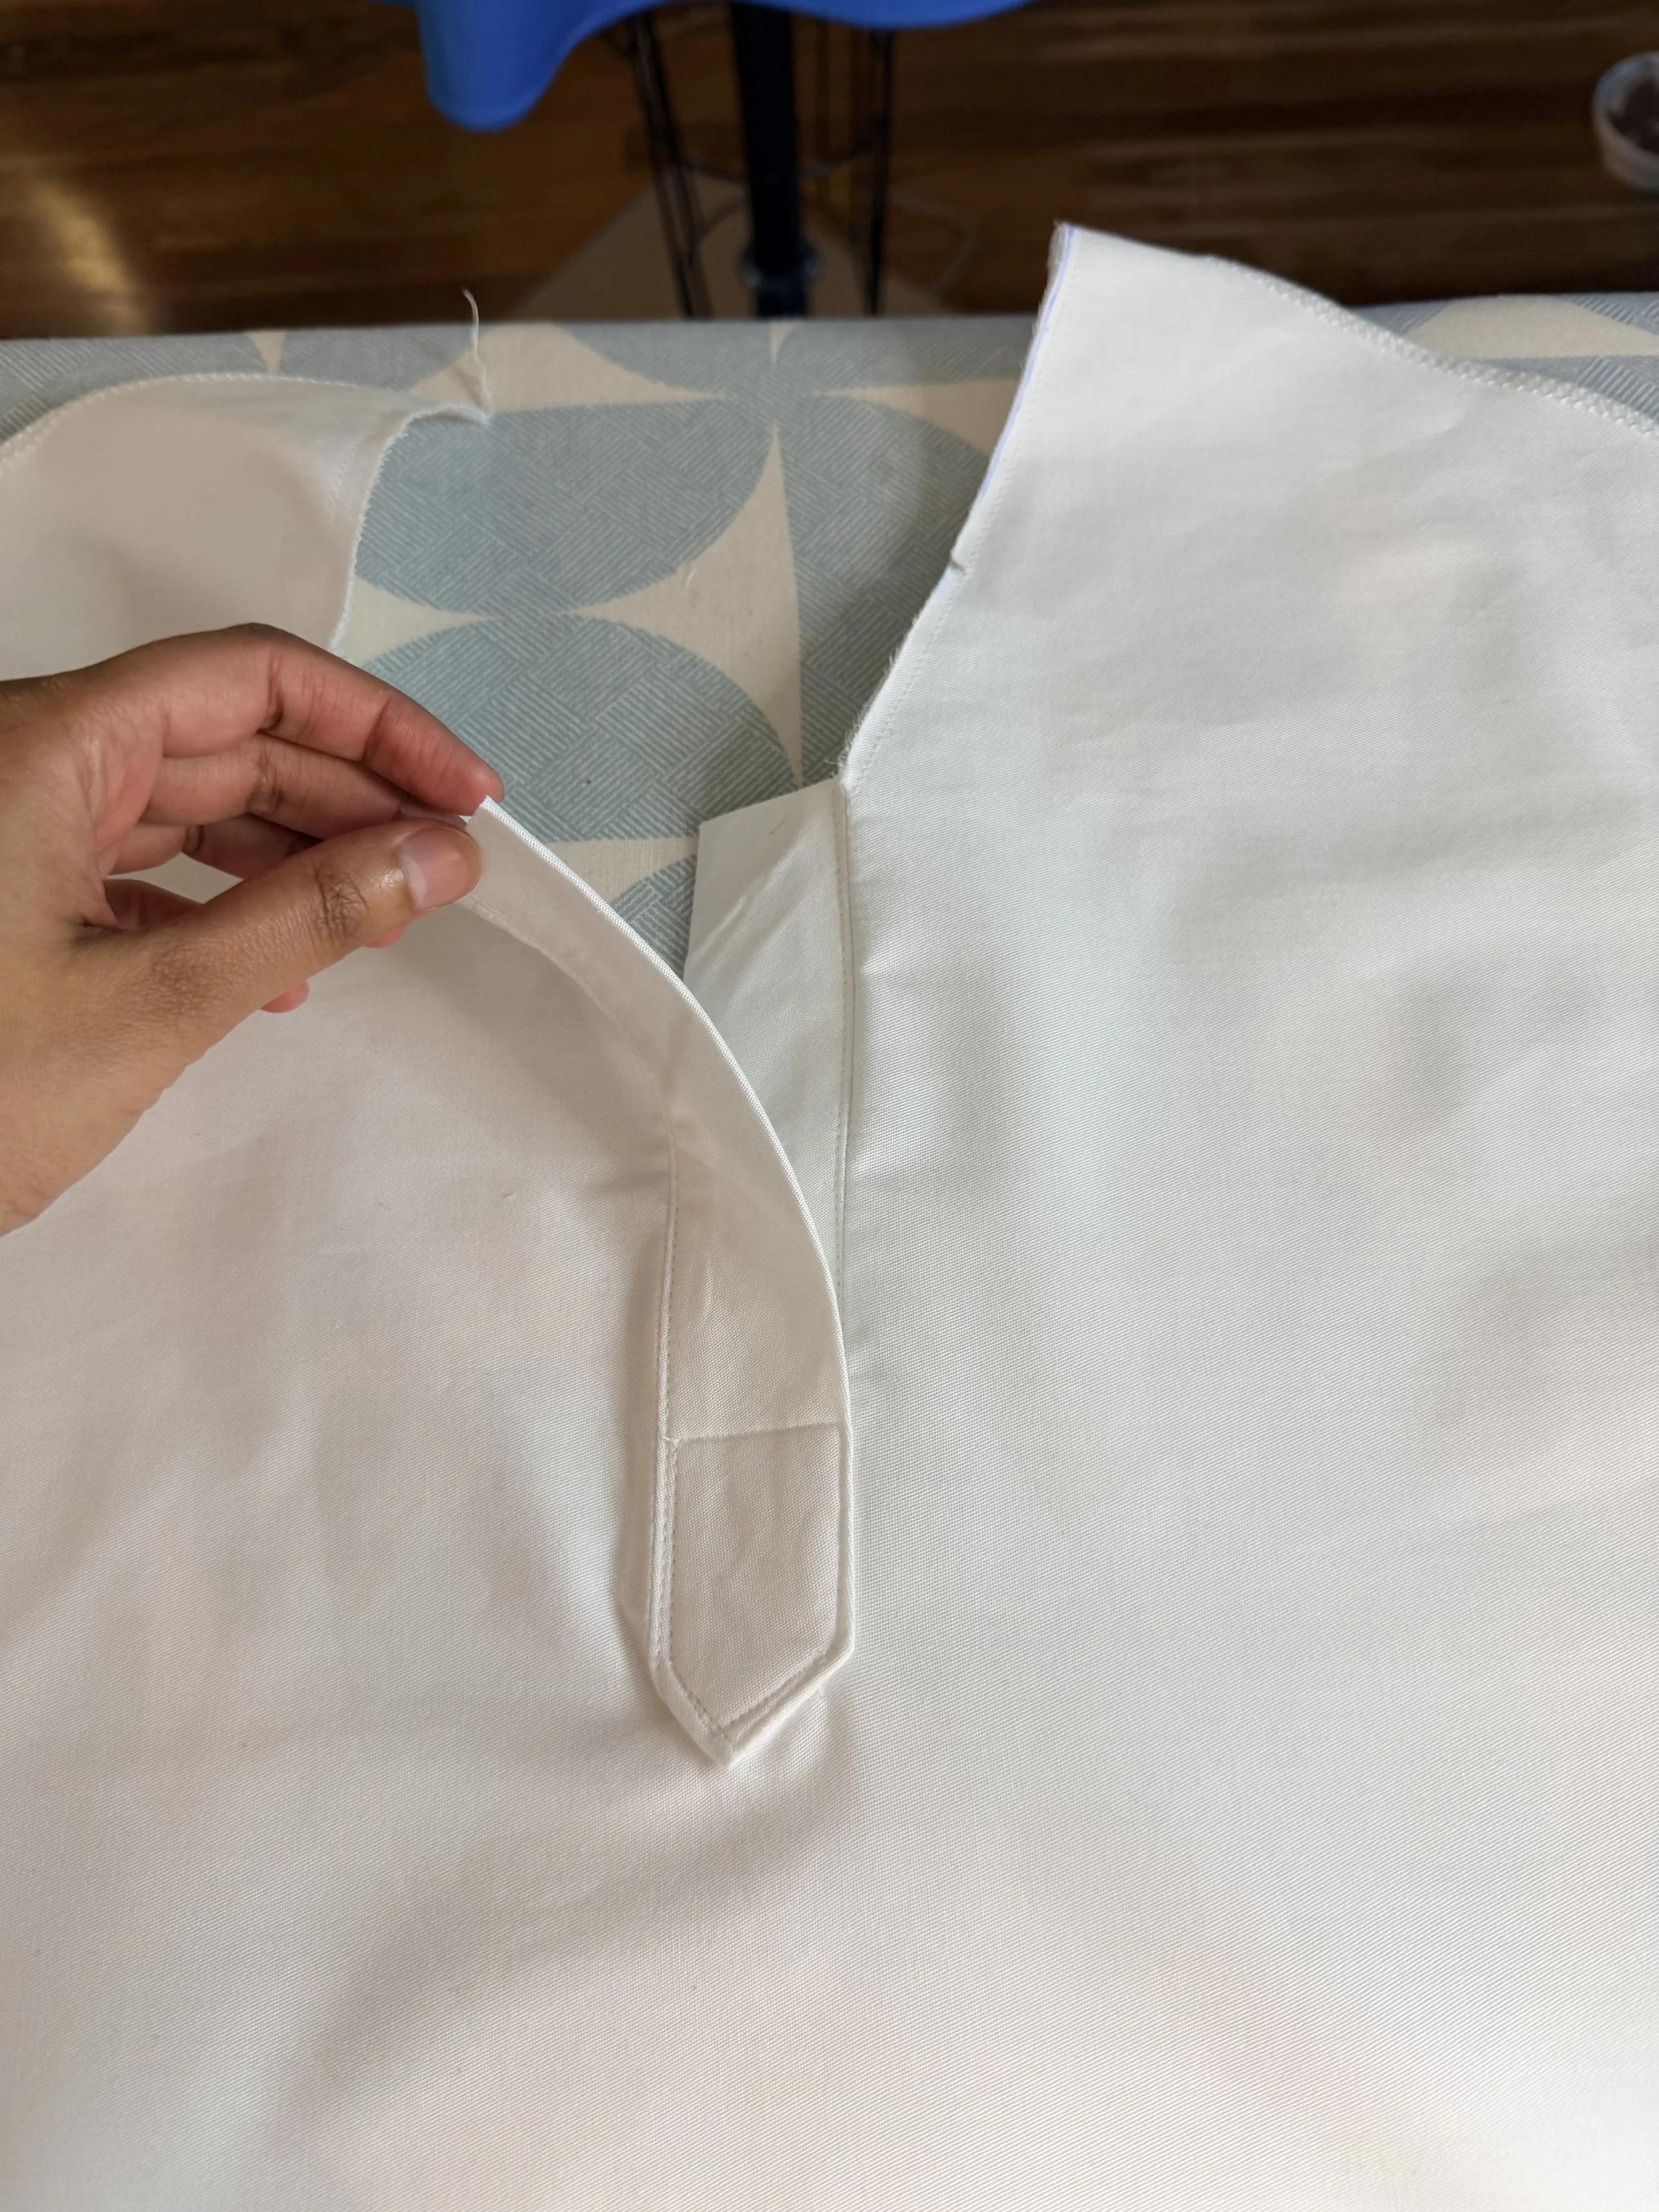
The sleeves were cut on bias so they can sit properly. The collar & placket attachment were fused with medium-weight interfacing. I folded the front of the shirt down the center to create a guide mark for the placket. After marking everything, I cut the opening so that the straight fabric piece with the fused interfacing, which I had prepared earlier, could be sewn on.
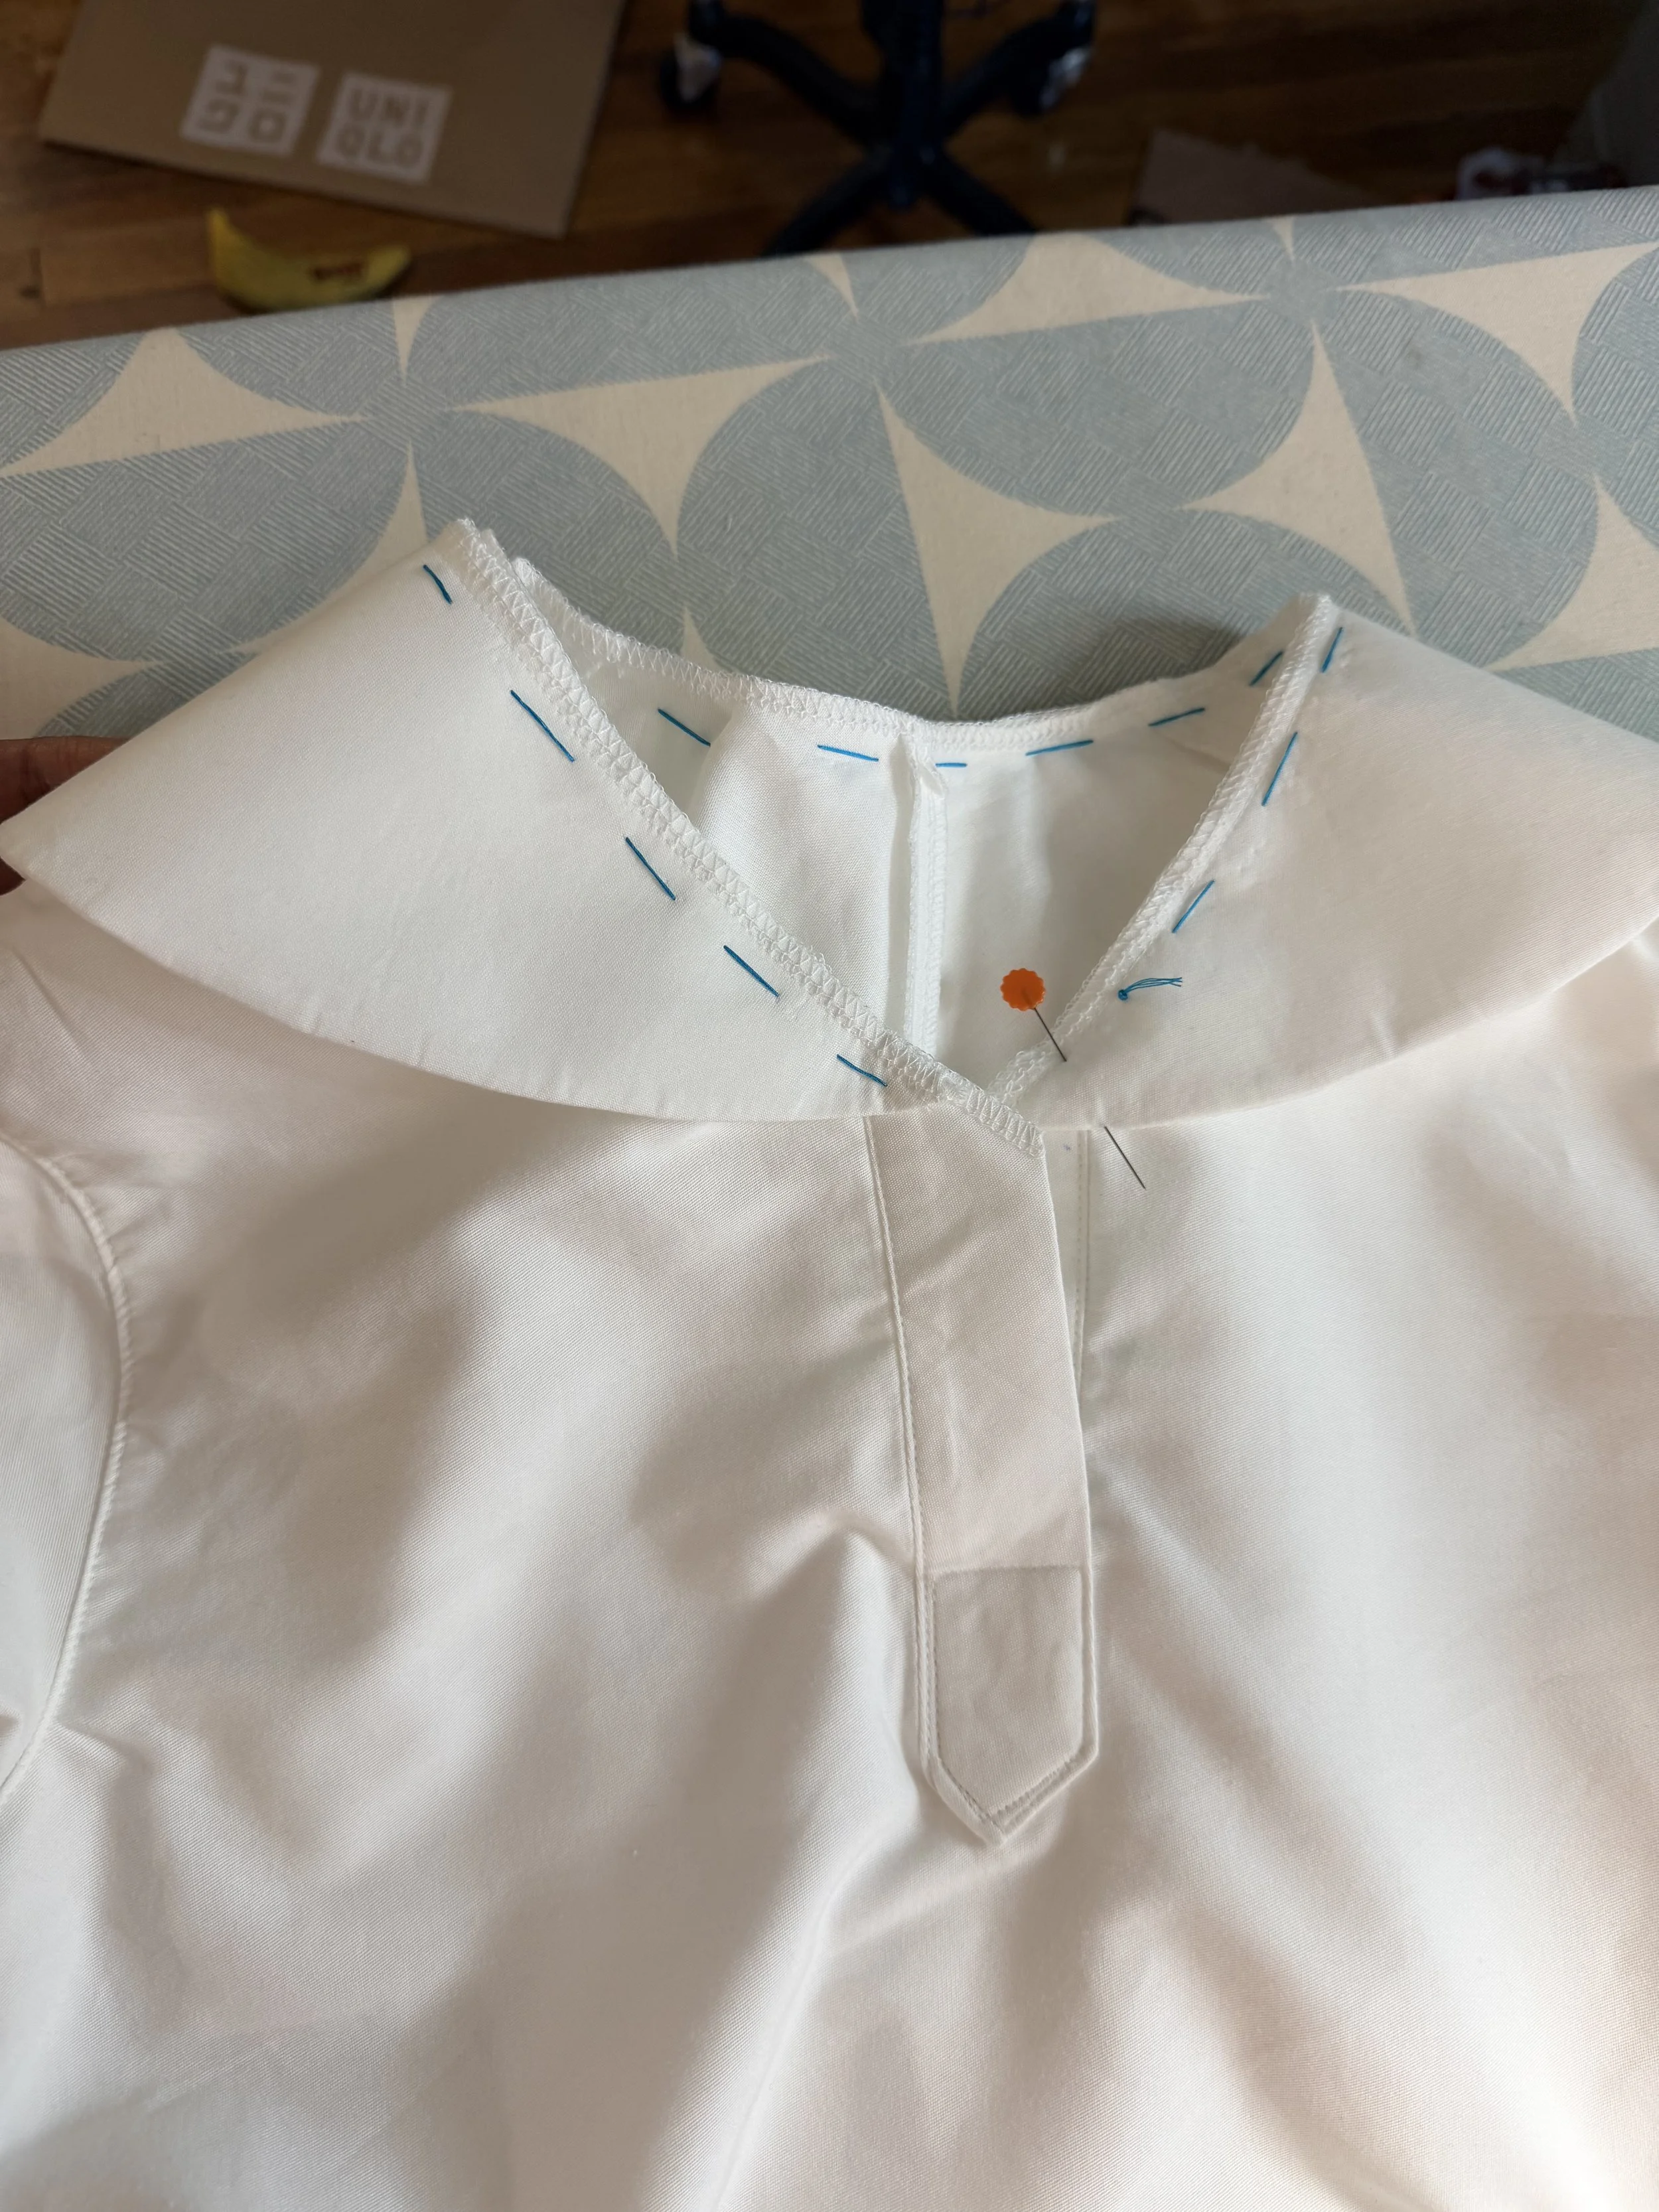
After sewing the placket, I attached the collar to the neckline and secured the collar to the main shirt using a bias binding made out of the main fabric. Then finished it with fell stitching
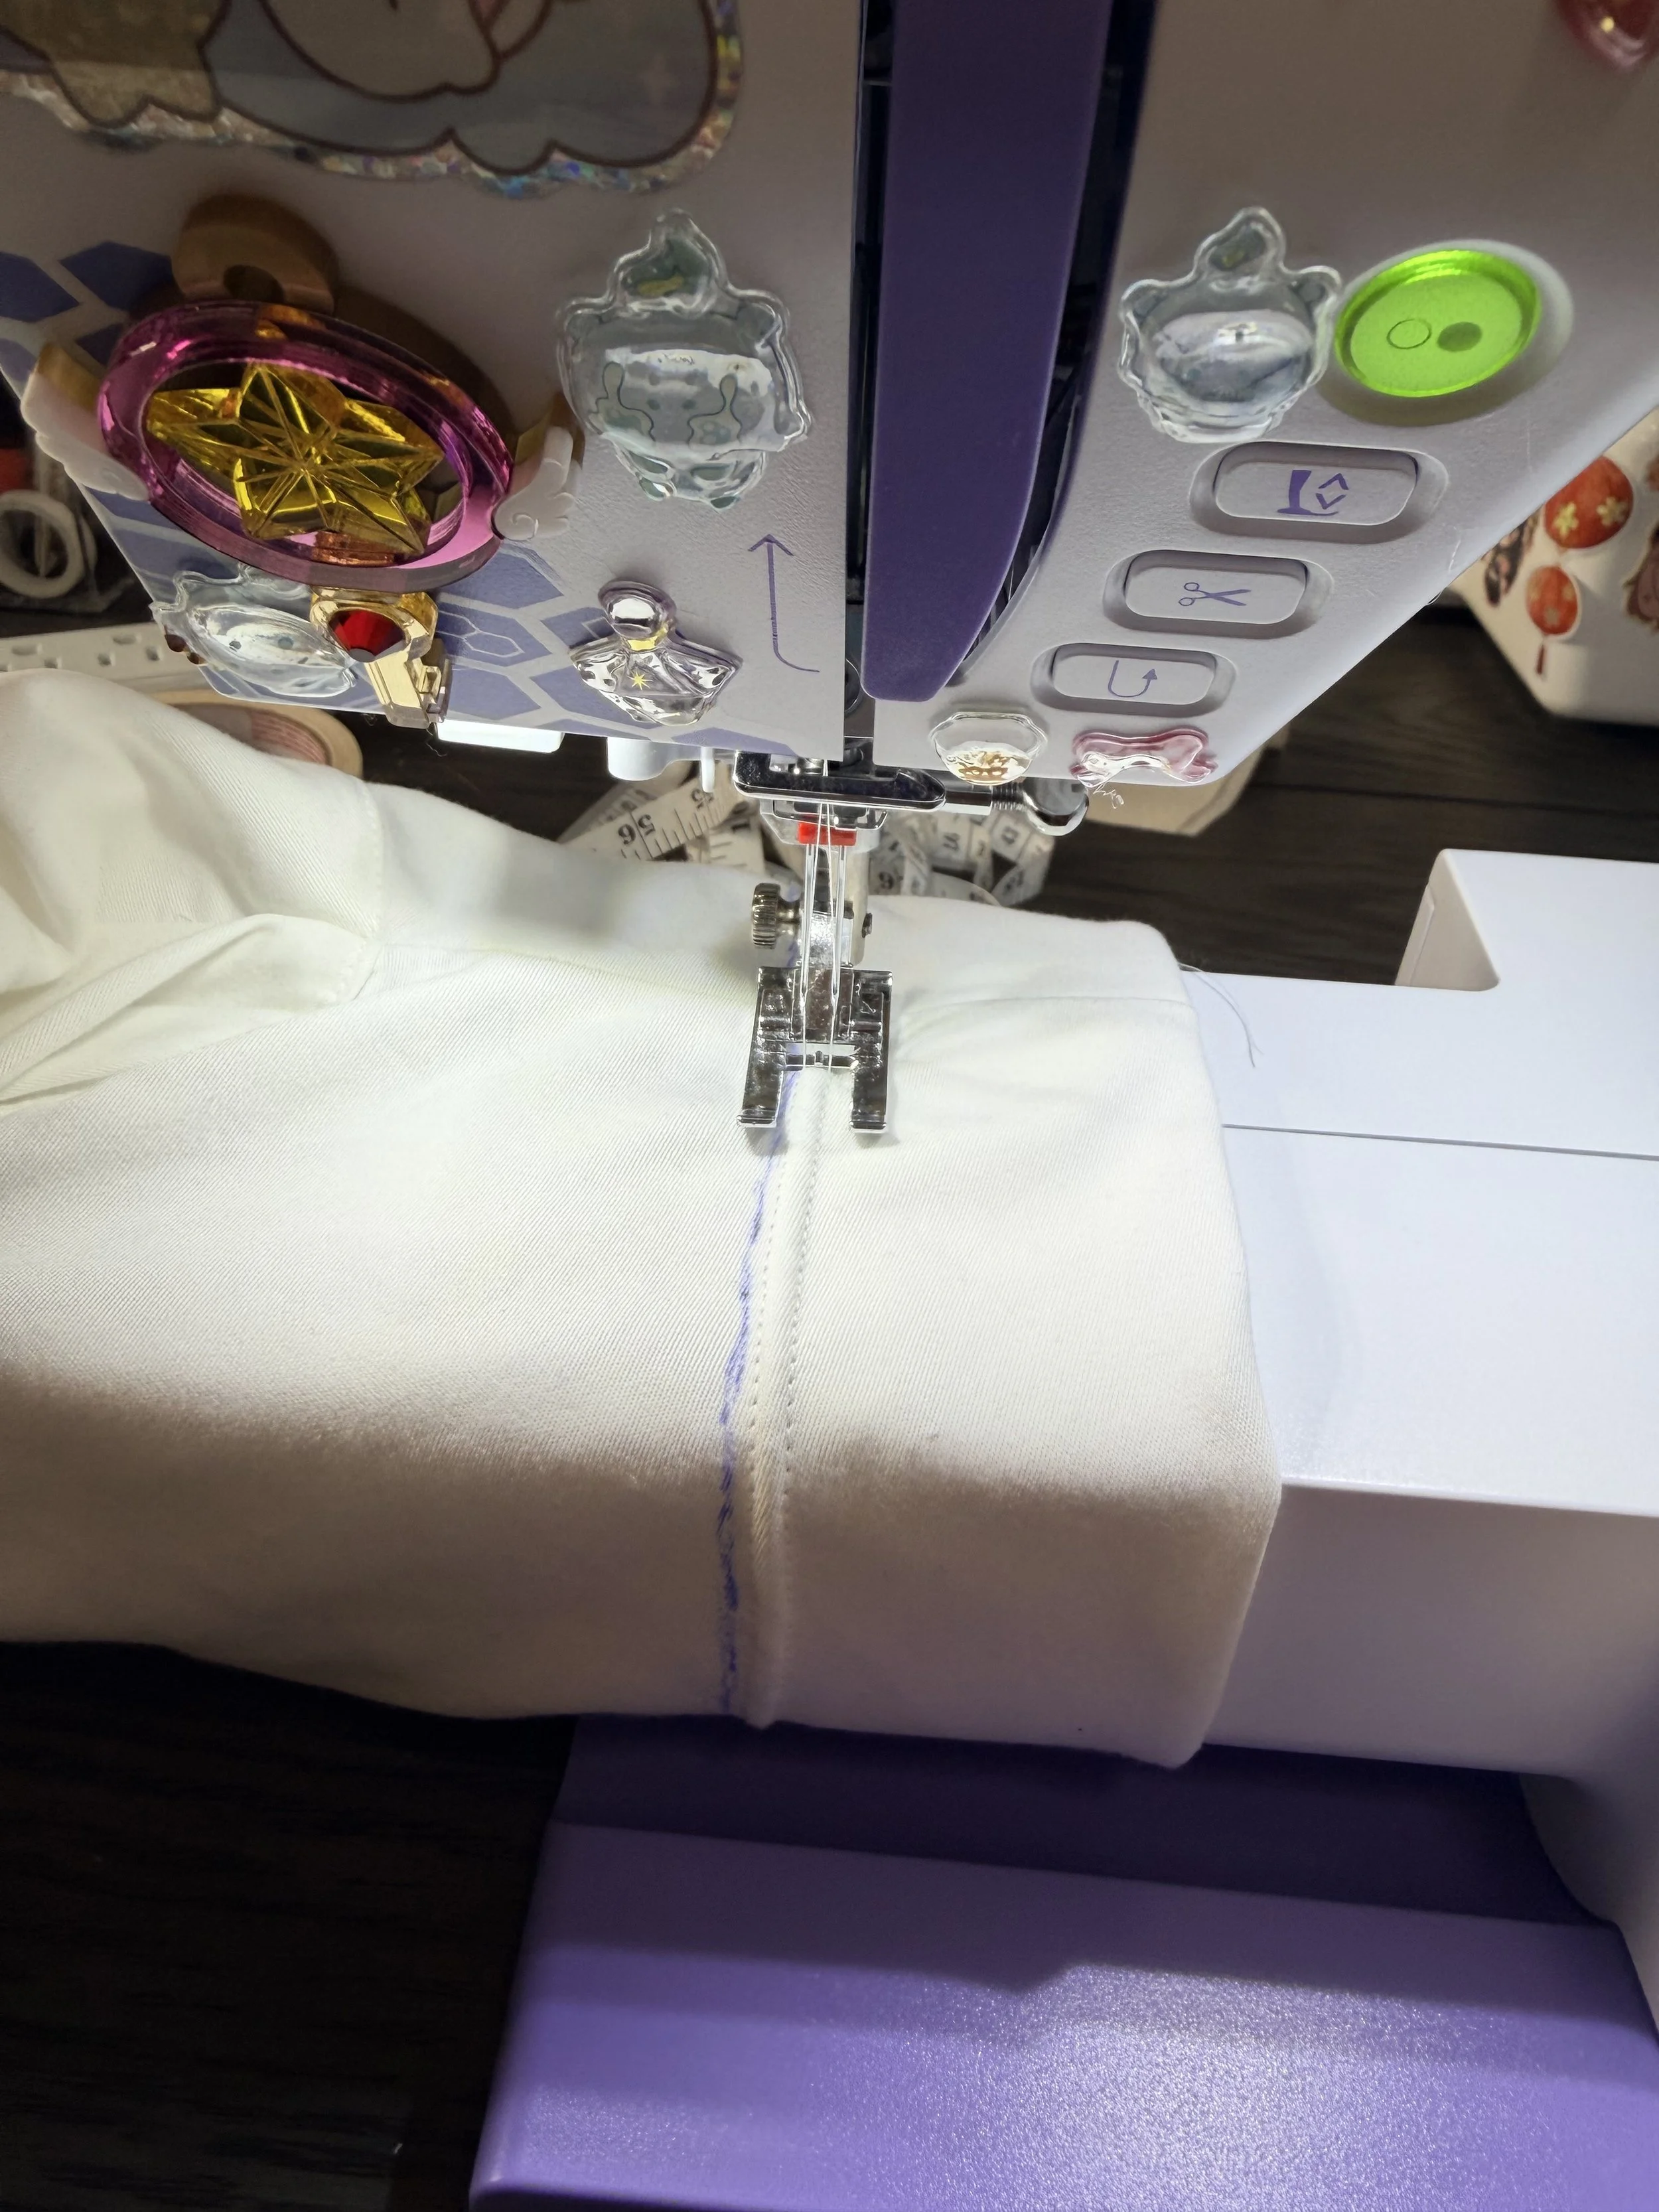
The bottom of the shirt and sleeve were sewn using twin needle stitching.
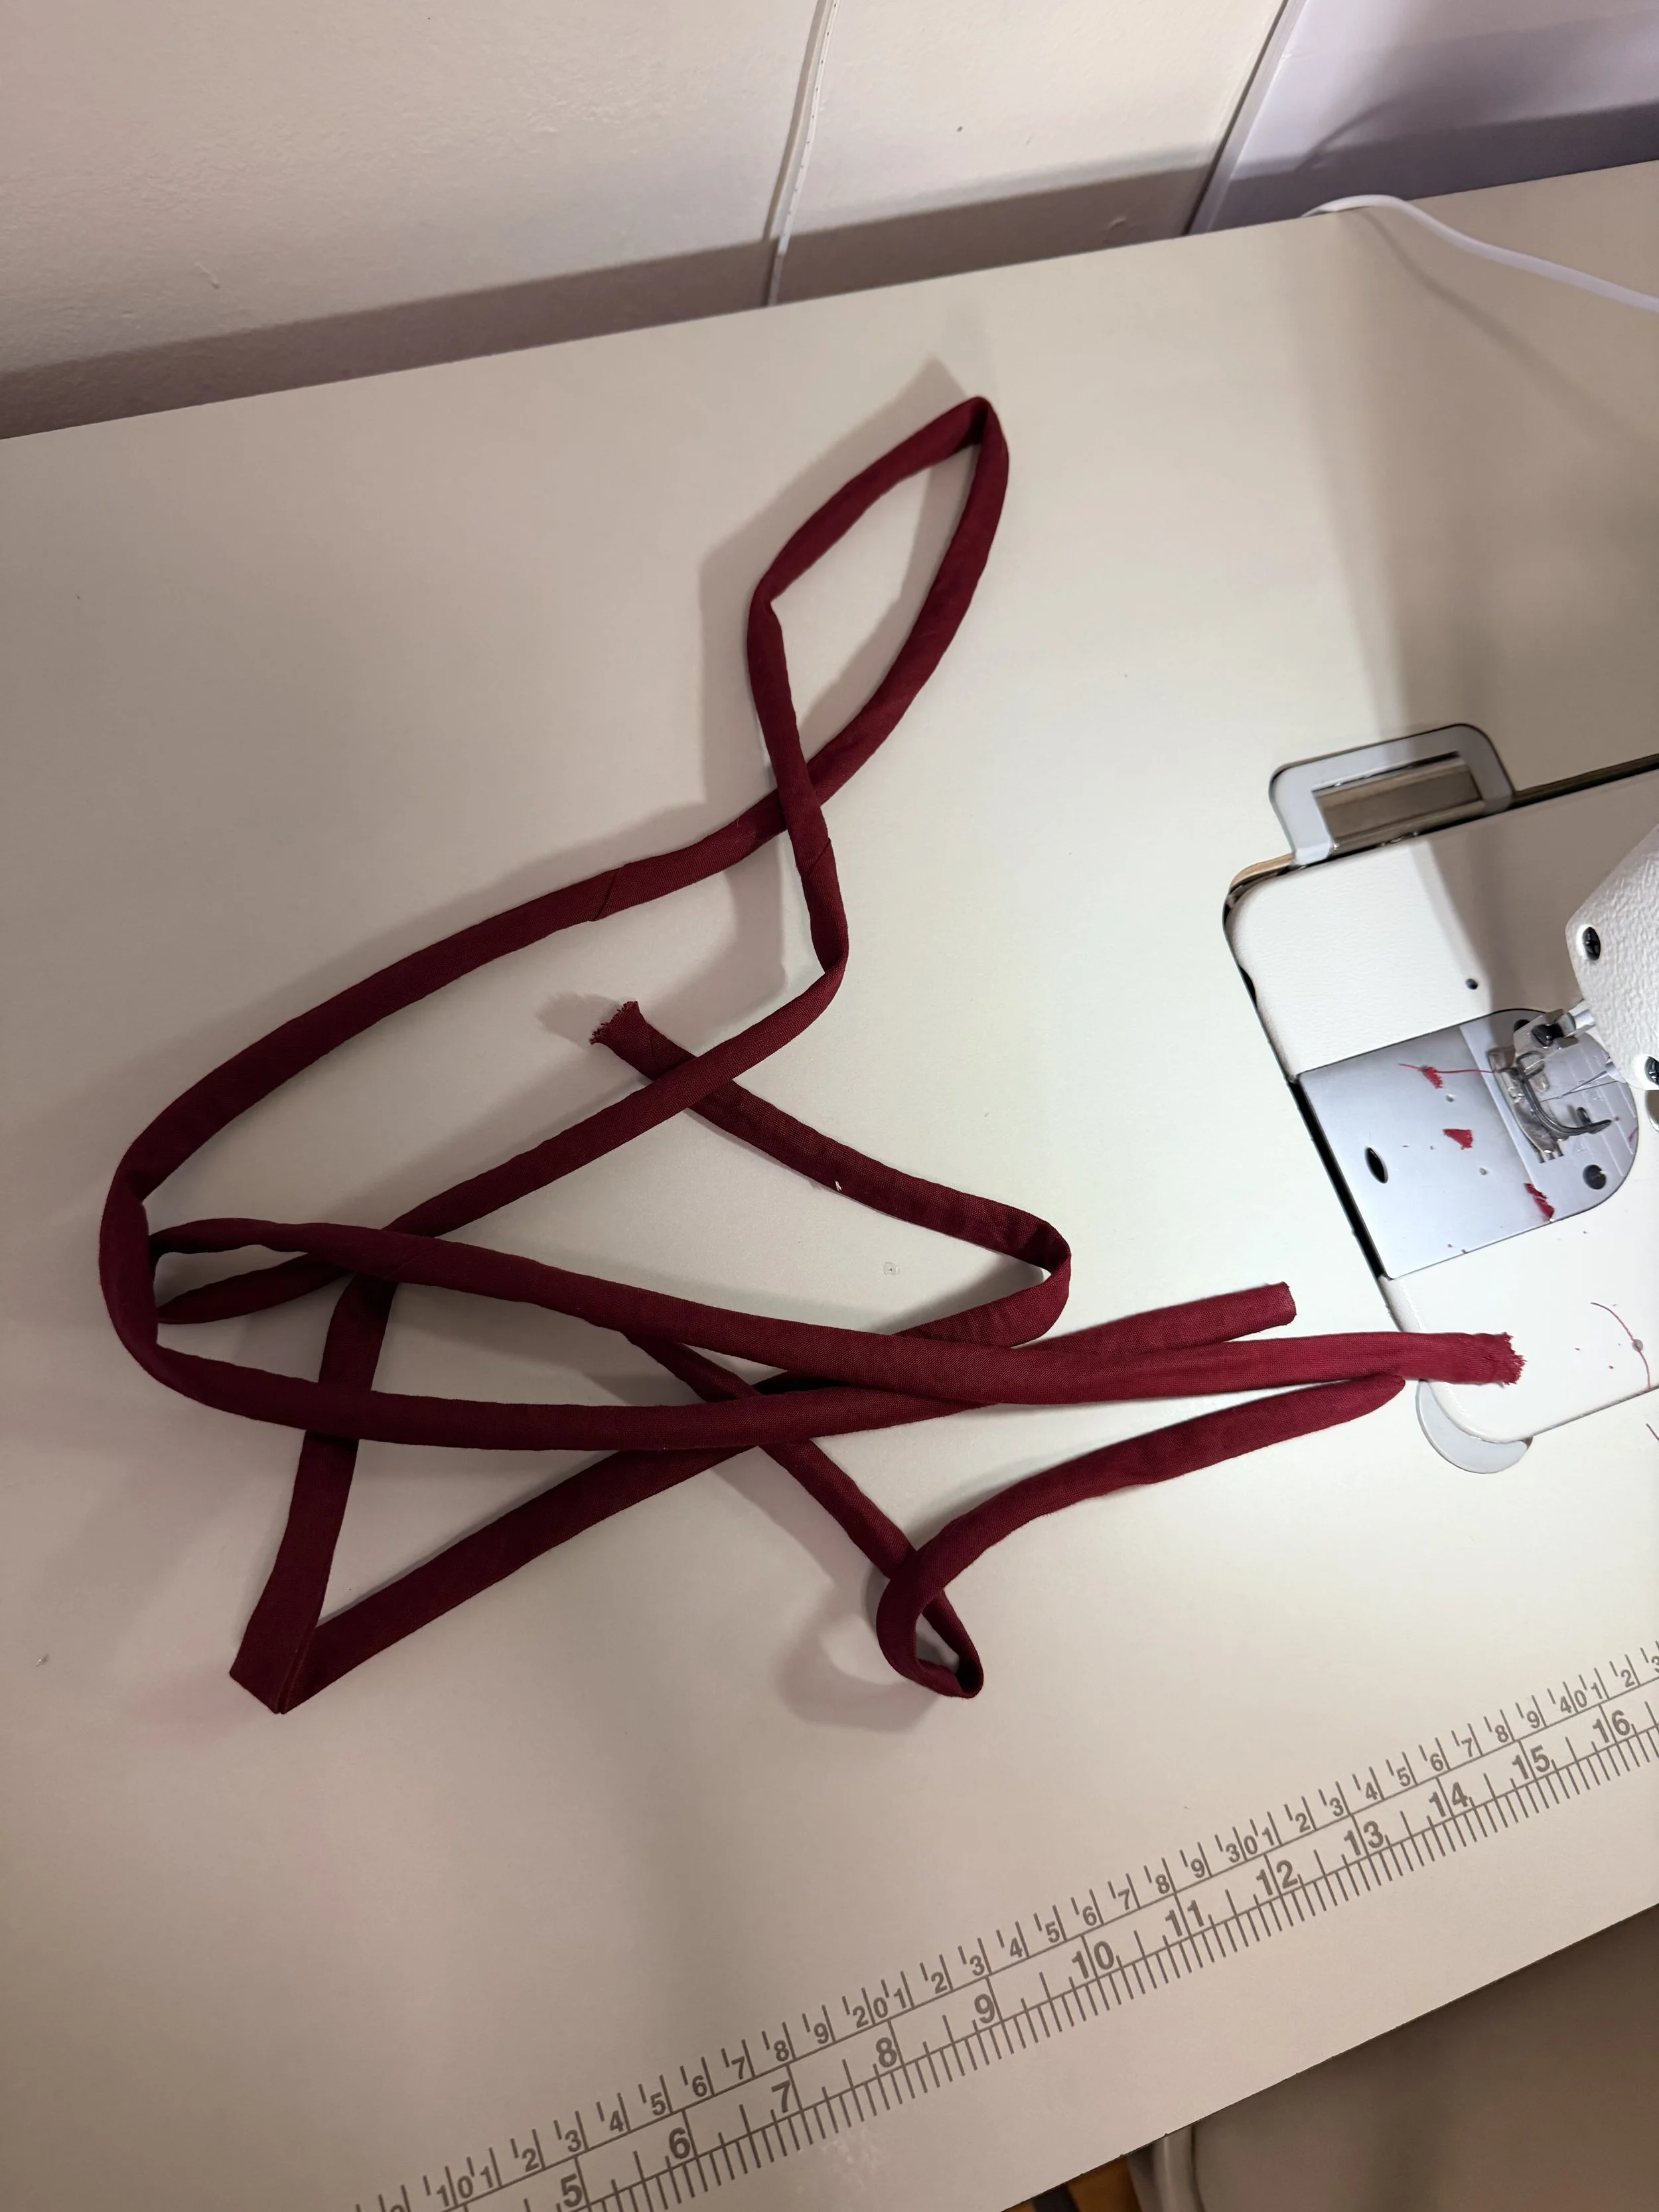
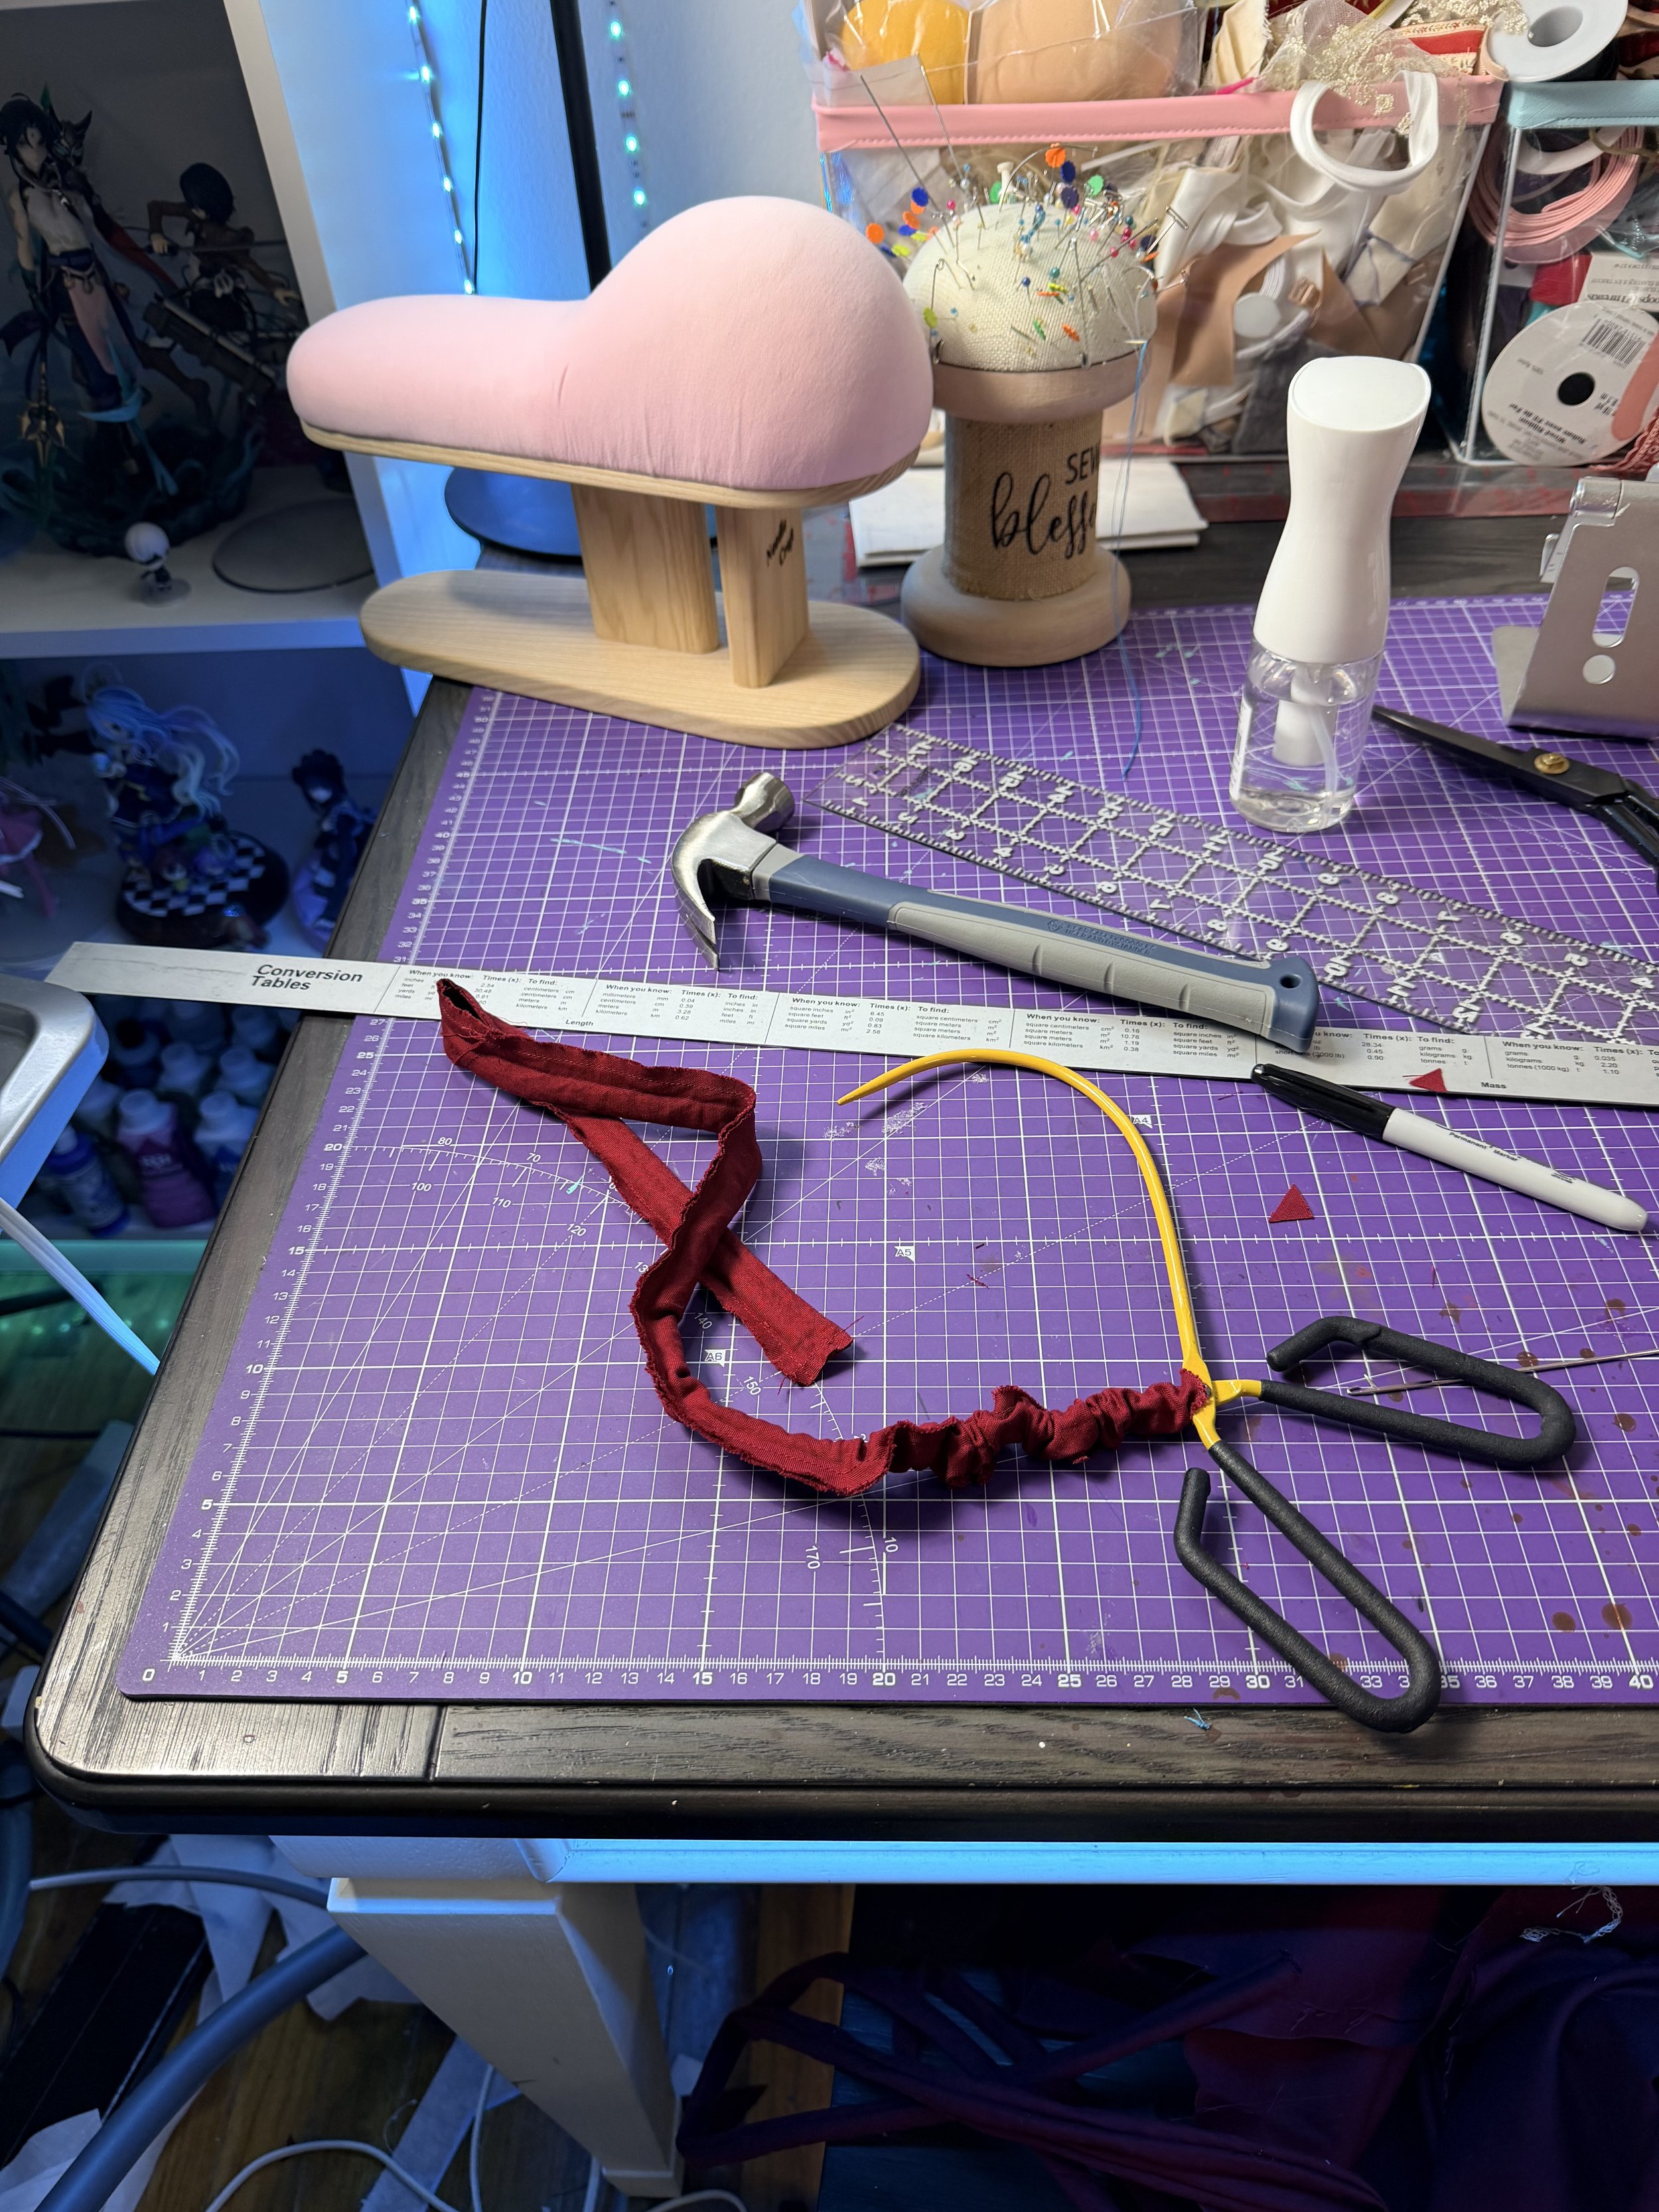
Ribbon Tie
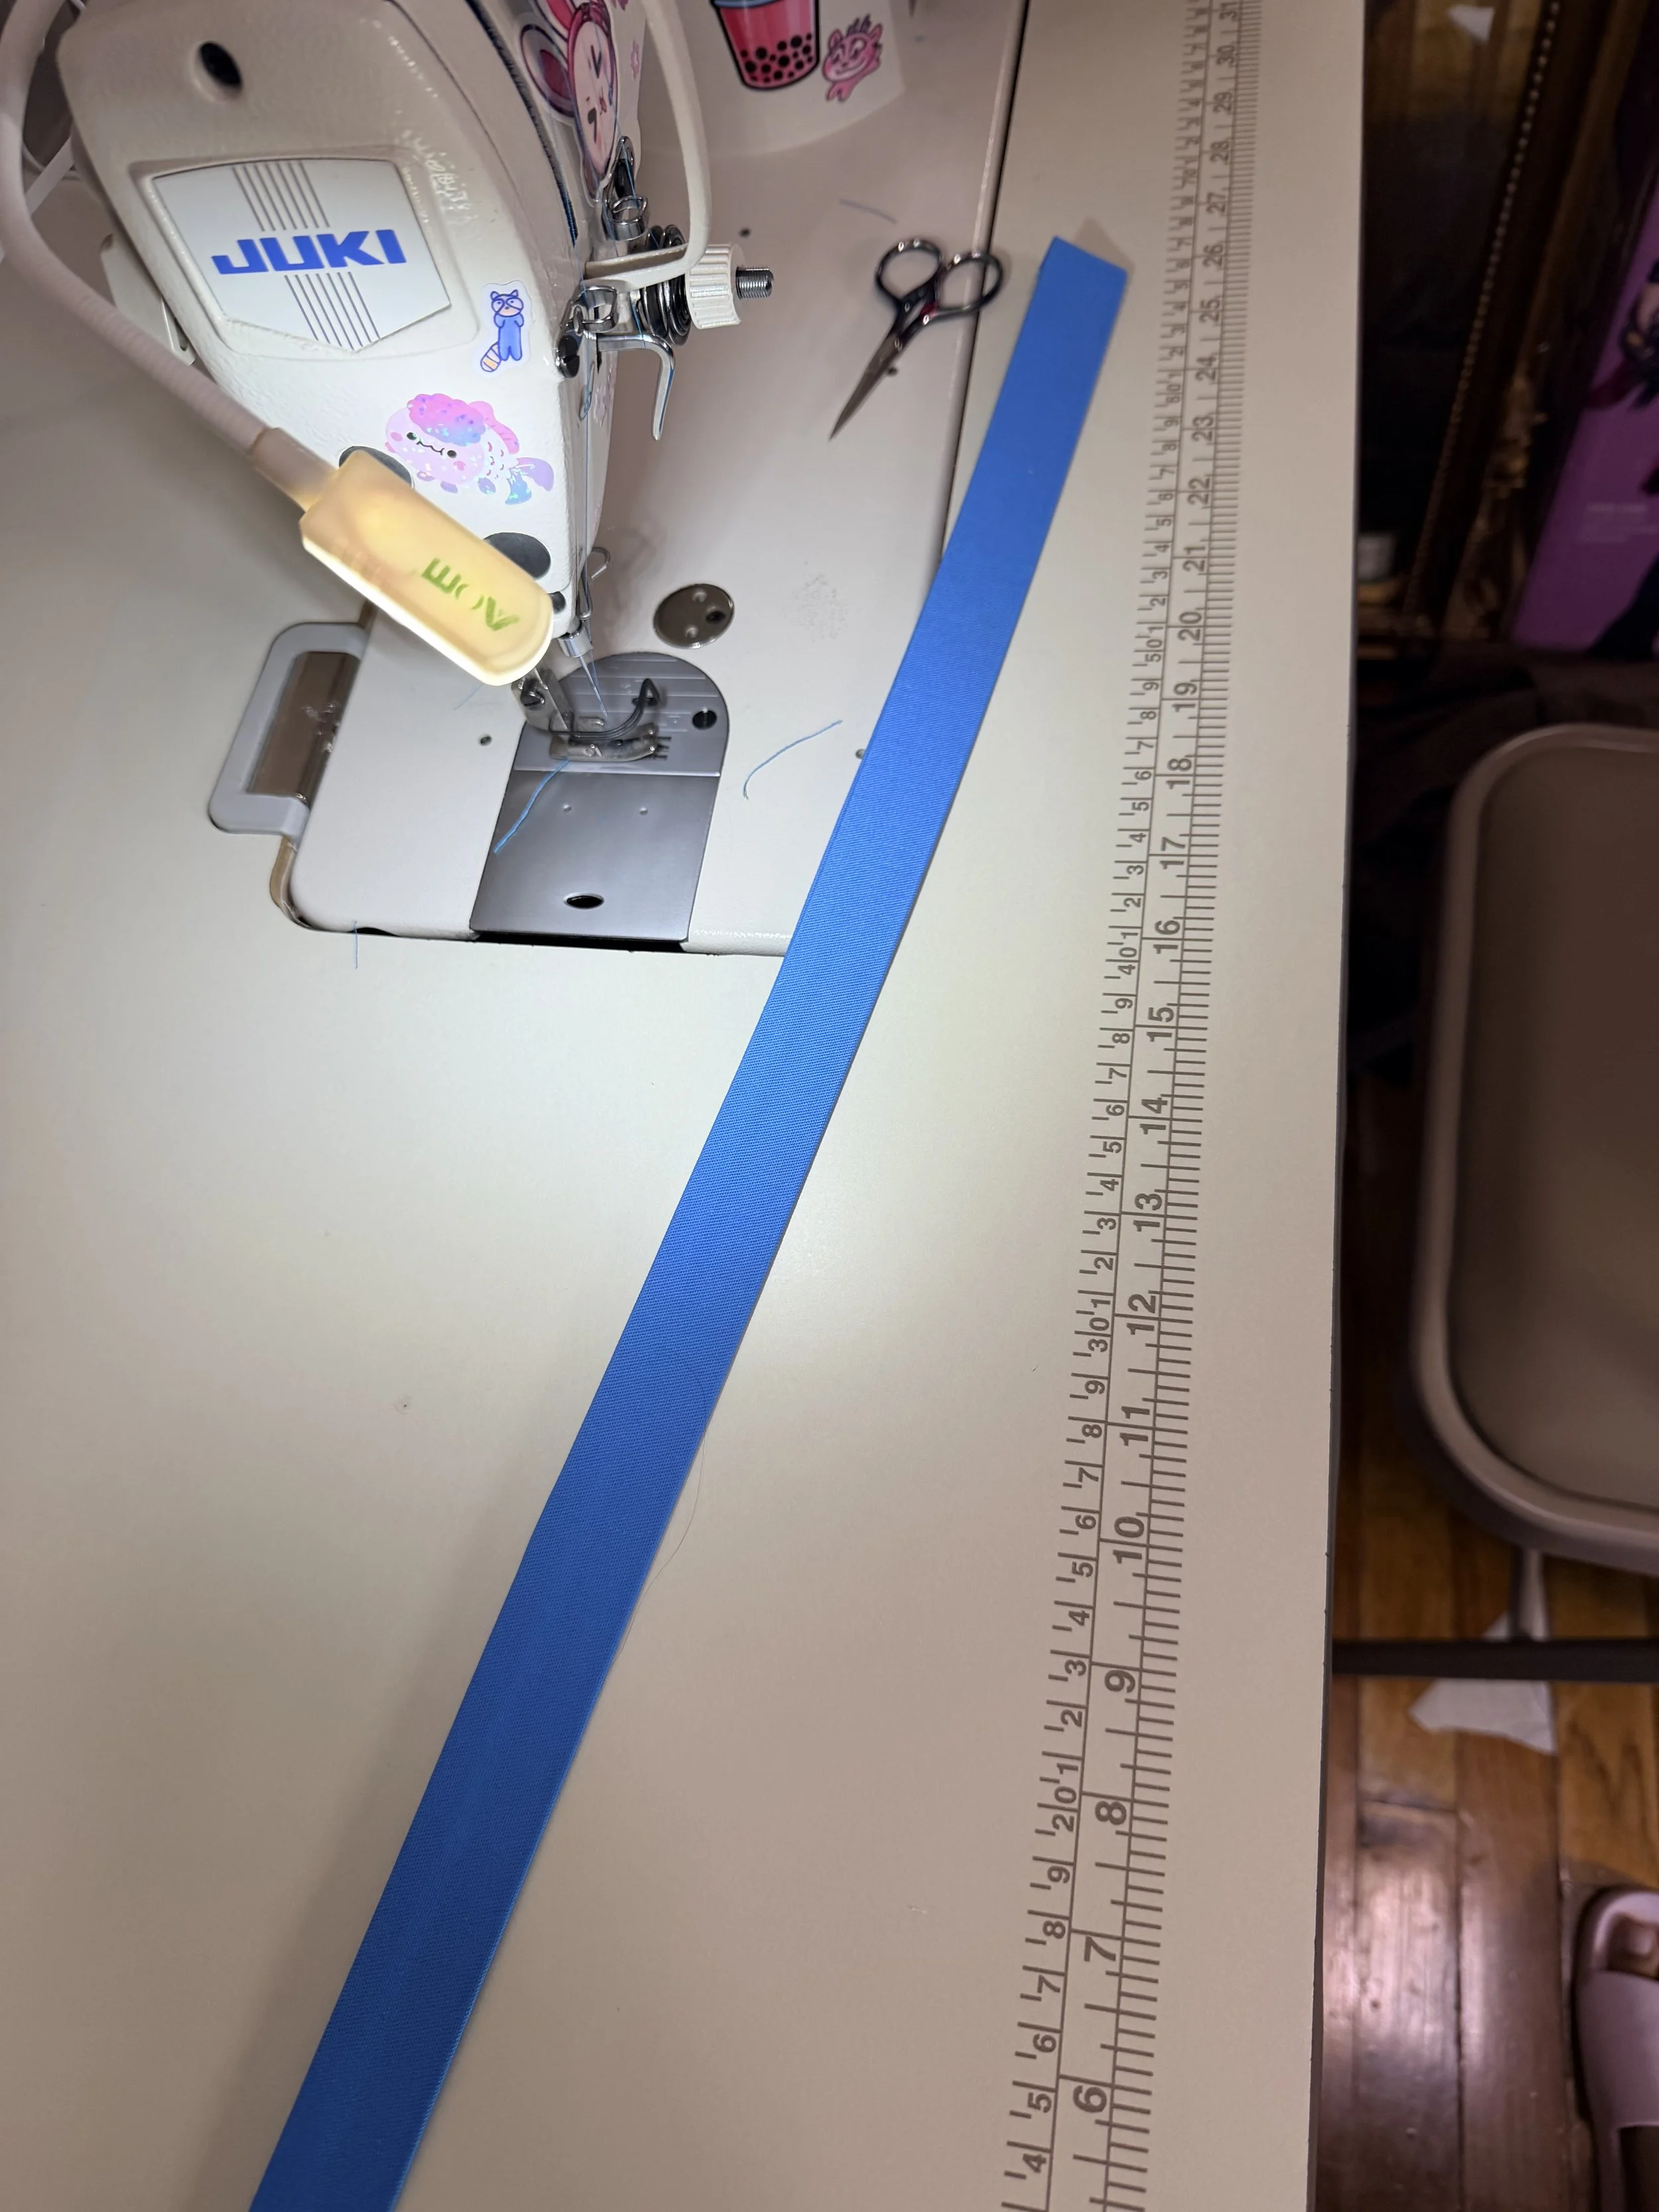
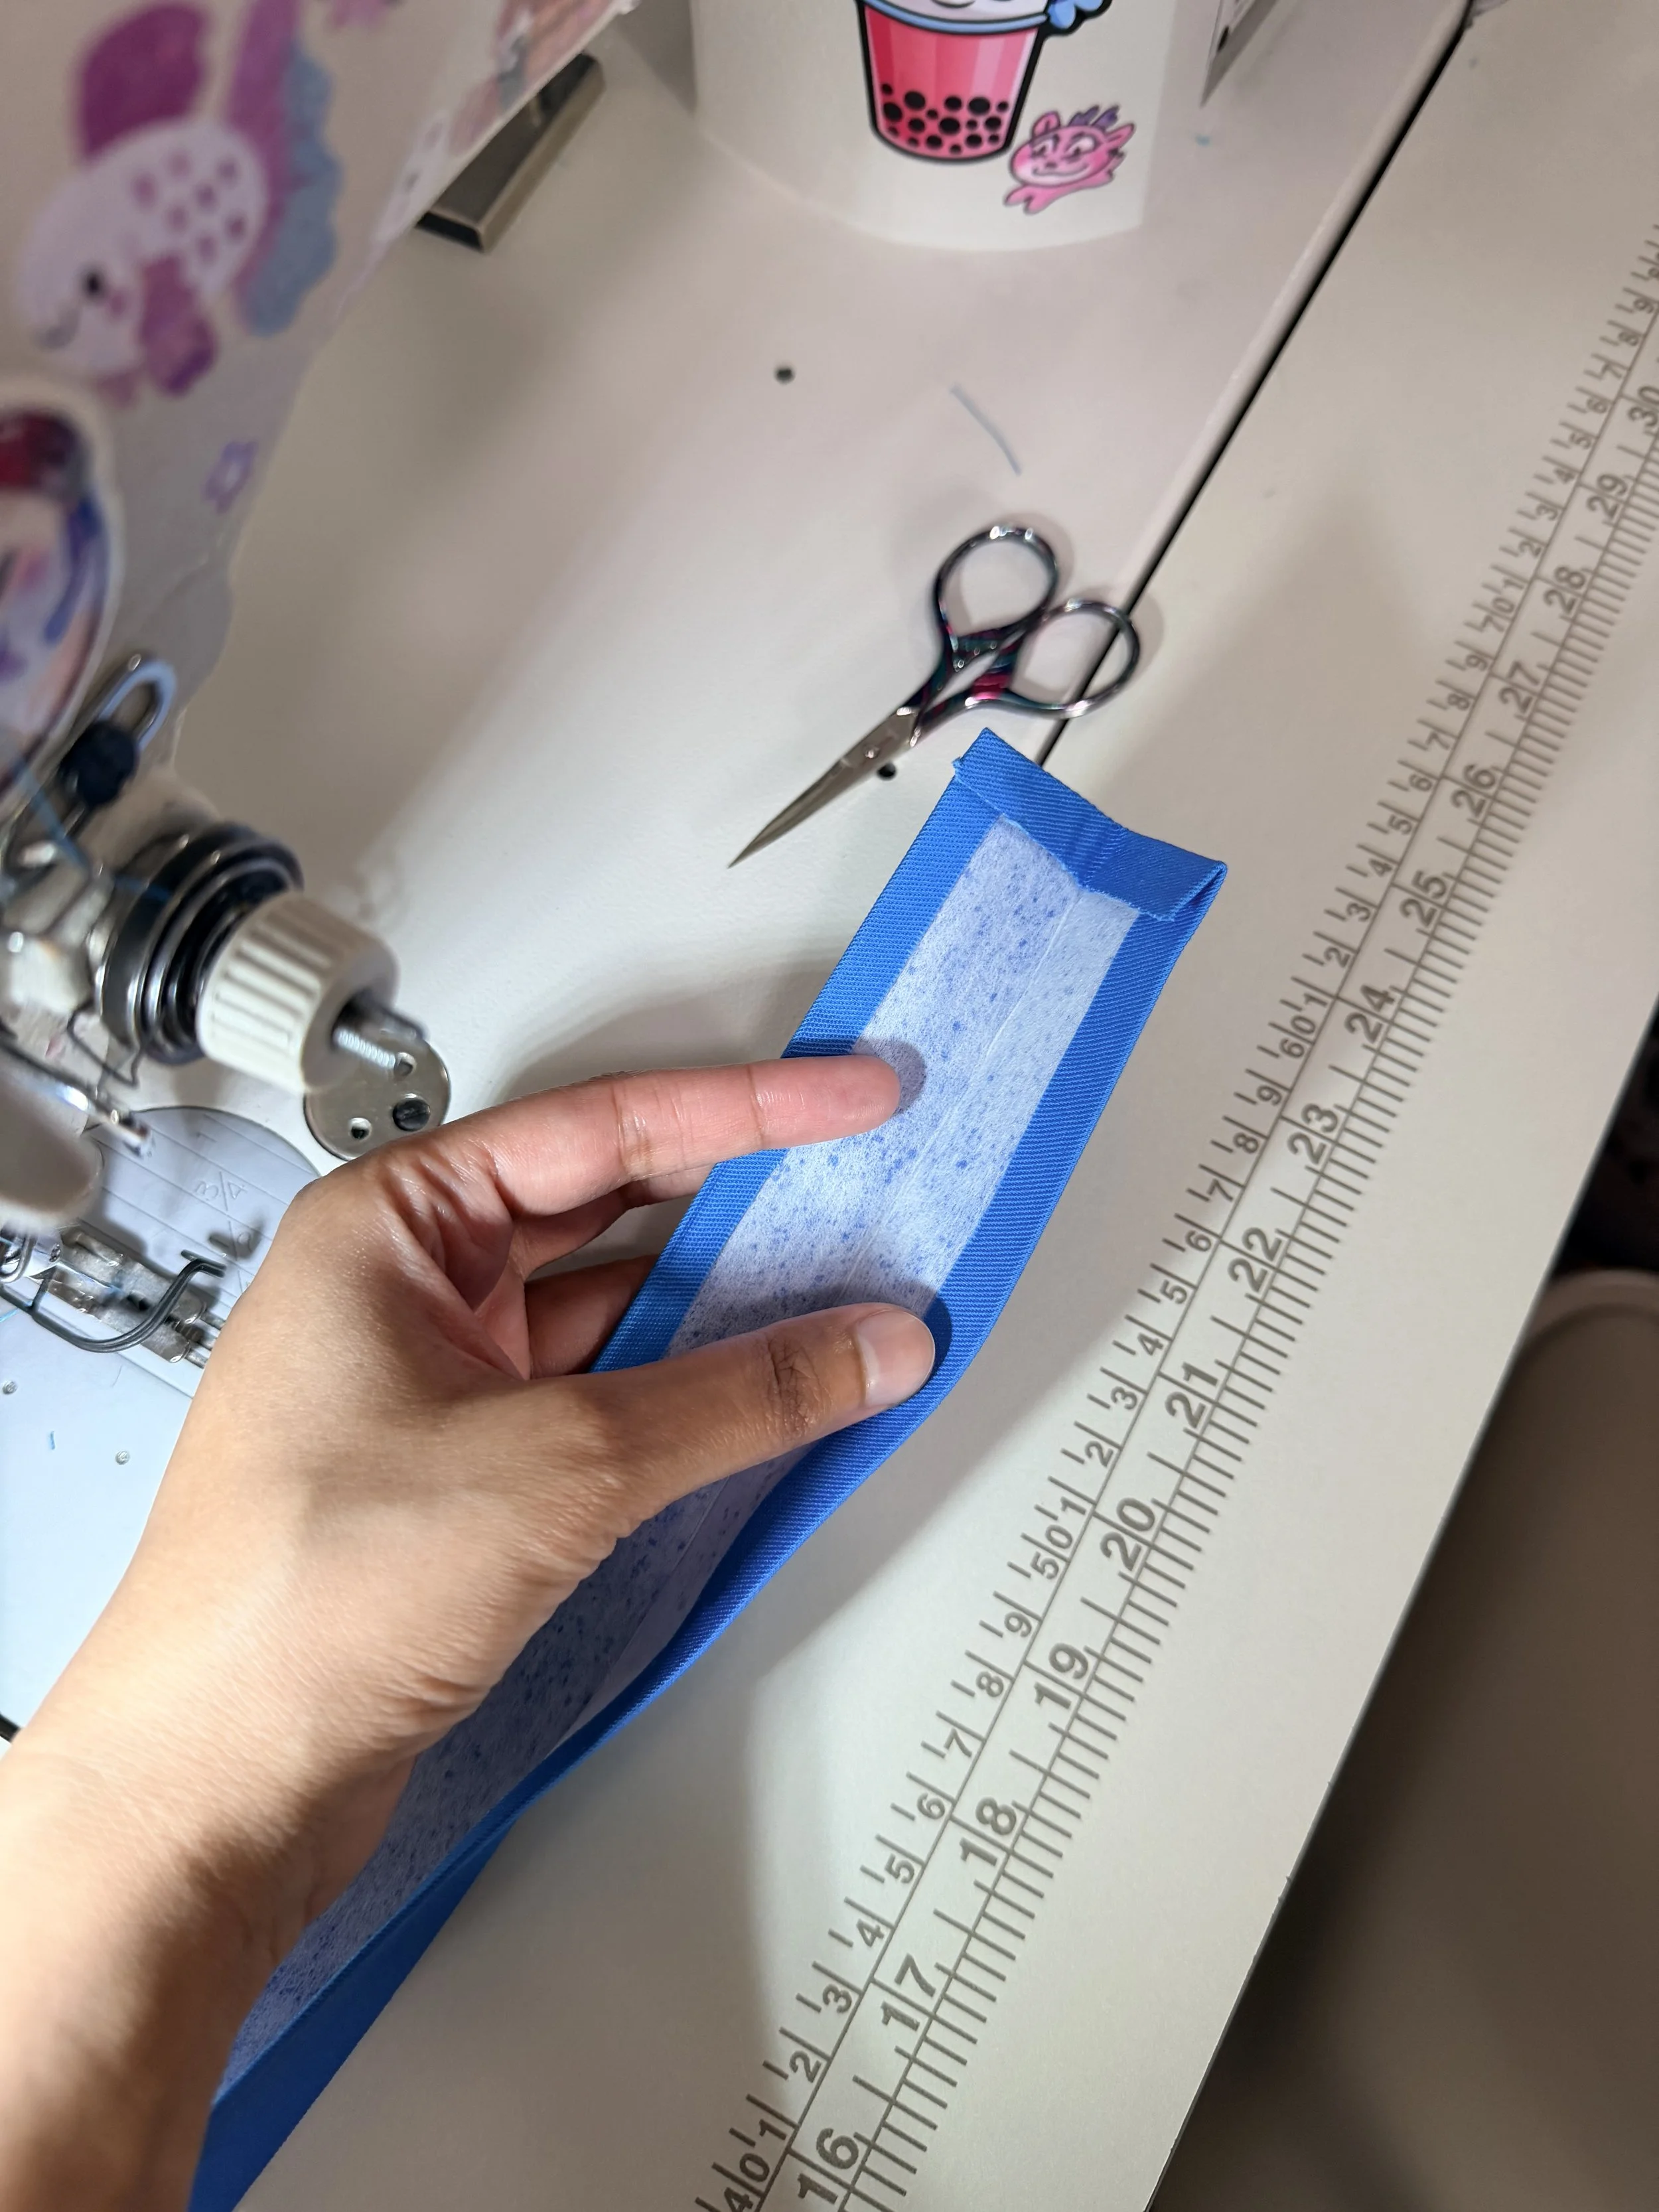
For this I made and stitched a double fold bias tape. Then I flipped it inside-out and made a bow according to the size of the neckline. I secured the knot with a single stitch in the middle. One of the top parts of the bow was sewn under the collar and another part uses a snap button to attach under the collar. This helps me to easily wear the shirt and then make sure the ribbon tie always looks accurate.
Skirt
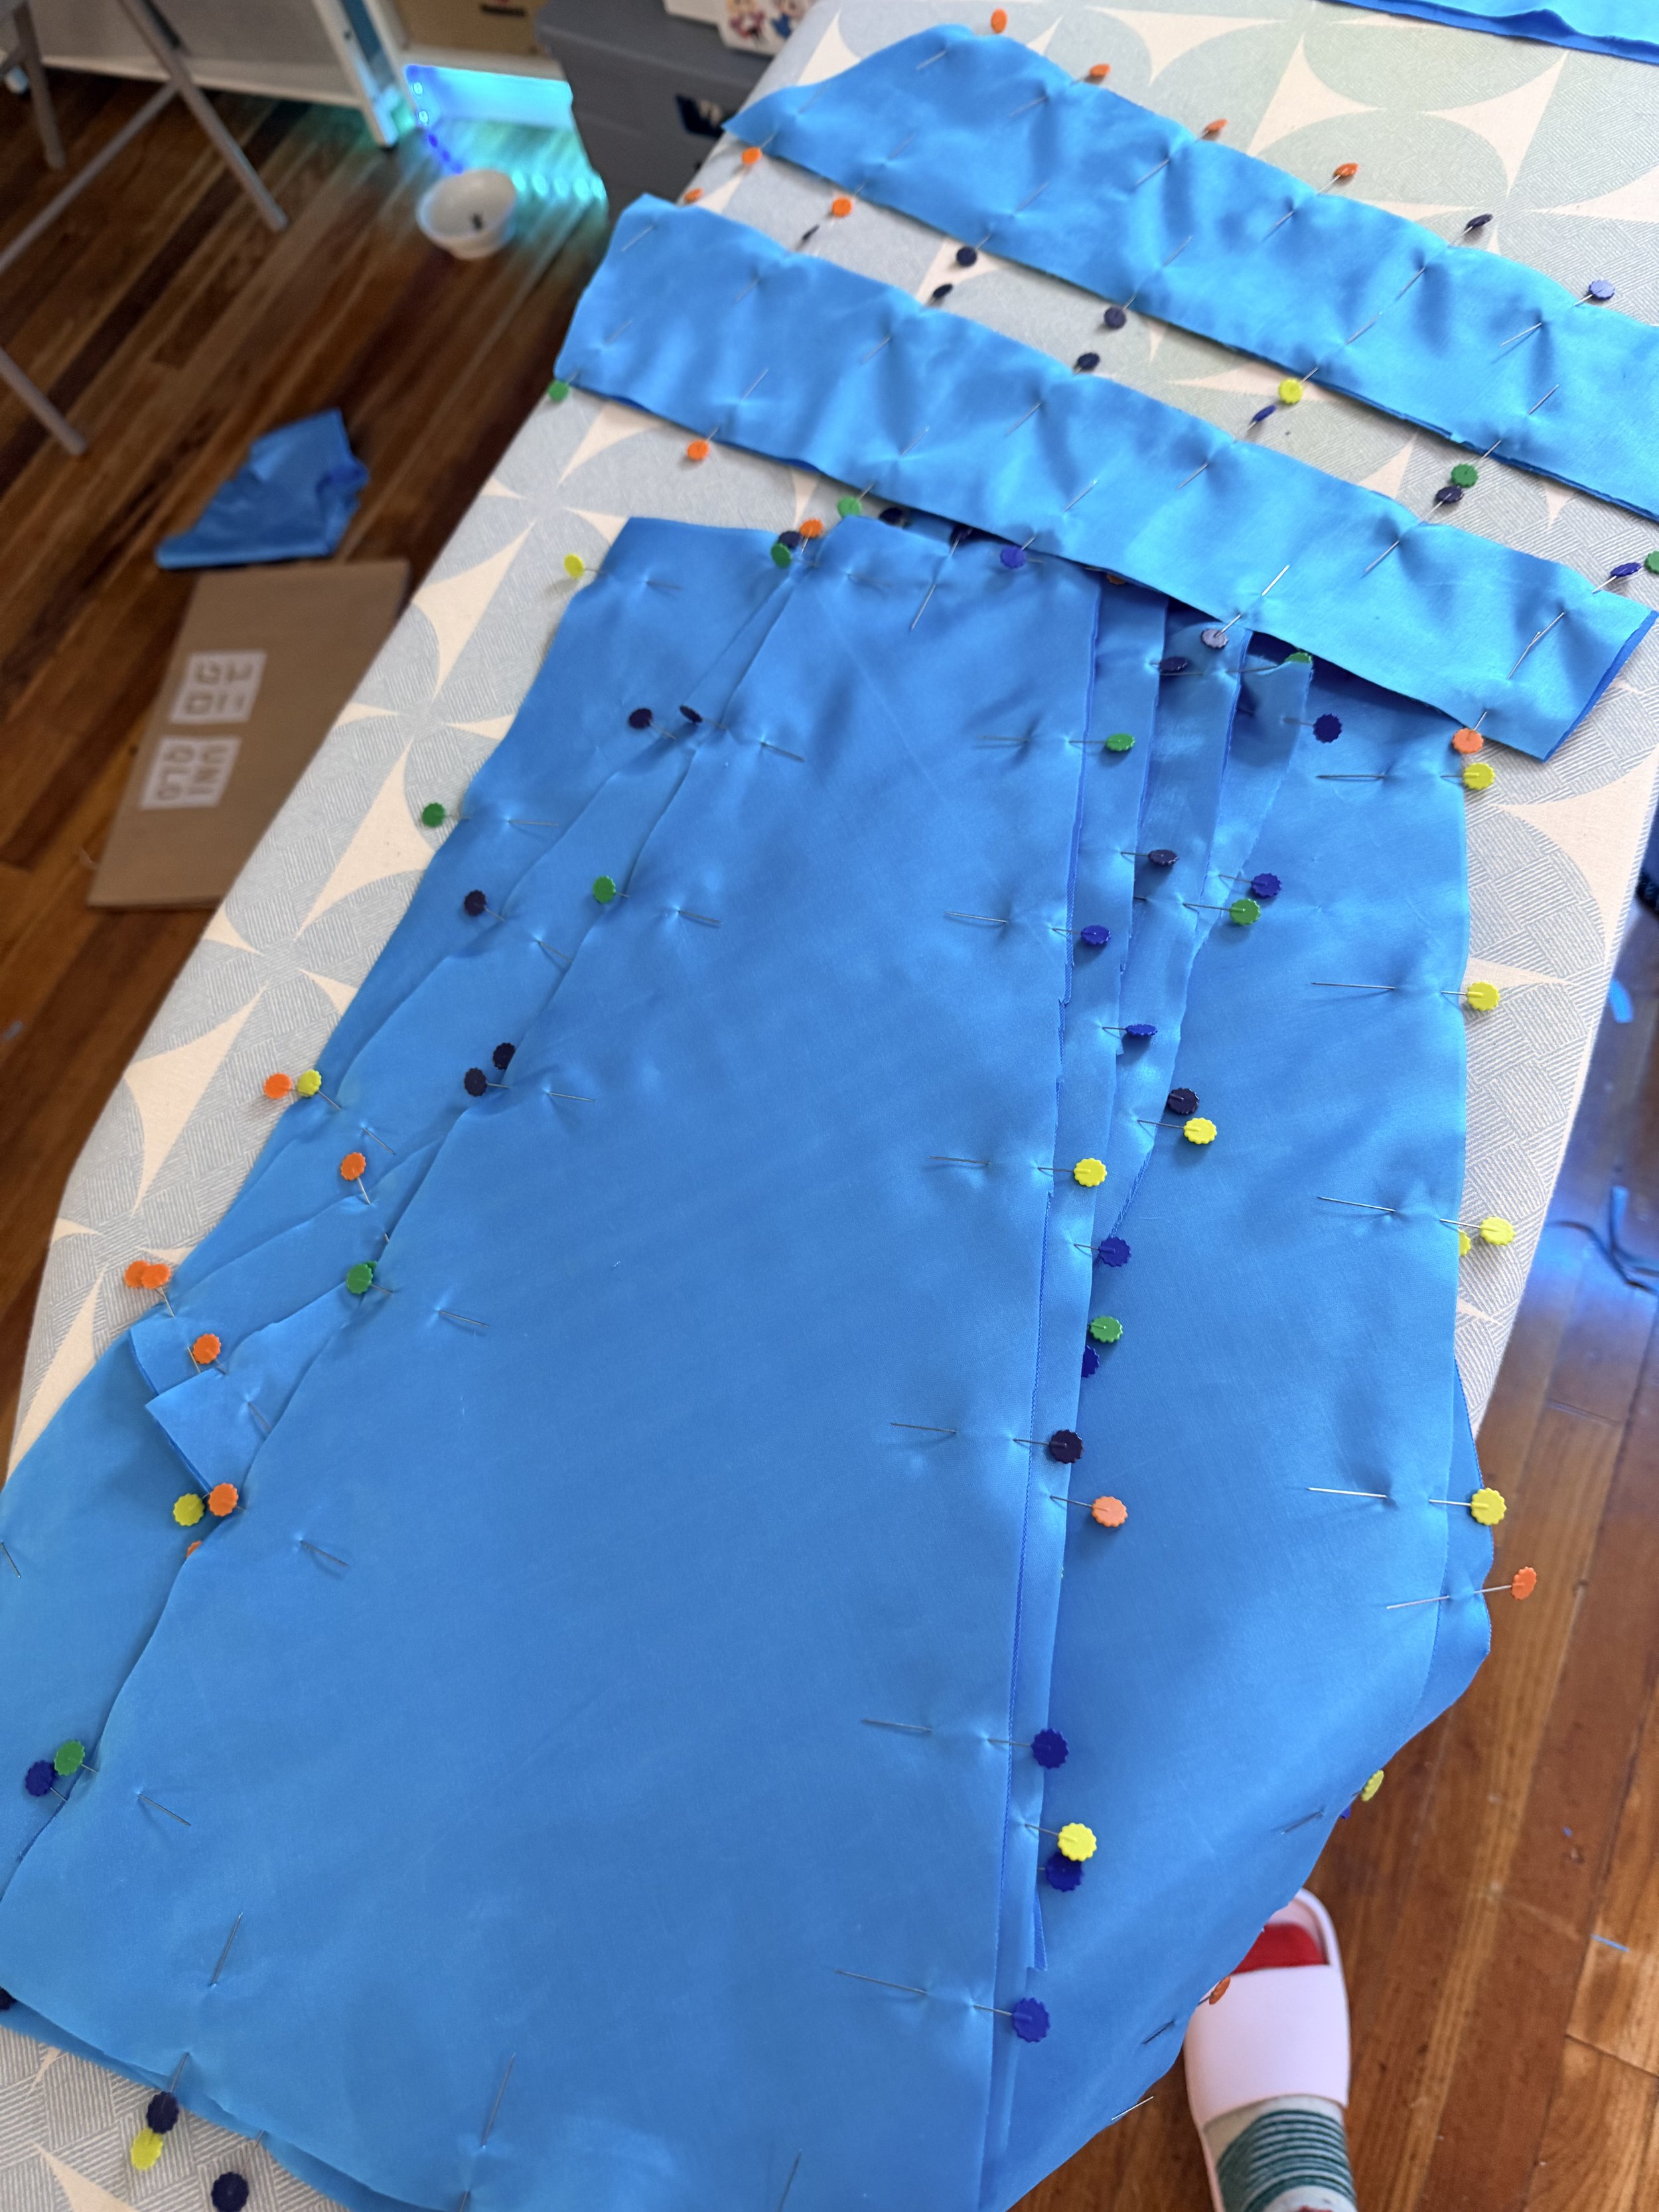
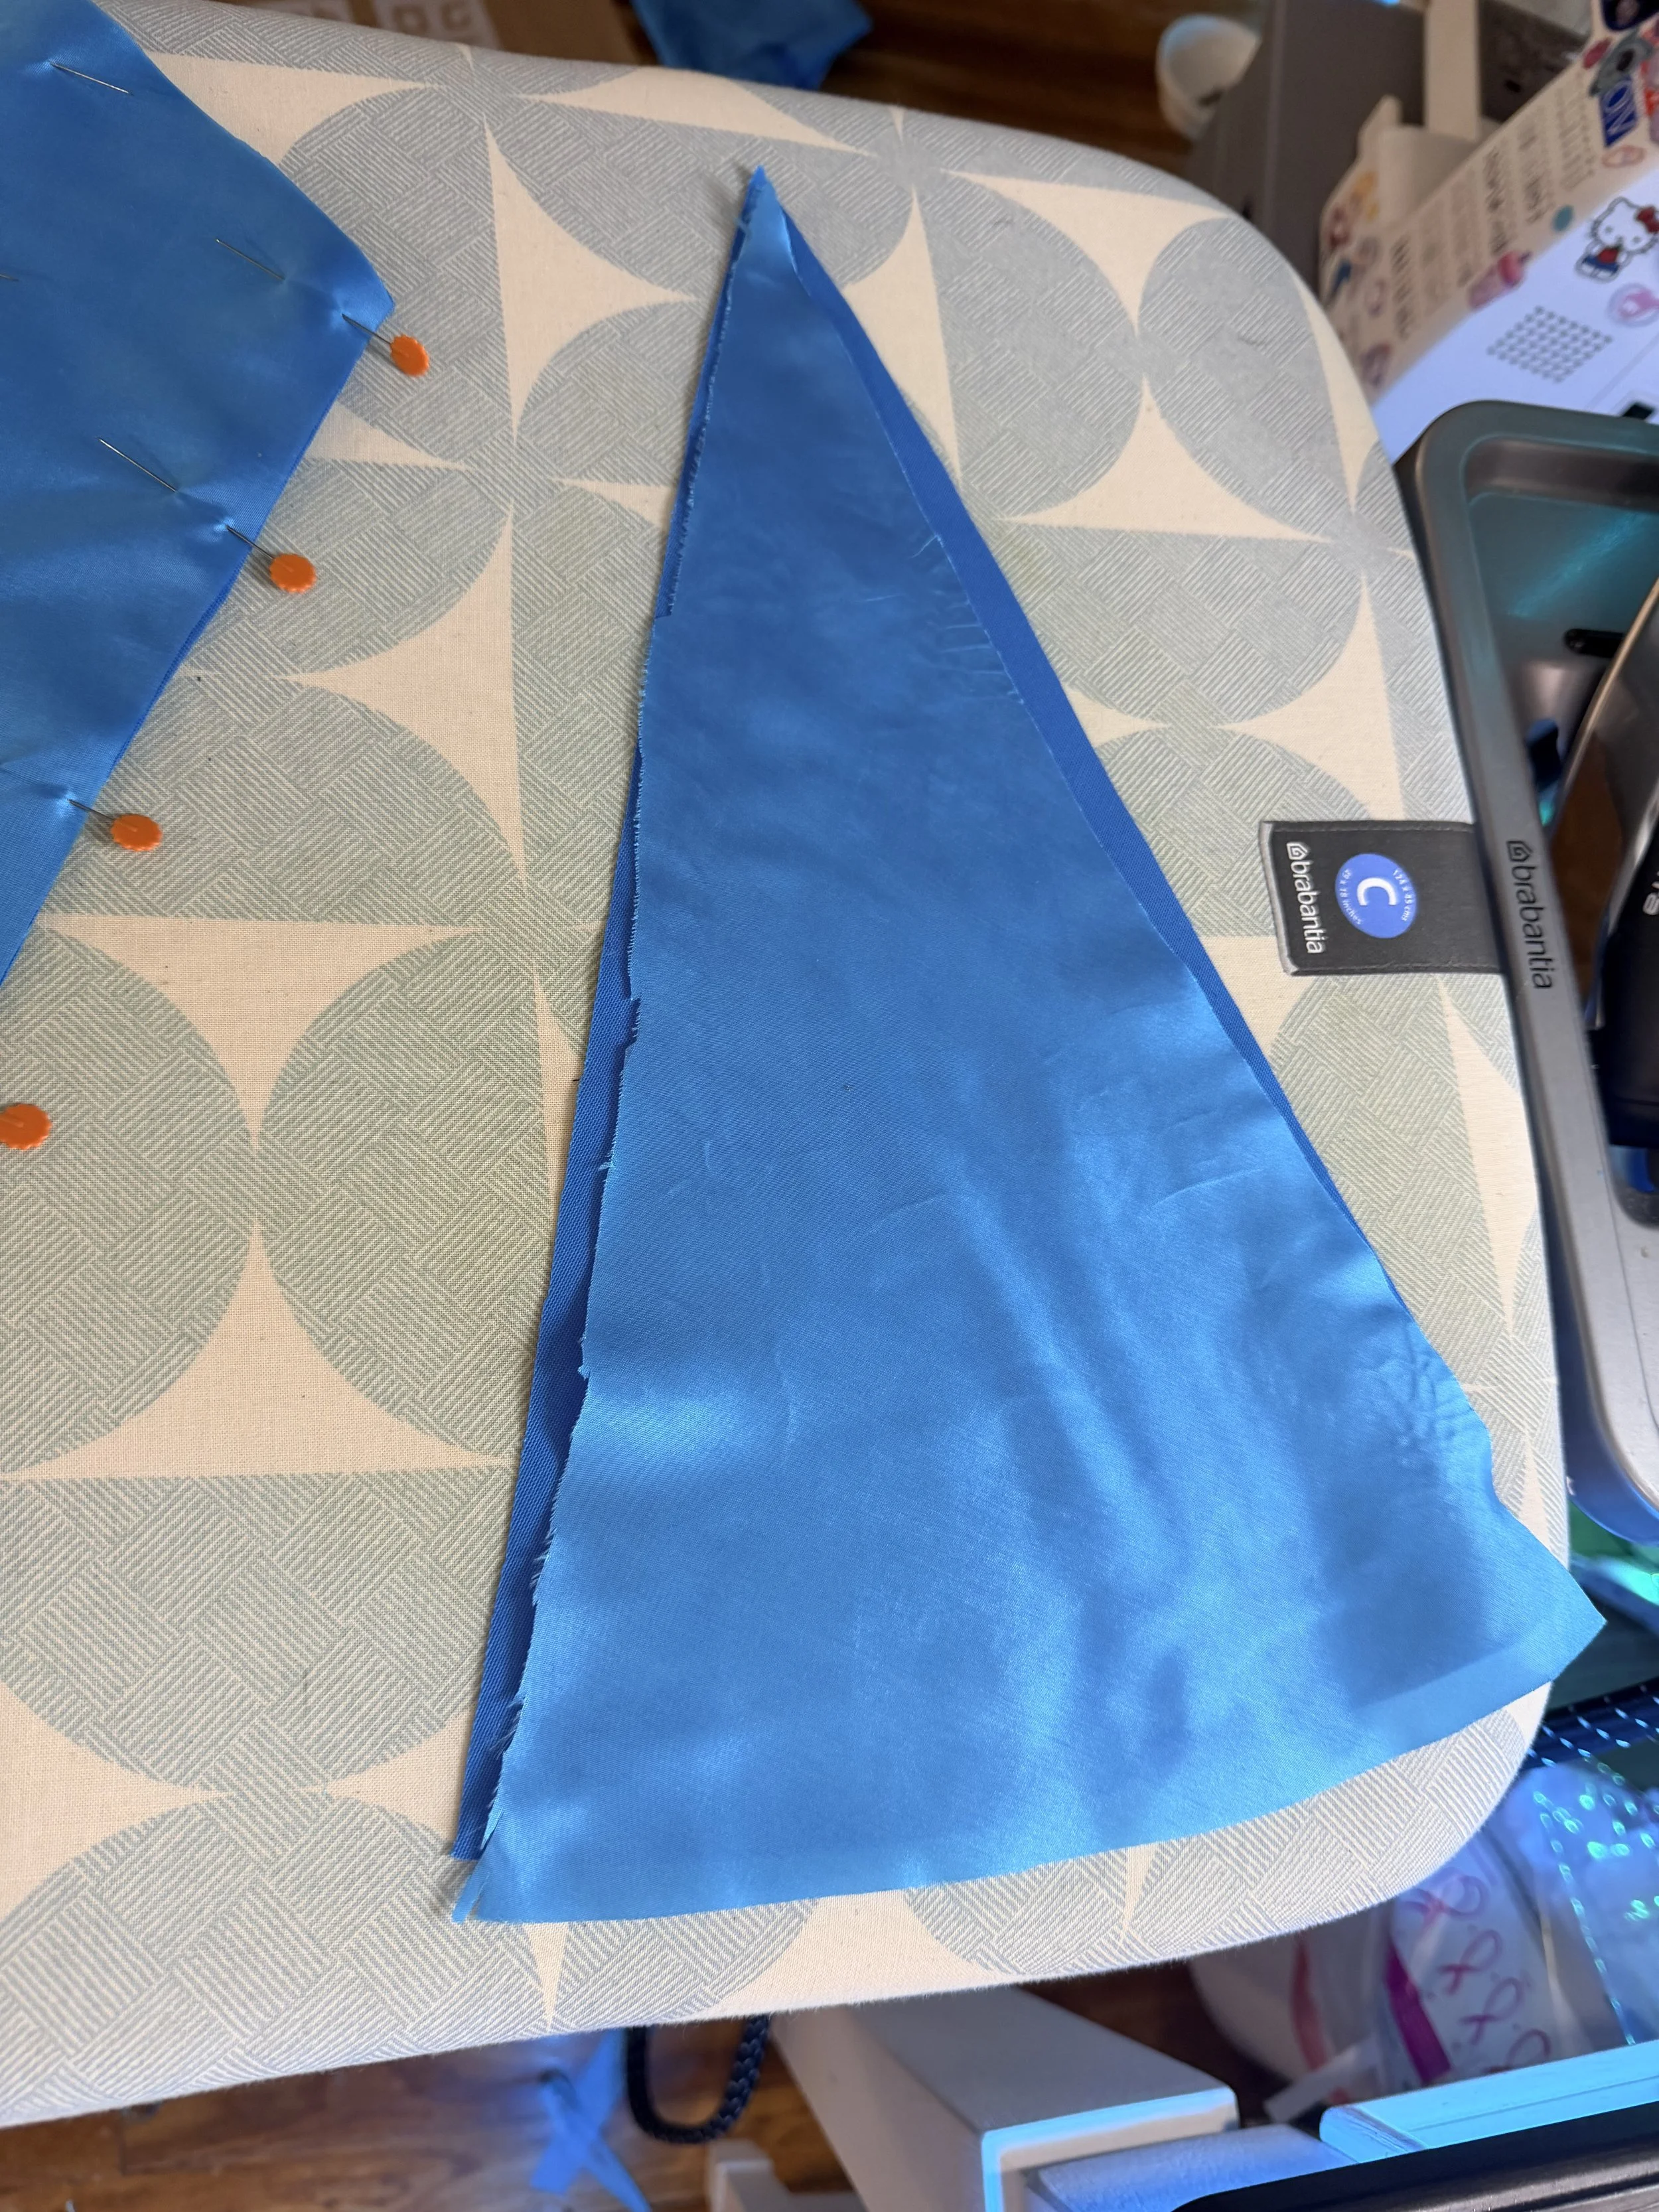
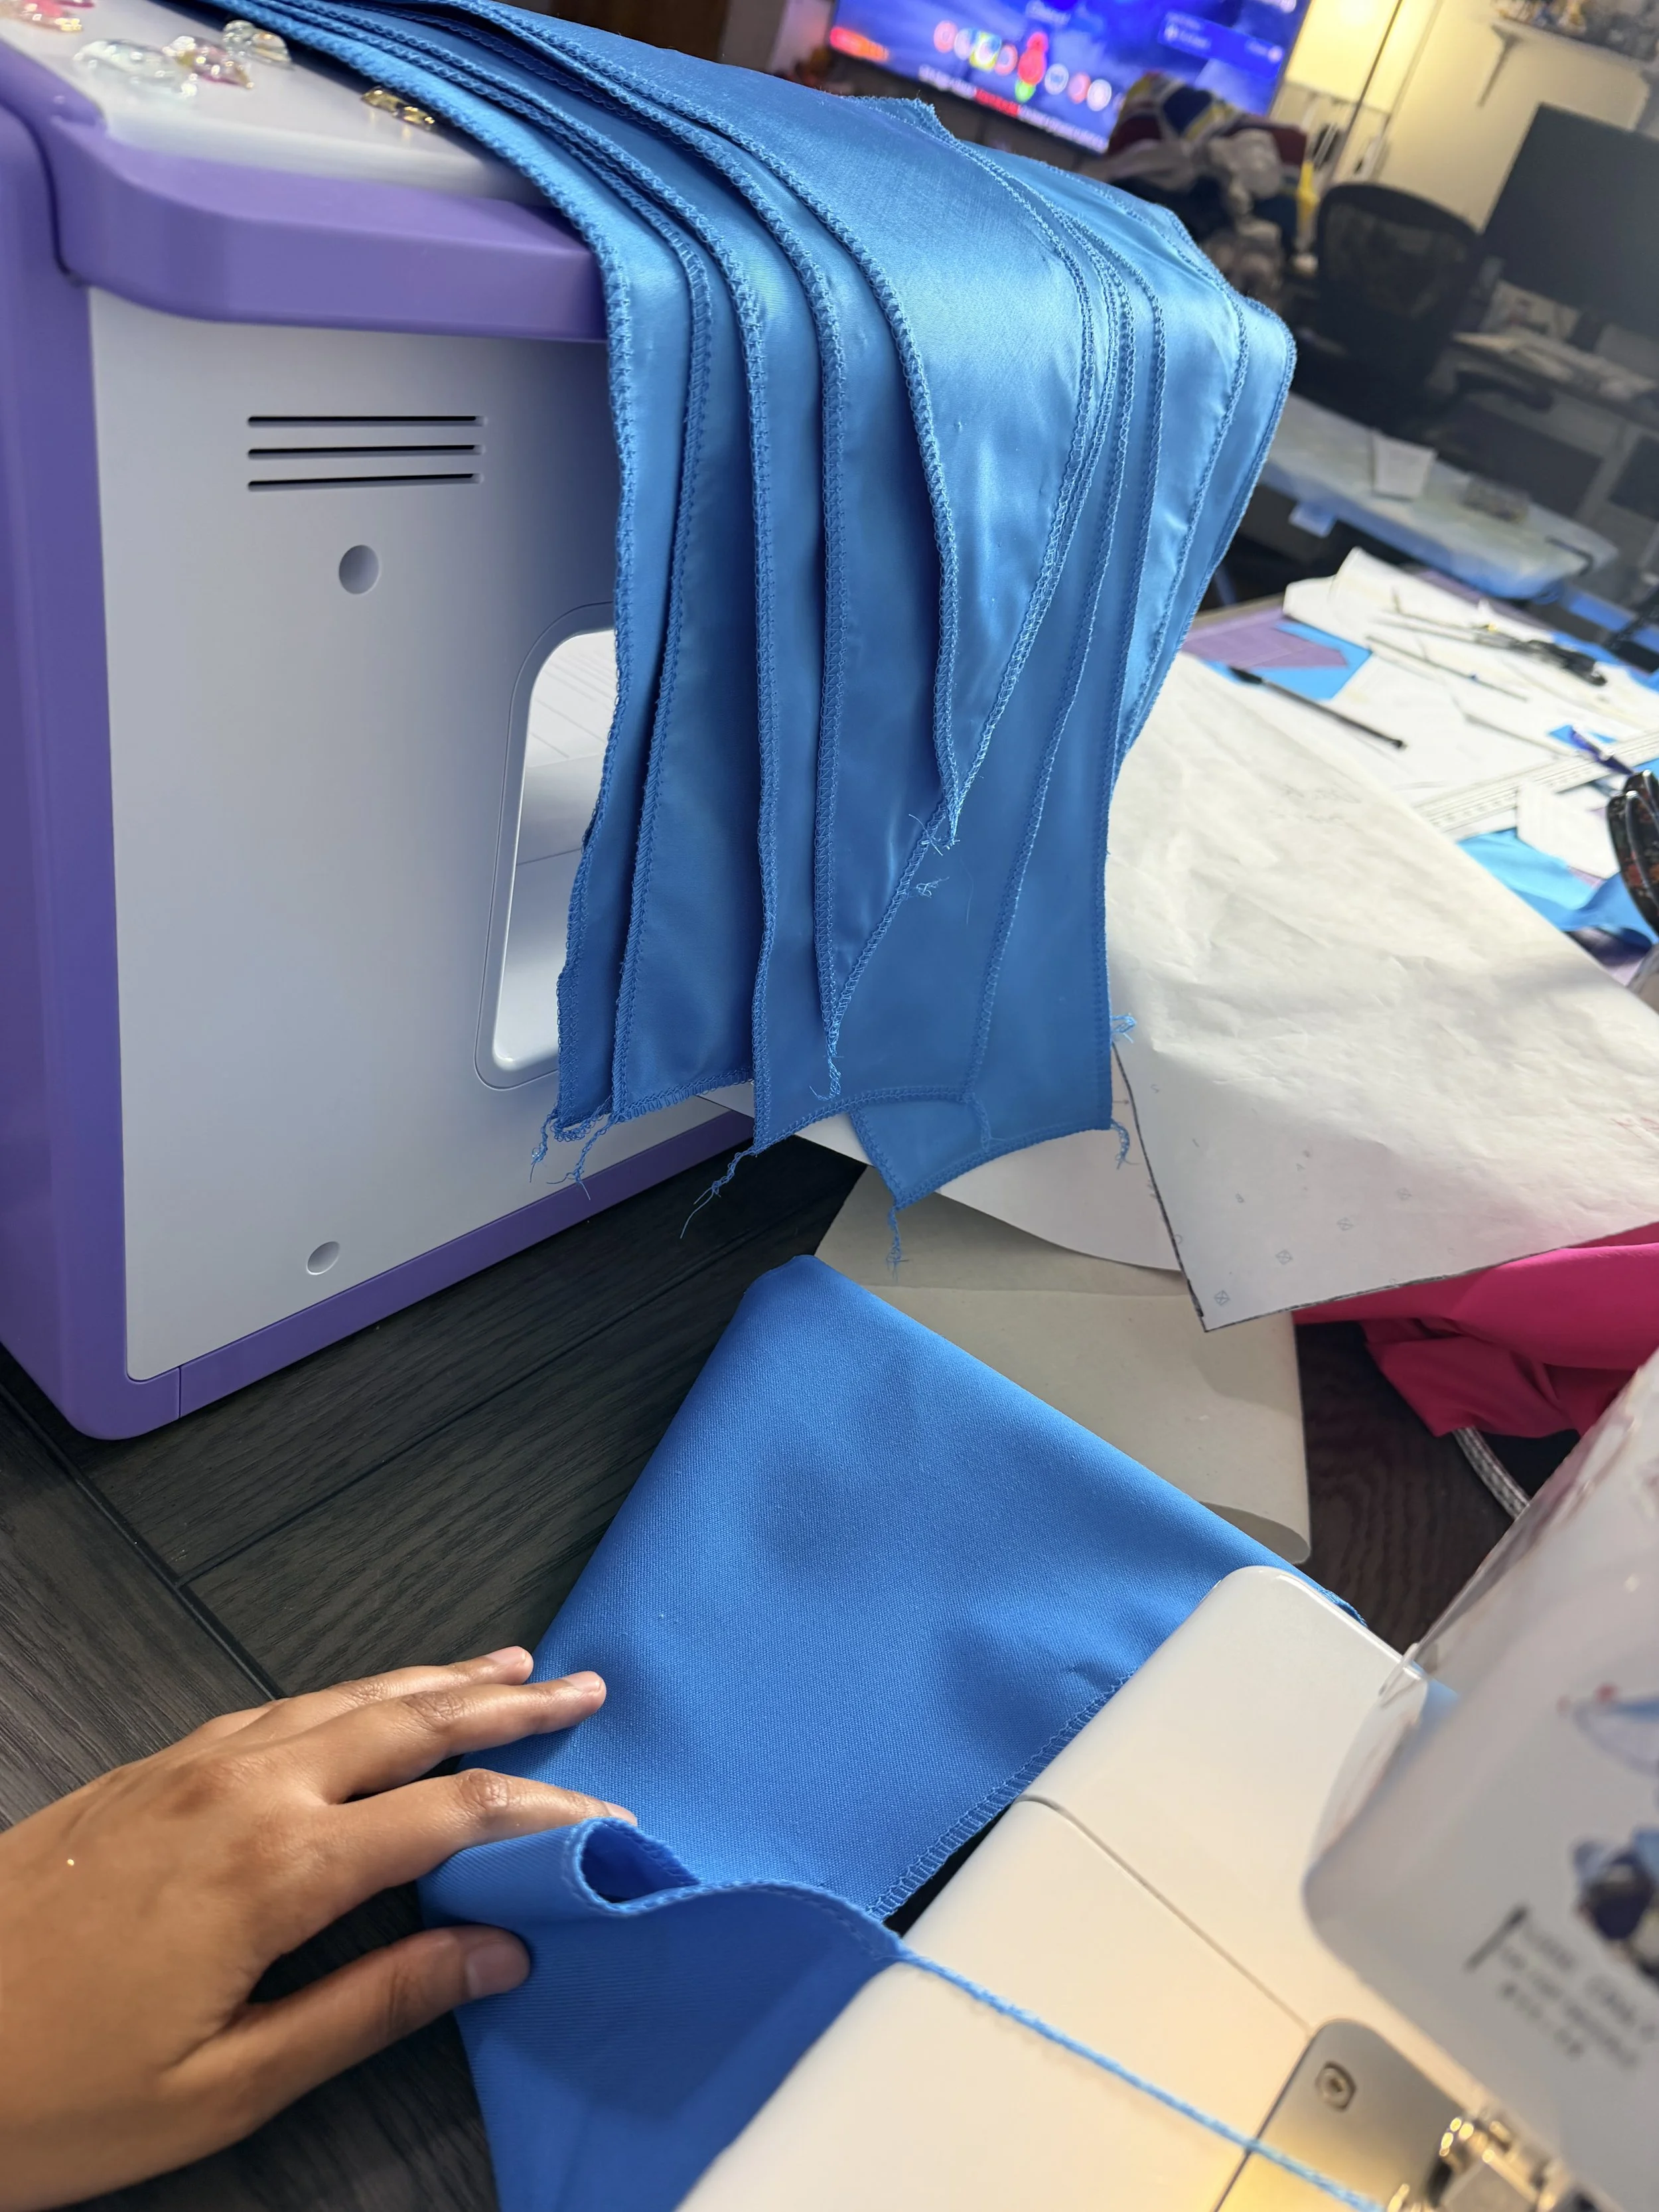
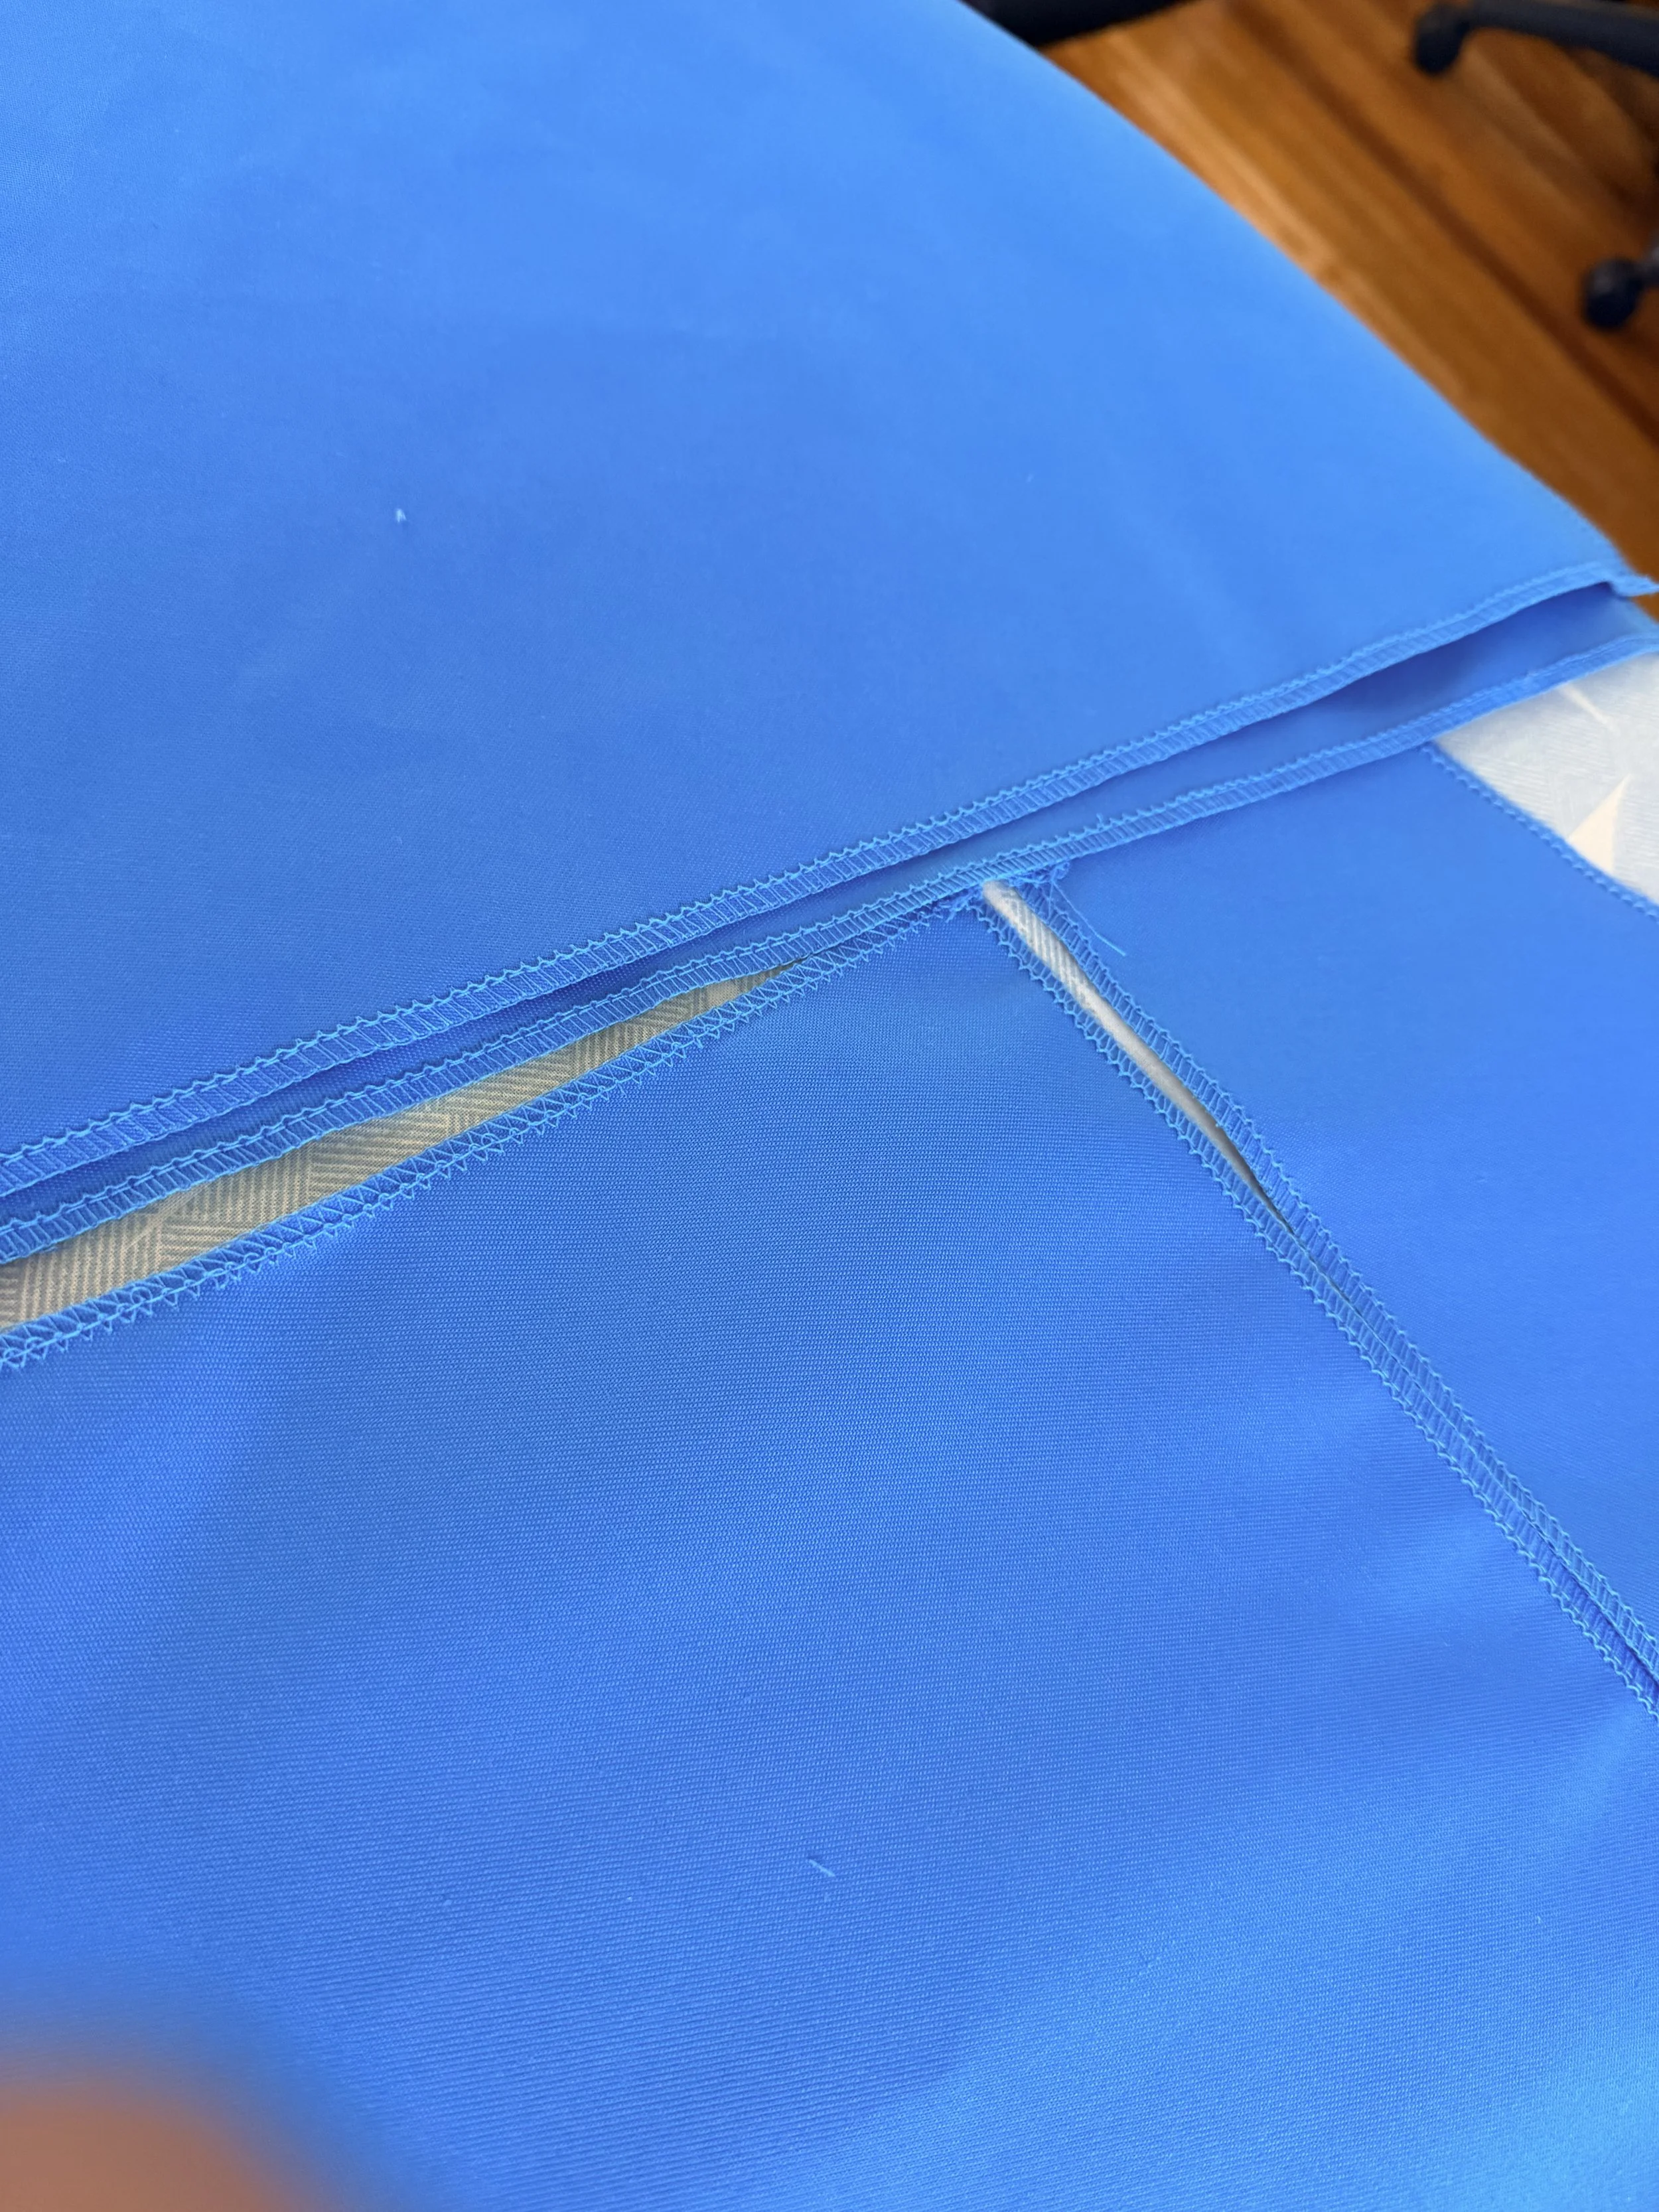
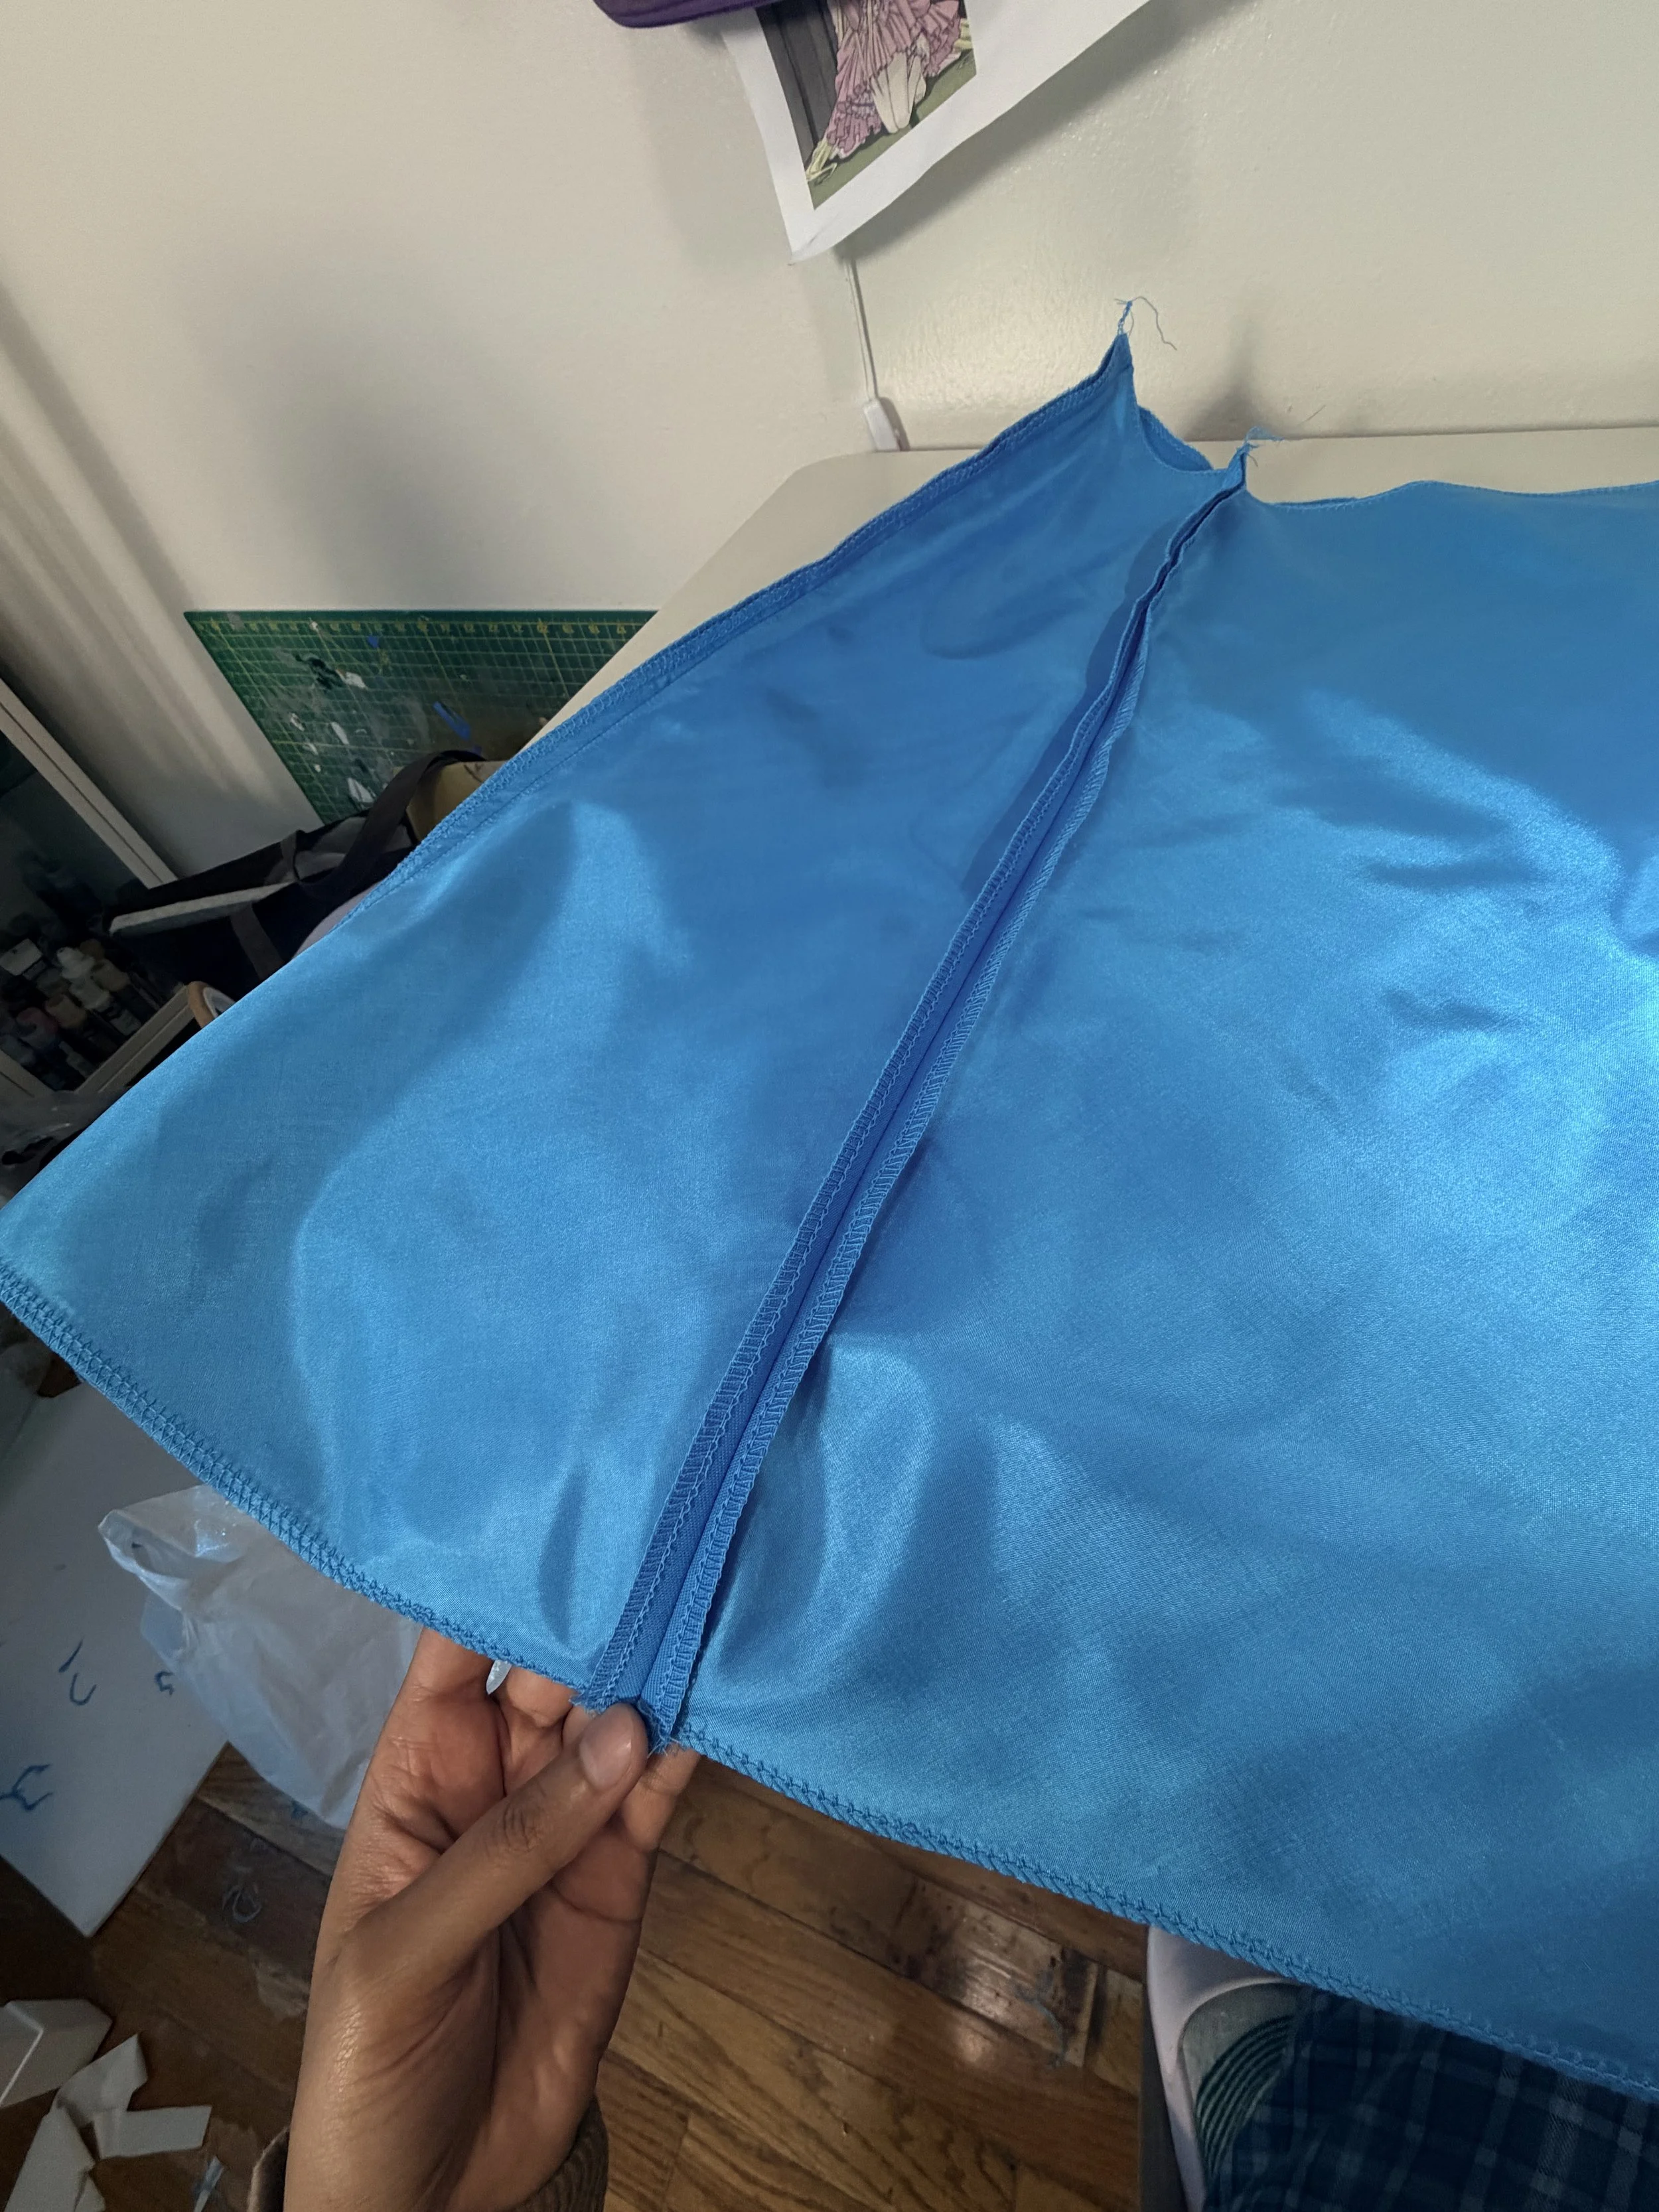
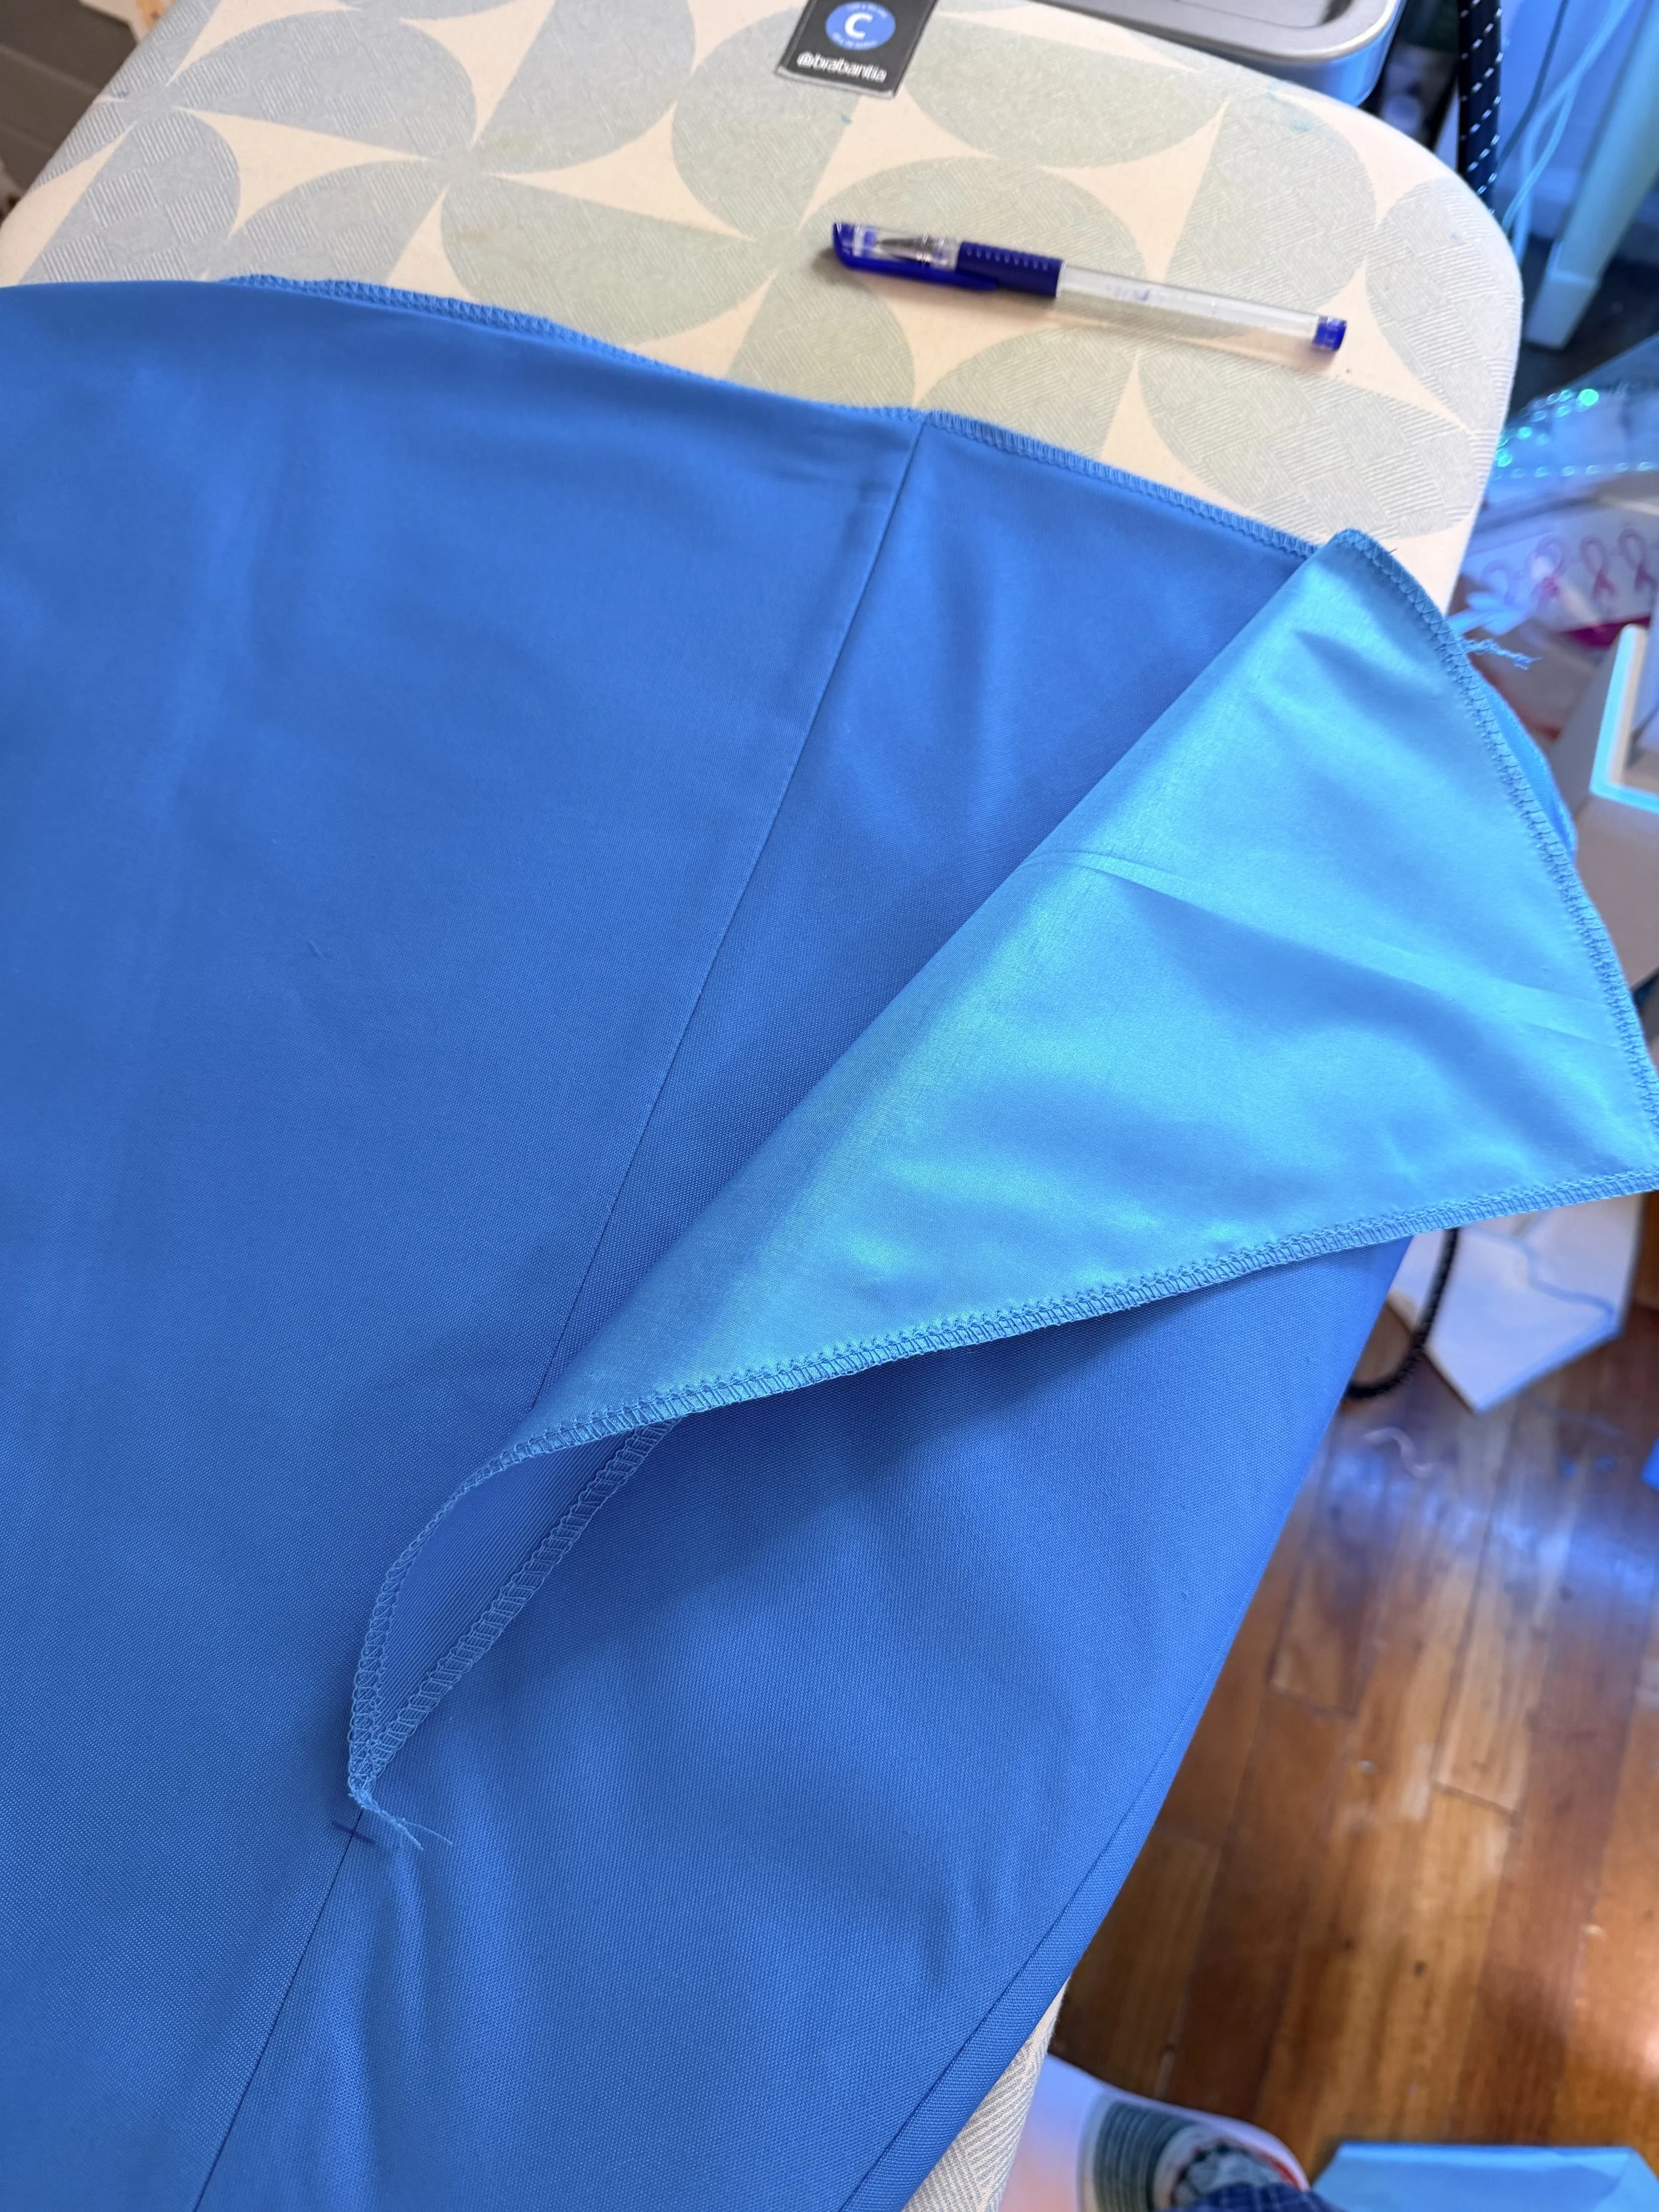
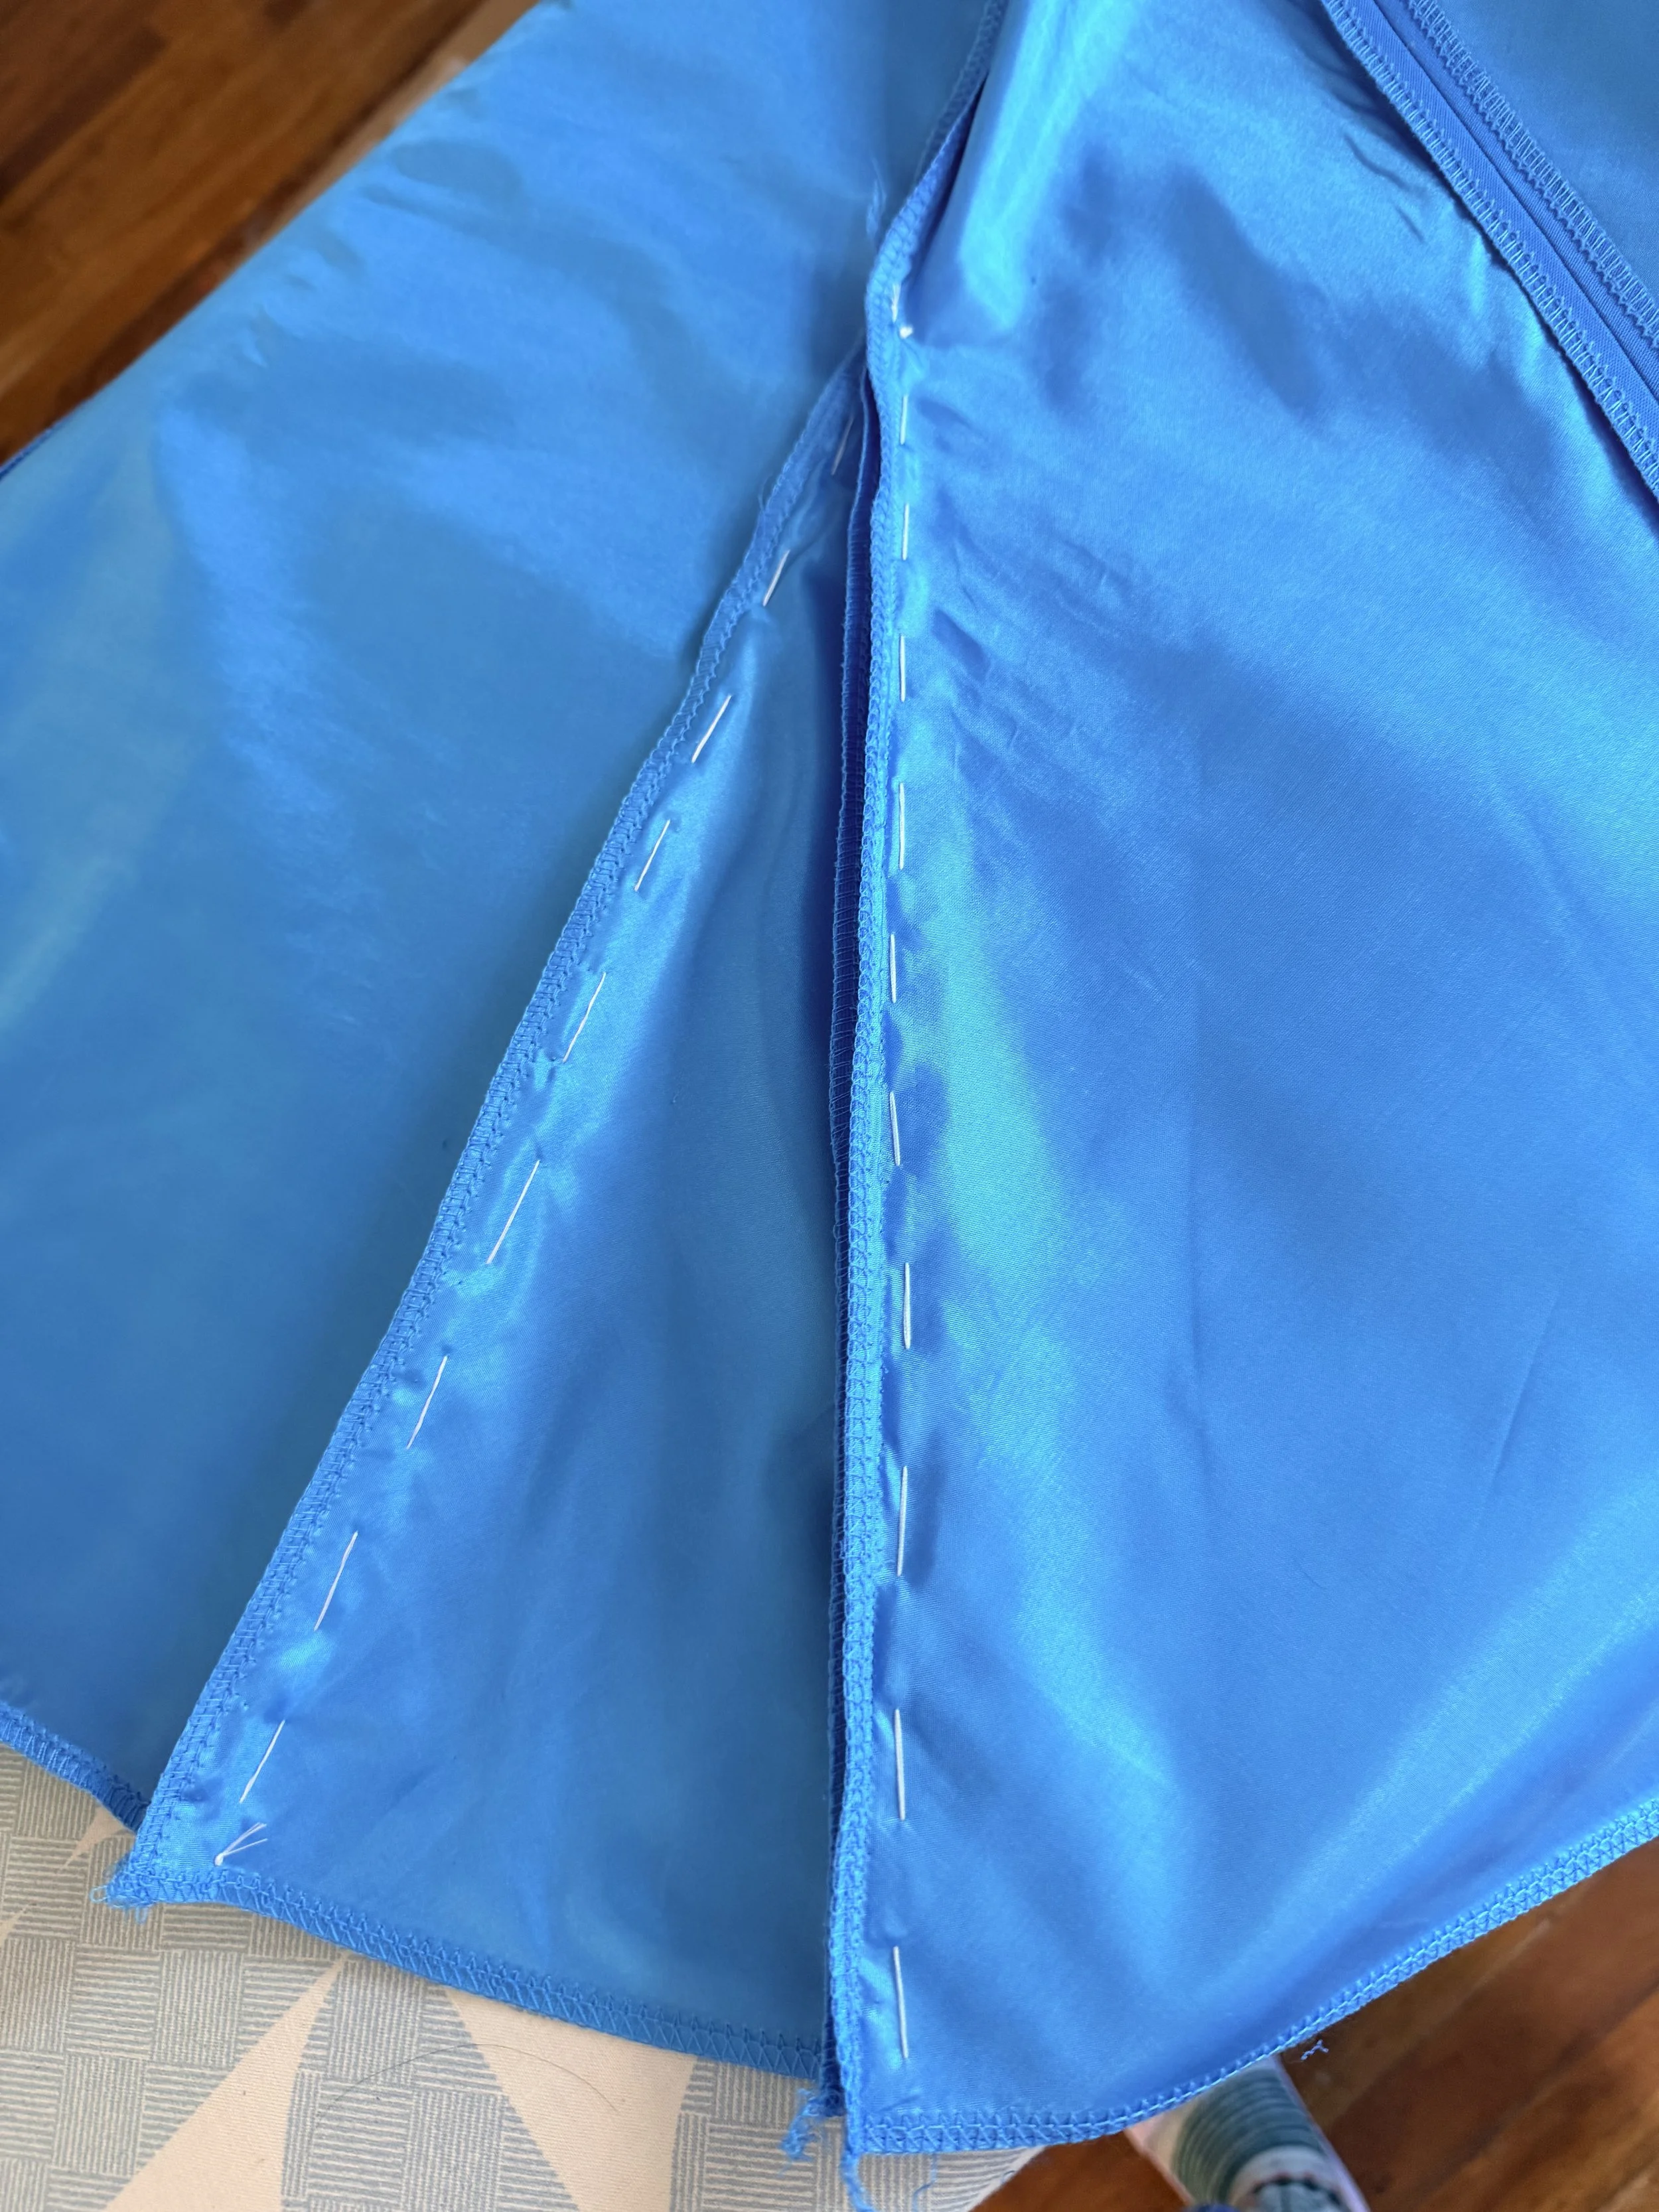
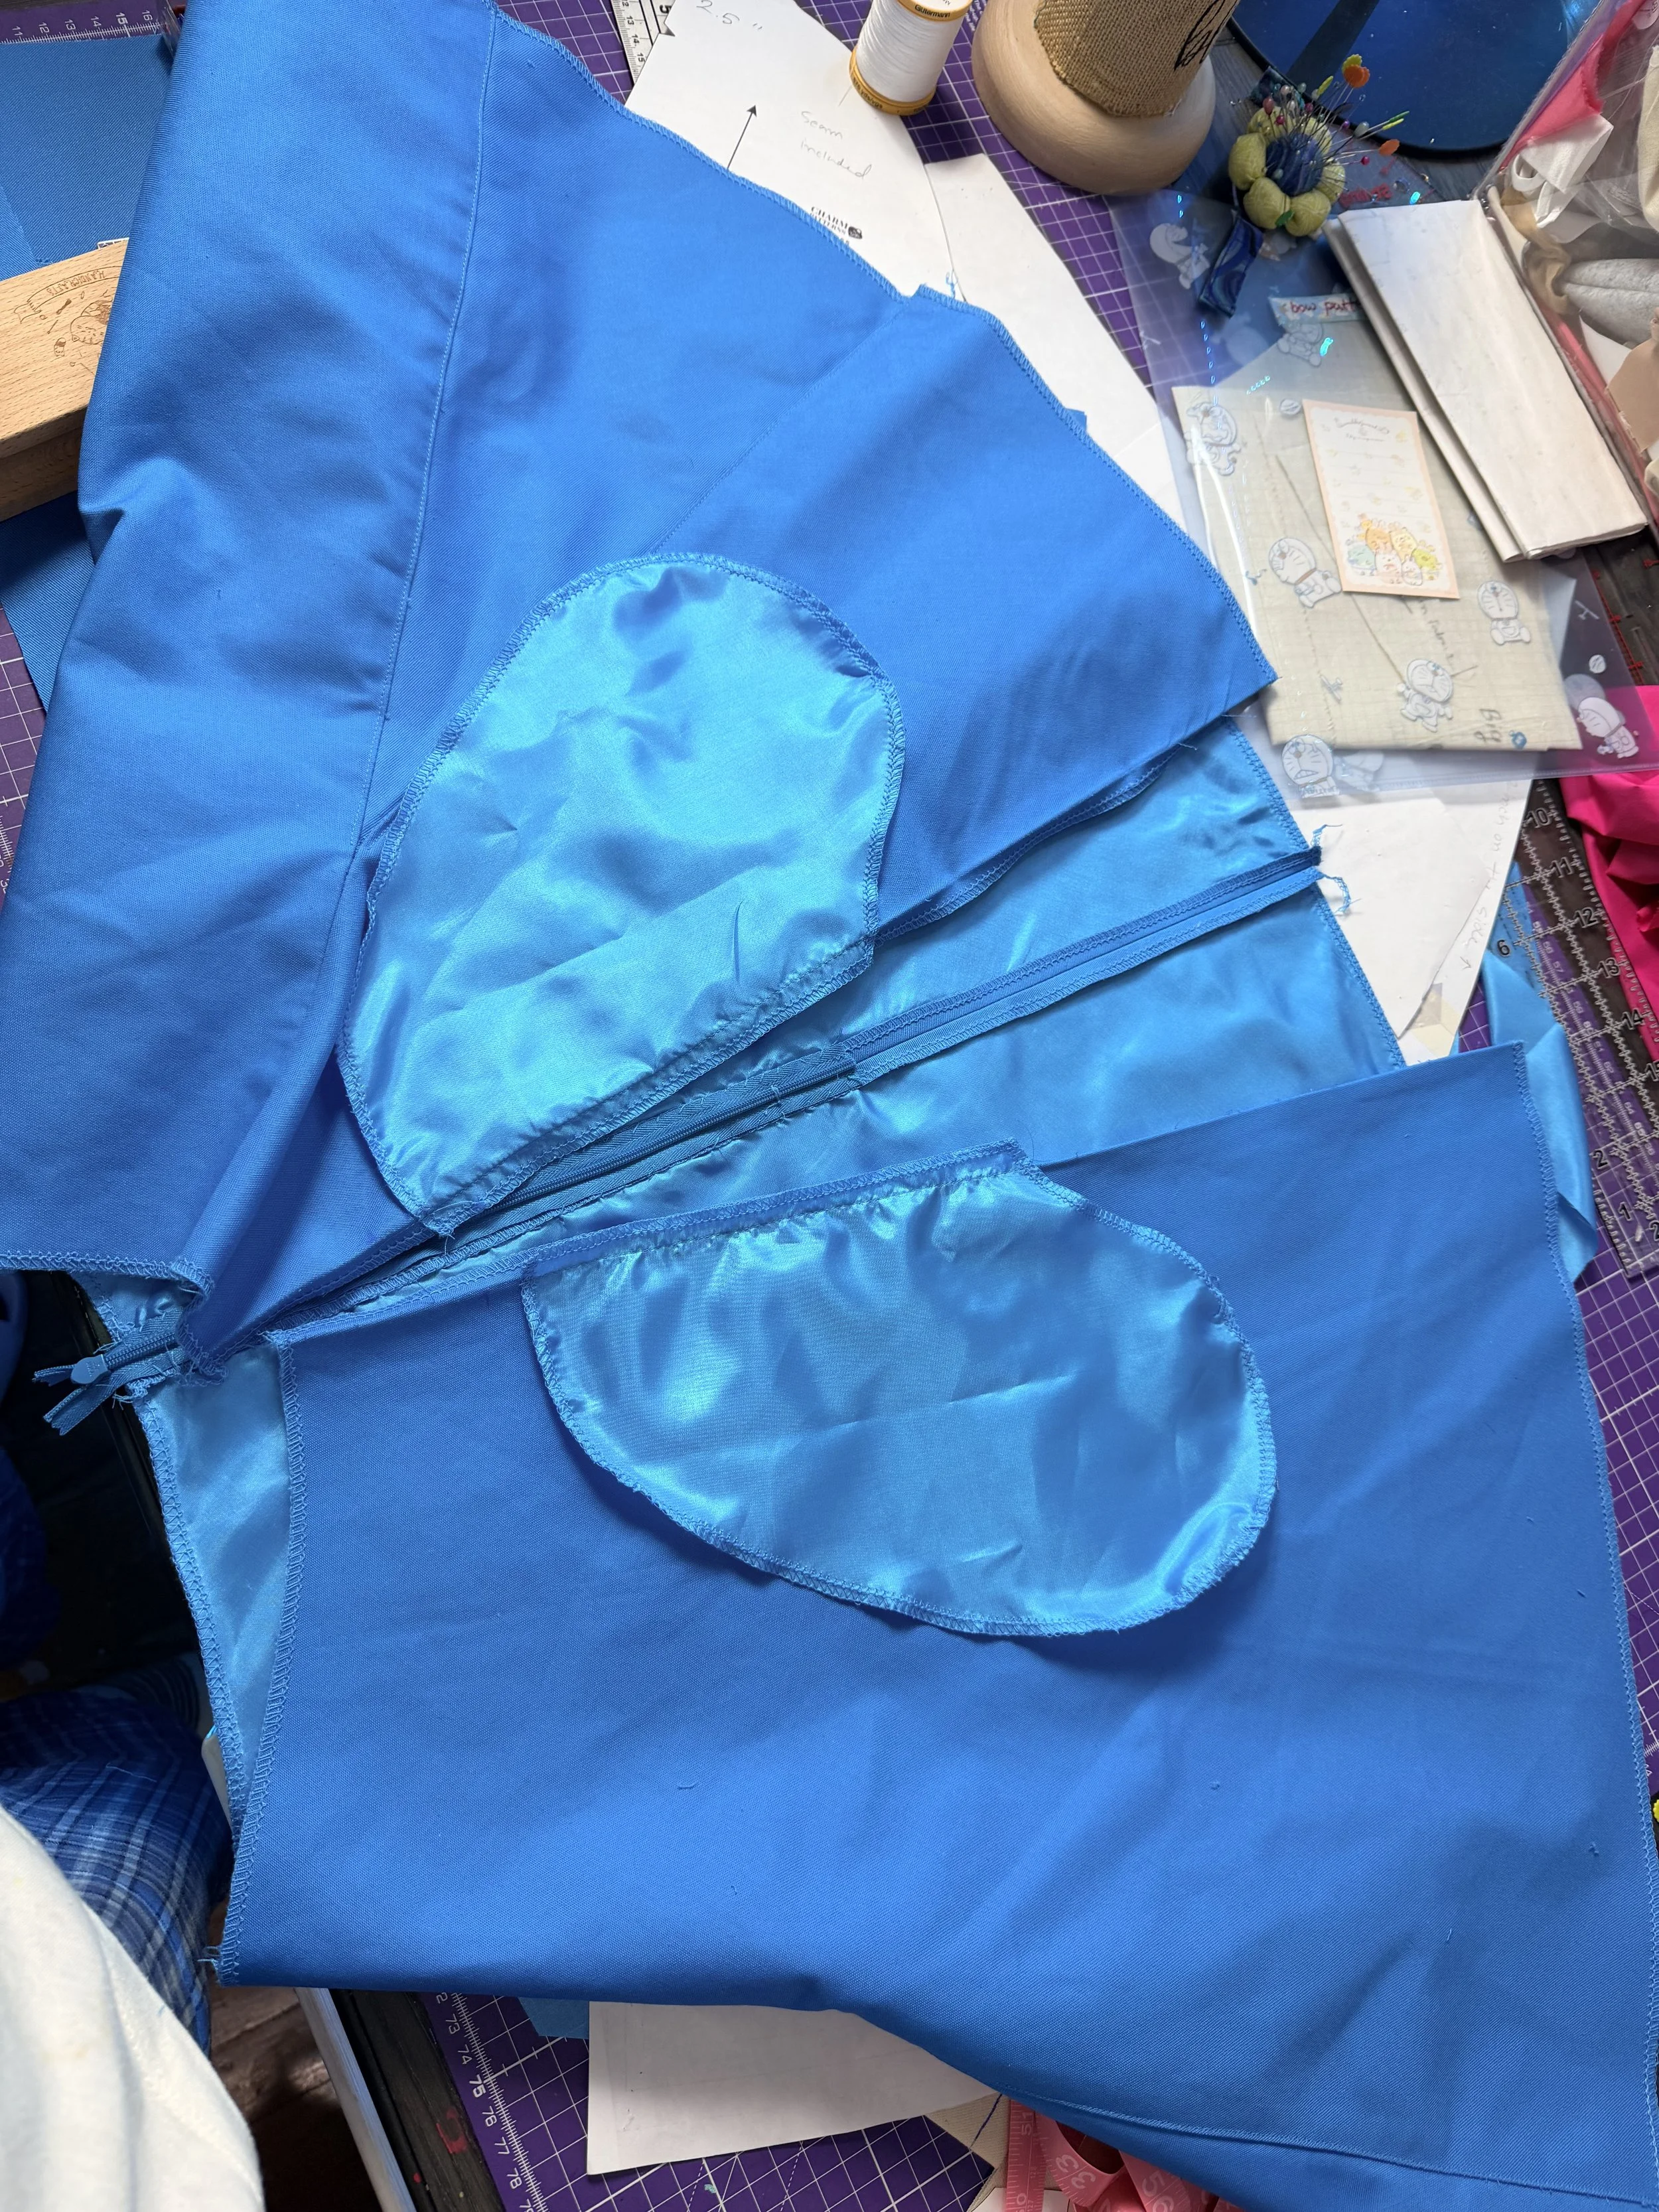
For the skirt, I used Julien Brushed Twill as the main fabric and China Lining for the inside of the garment. Just like the shirt, all pattern pieces were cut according to the pattern, flat-lined, and serged before being stitched together. The godets were hand-sewn to the skirt using a running stitch and secured with top stitching using a sewing machine.
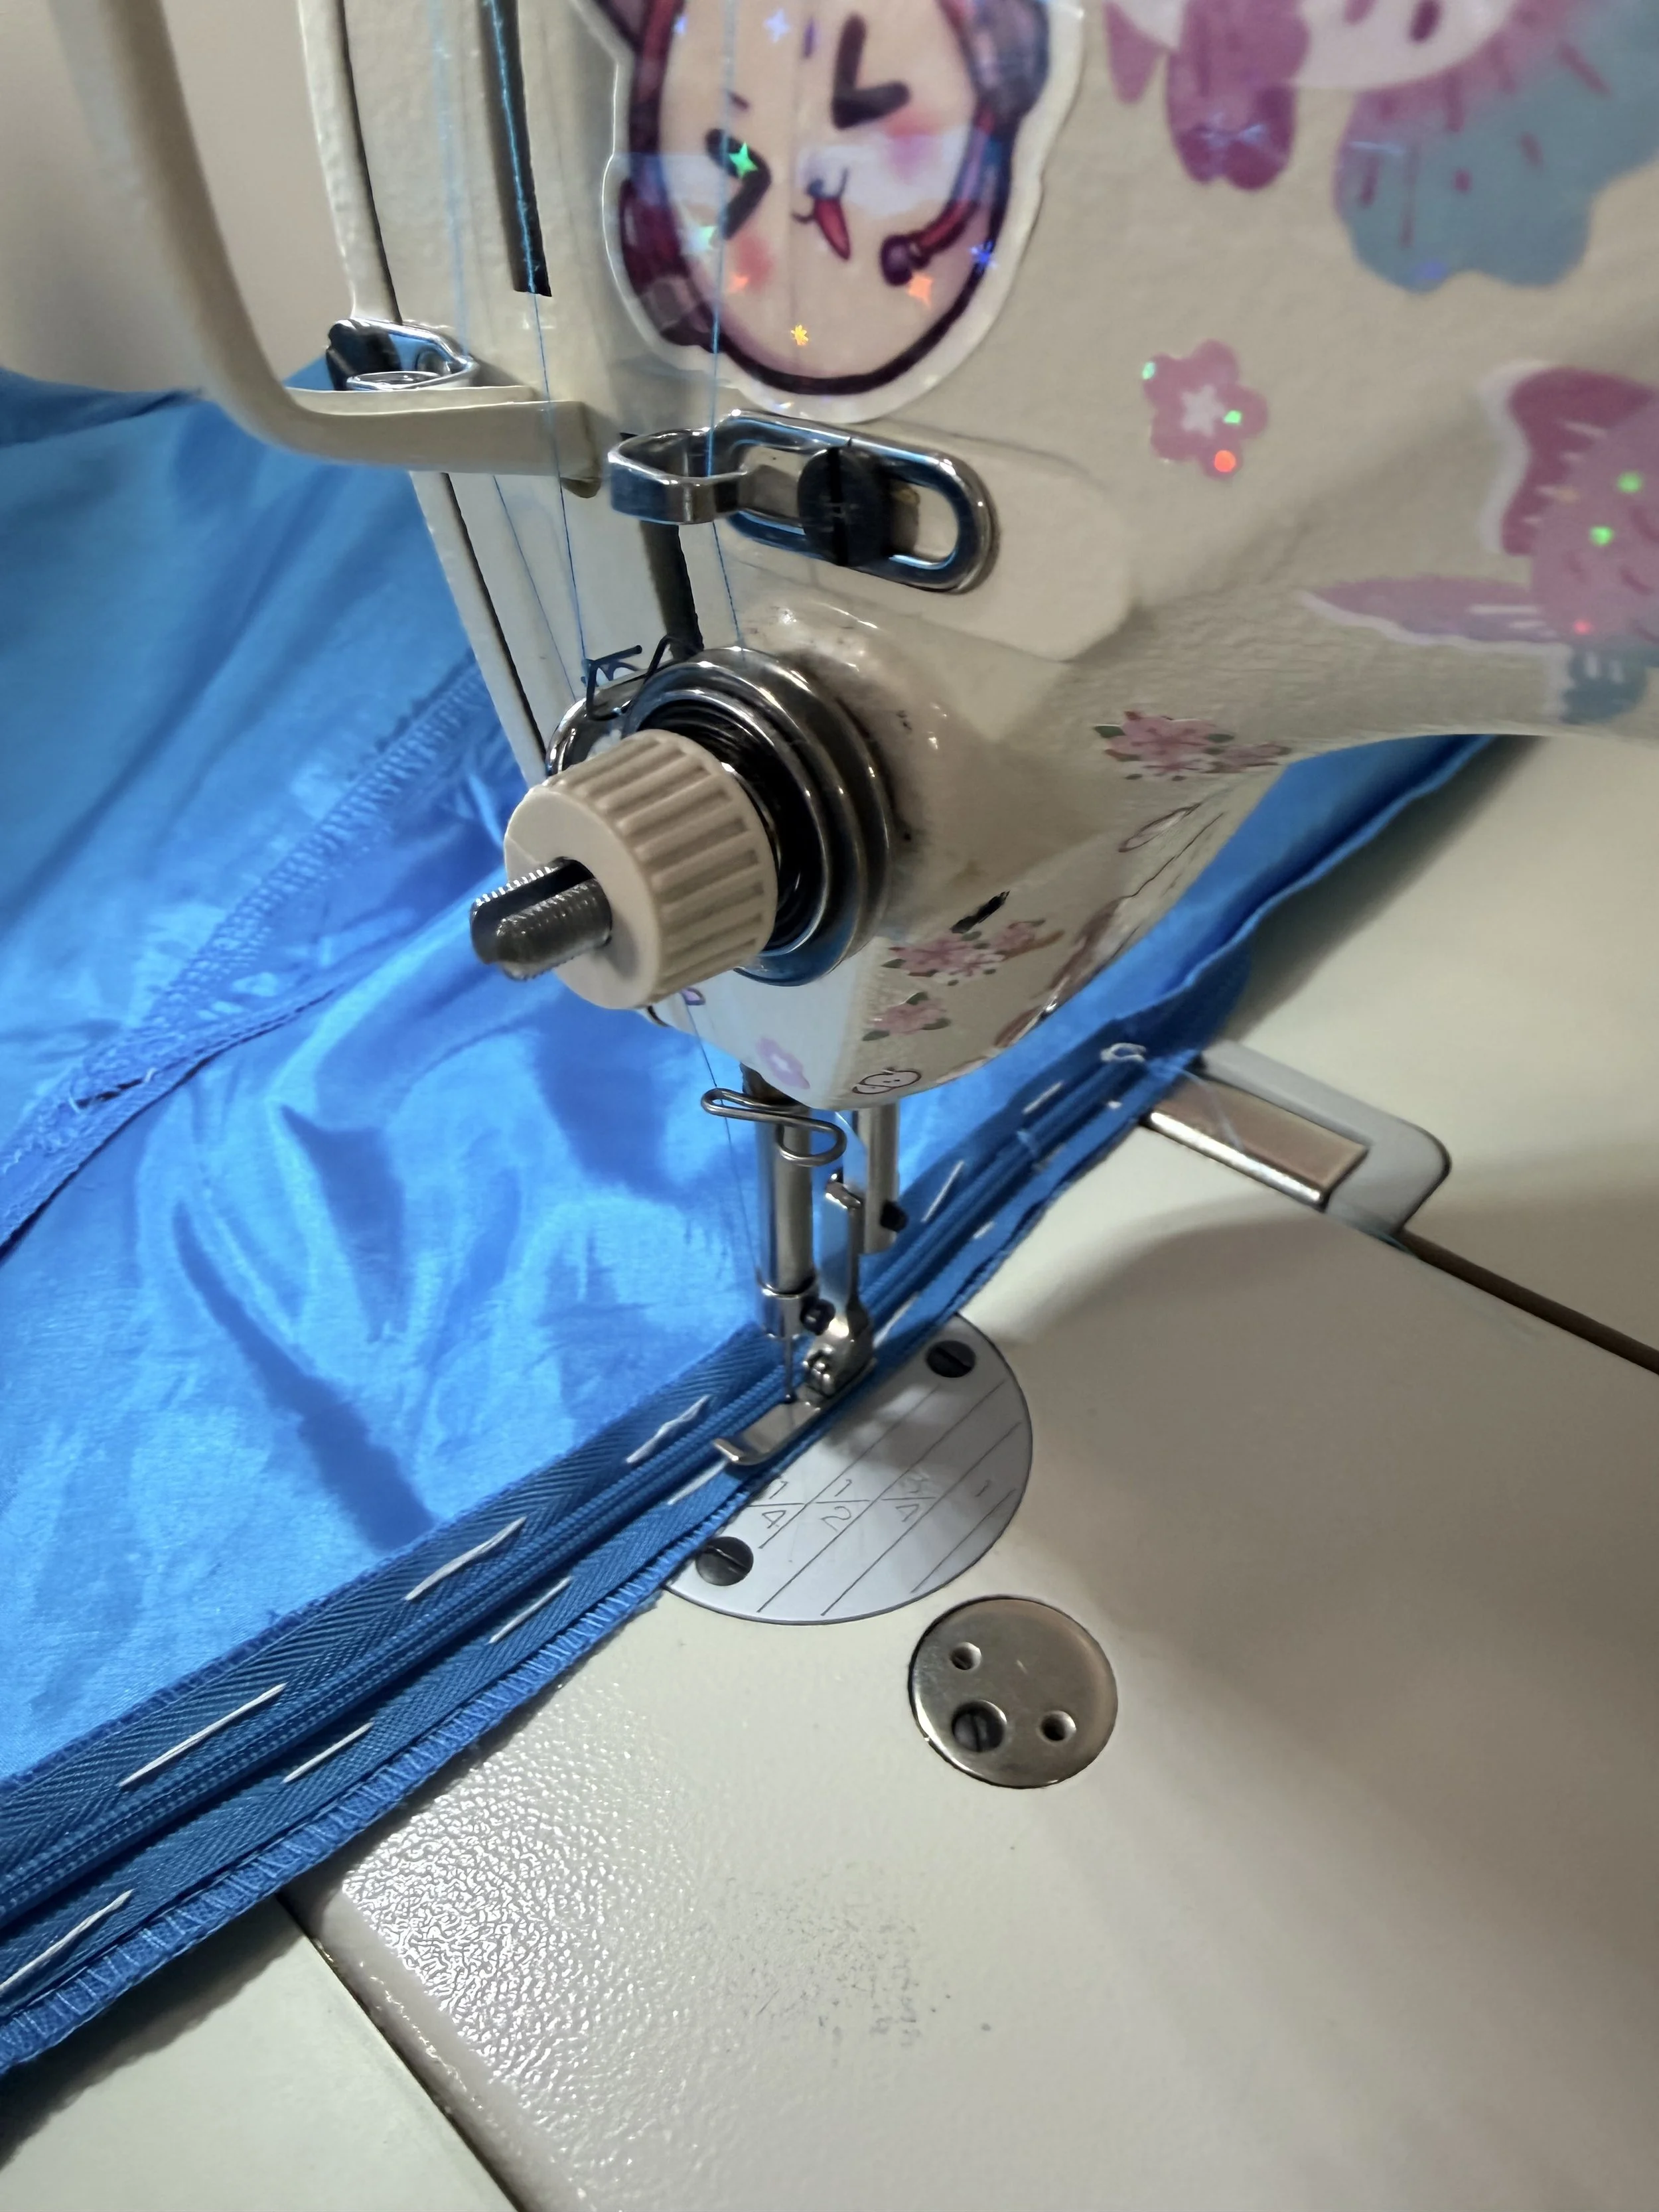
On the right side I added a hidden pocket, while on the left side I installed an invisible zipper before attaching the waistband. Once the waistband was secured, I sewed a hook-and-eye closure to complete the fastening.
A square embellishment was added to the top of the waistband. To create the buttons on the embellishment, I used 2.5mm button forms and a button-making tool, covering them with matching fabric for a finished look.
After the skirt was done I stitched the suspenders. I added an extra width of two inches on both sides of the suspenders to look more fitting on my wide shoulders.
Every seam was steamed and pressed flat before stitching to reduce excess bulk, as the Julien Brushed Twill is slightly heavier in weight.
After everything was done I hemmed the edges with twin needle stitching.
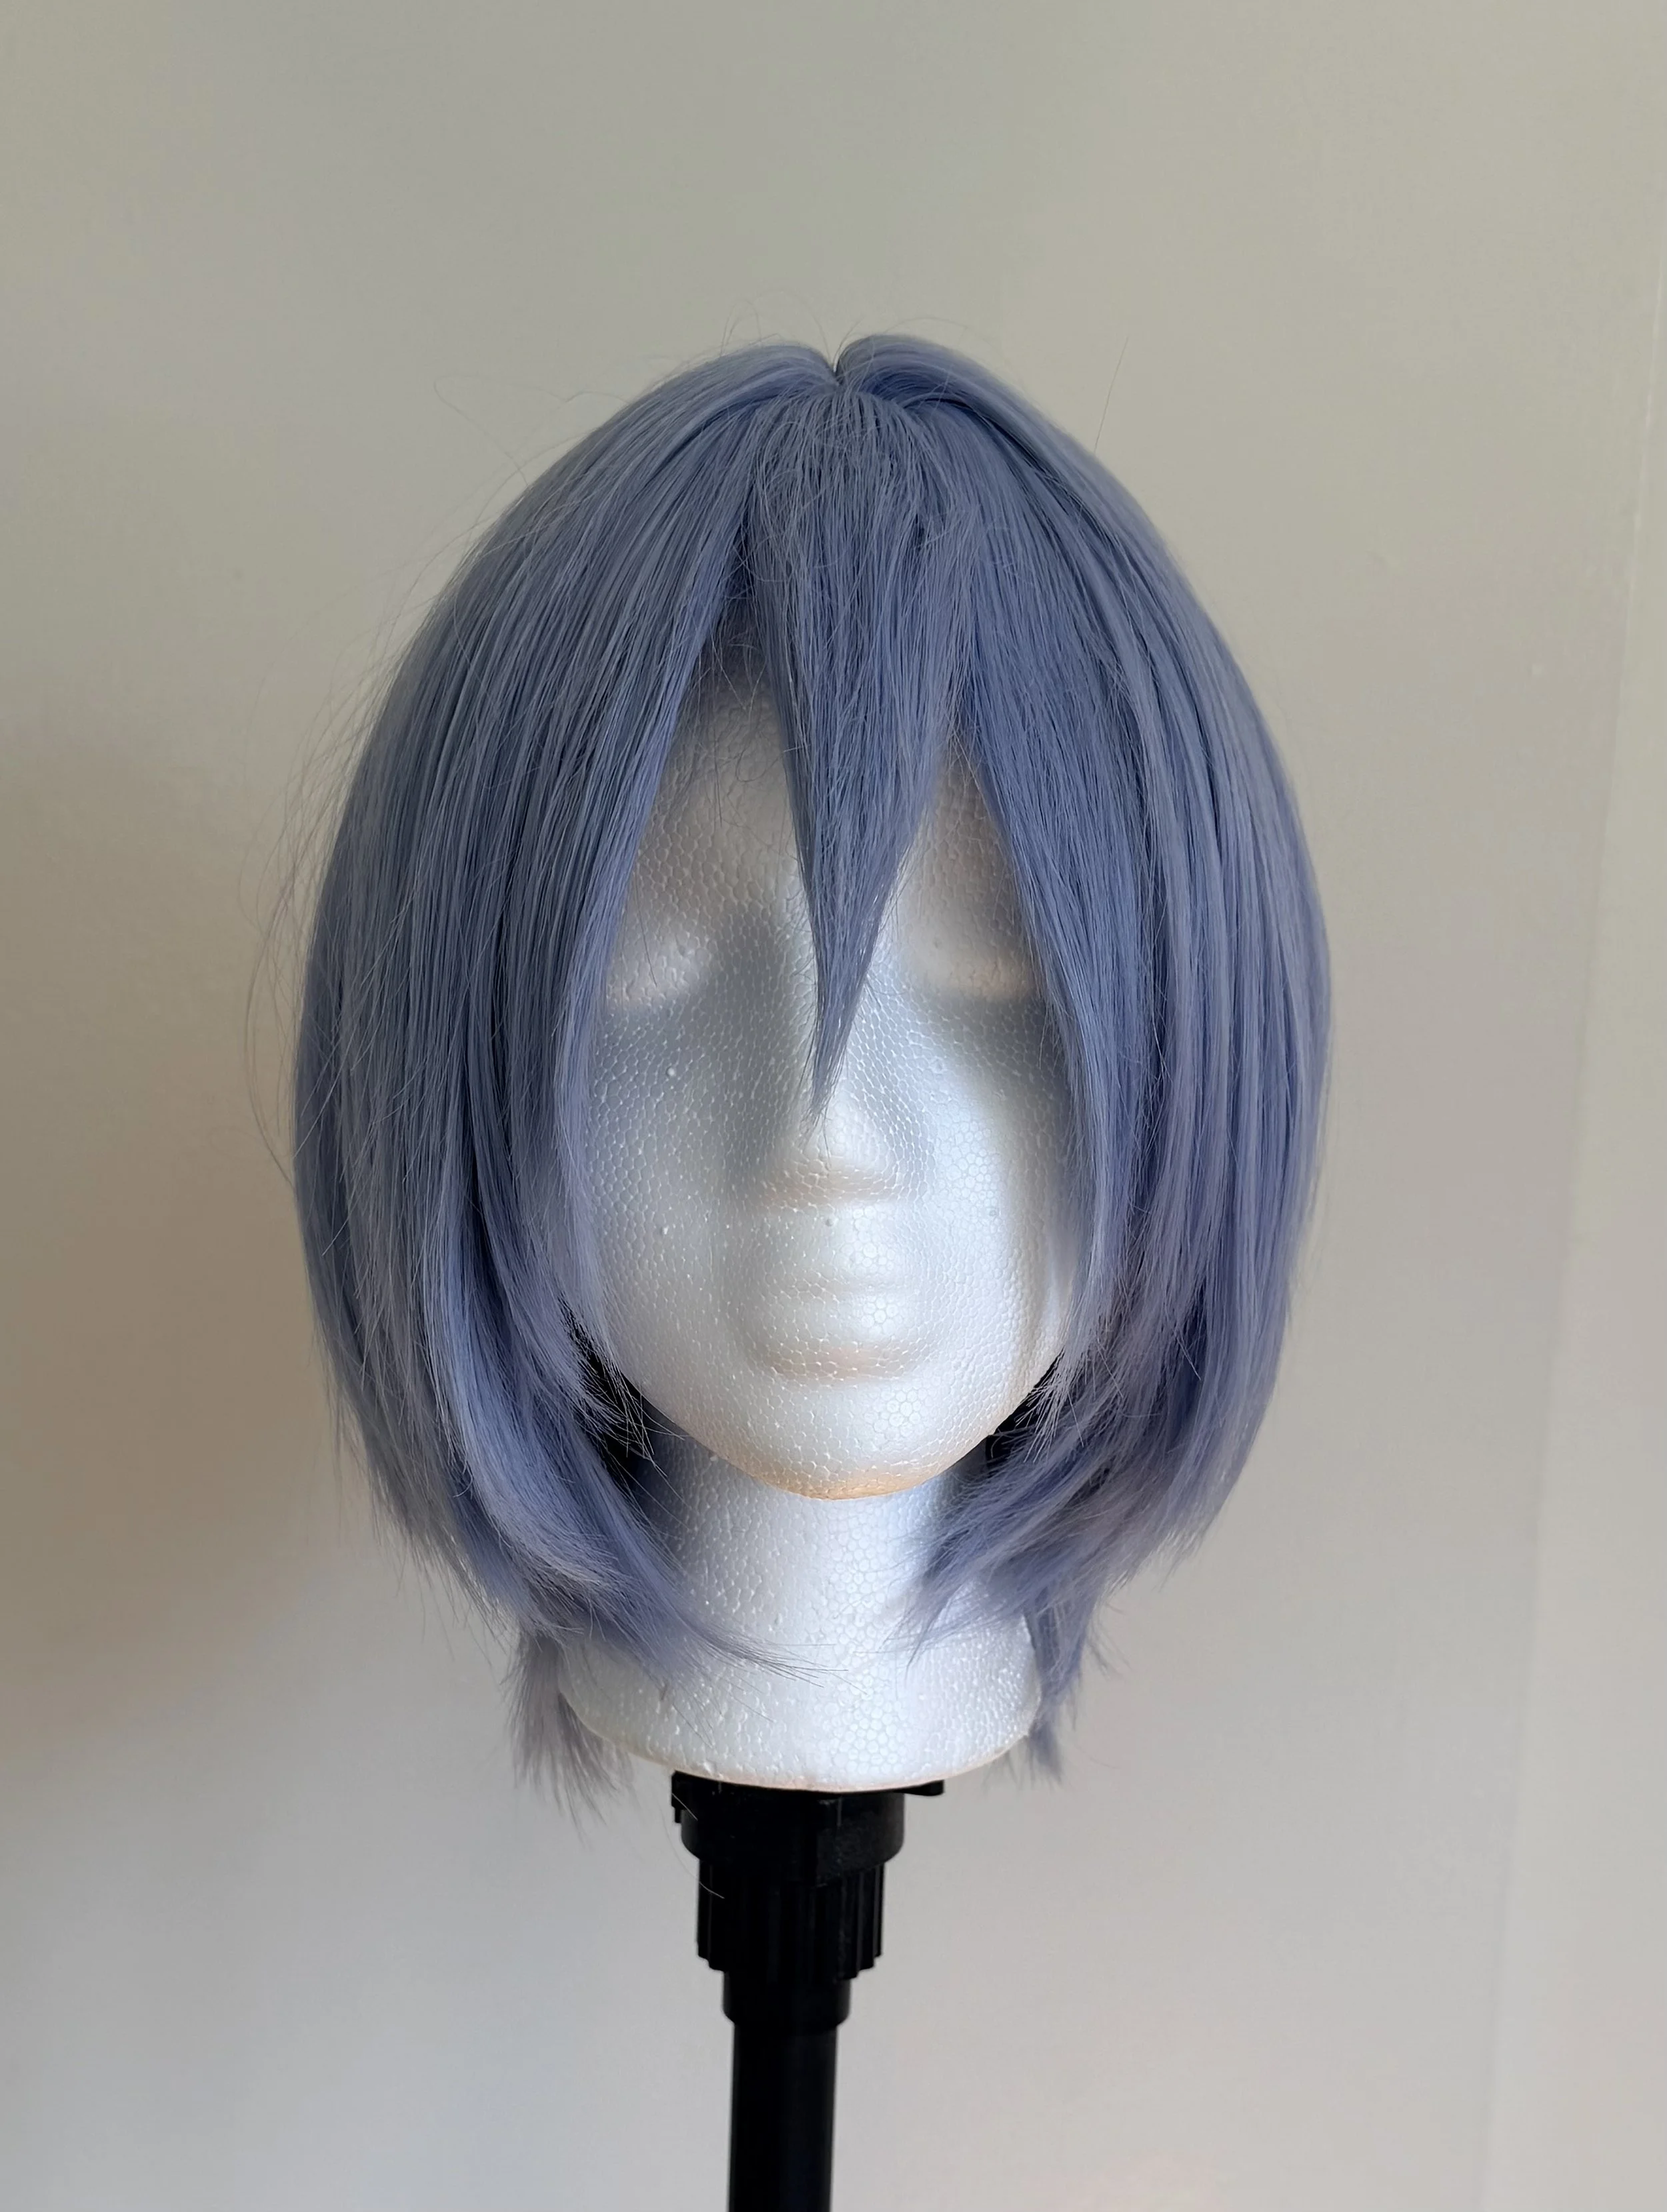
Wig
I used a store-bought wig for this cosplay and styled it to match the character.
First, I steamed and brushed the wig to restore its original shape and smoothen the fibers, while simultaneously feathering the edges for a more natural look.
I then focused on the front section, teased and trimming it to achieve the desired style. The wig was styled using only a hair straightener and Got2b Glued spray.